Build and Deploy model with AutoAI
In this section, you will build and train high-quality predictive models quickly with no-code and simplify AI lifecycle management using Watson Studio’s AutoAI. AutoAI automates tasks for data scientists, tasks such as feature engineering and selection, choosing the type of machine learning algorithm; building an analytical model based on the algorithm; hyperparameter optimization, training the model on tested data sets and running the model to generate scores and findings.
Create and Run an AutoAI Project
-
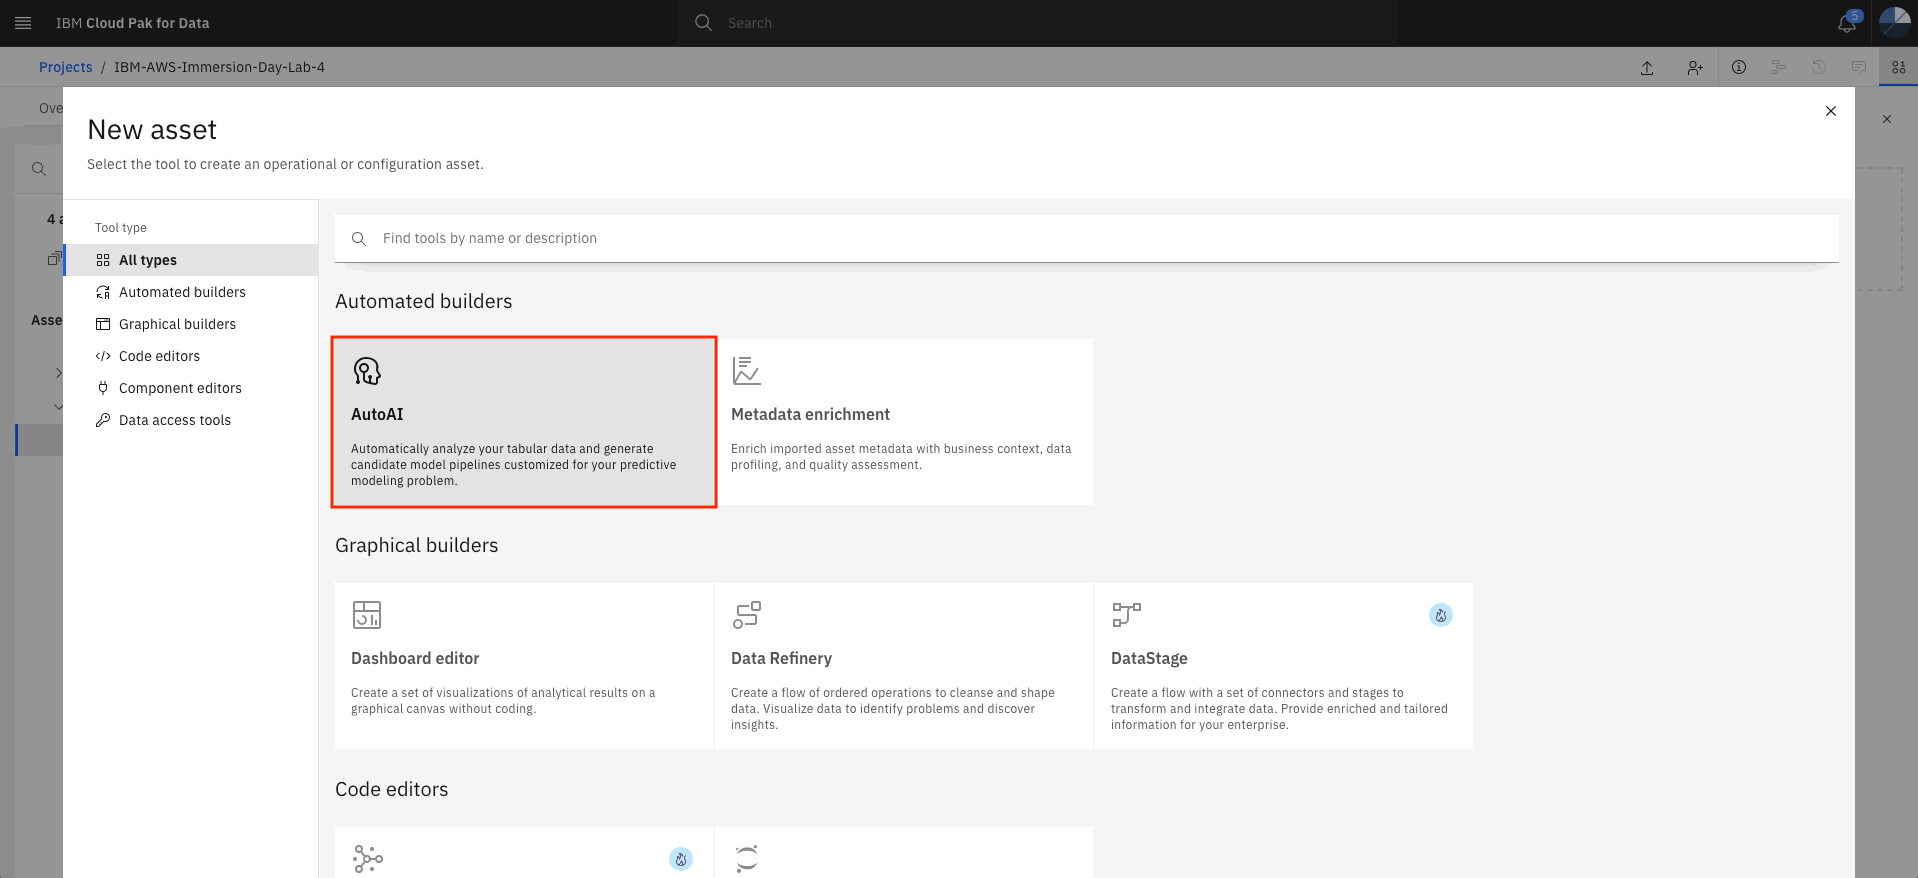
Navigate to the project, click on Add to project option on top right and select AutoAI experiment as asset type.
-
Create an AutoAI experiment by giving it a name.
-
Add the data file, click on Select from project and select the
RI-data-ML.csvfile from the project’s data assets.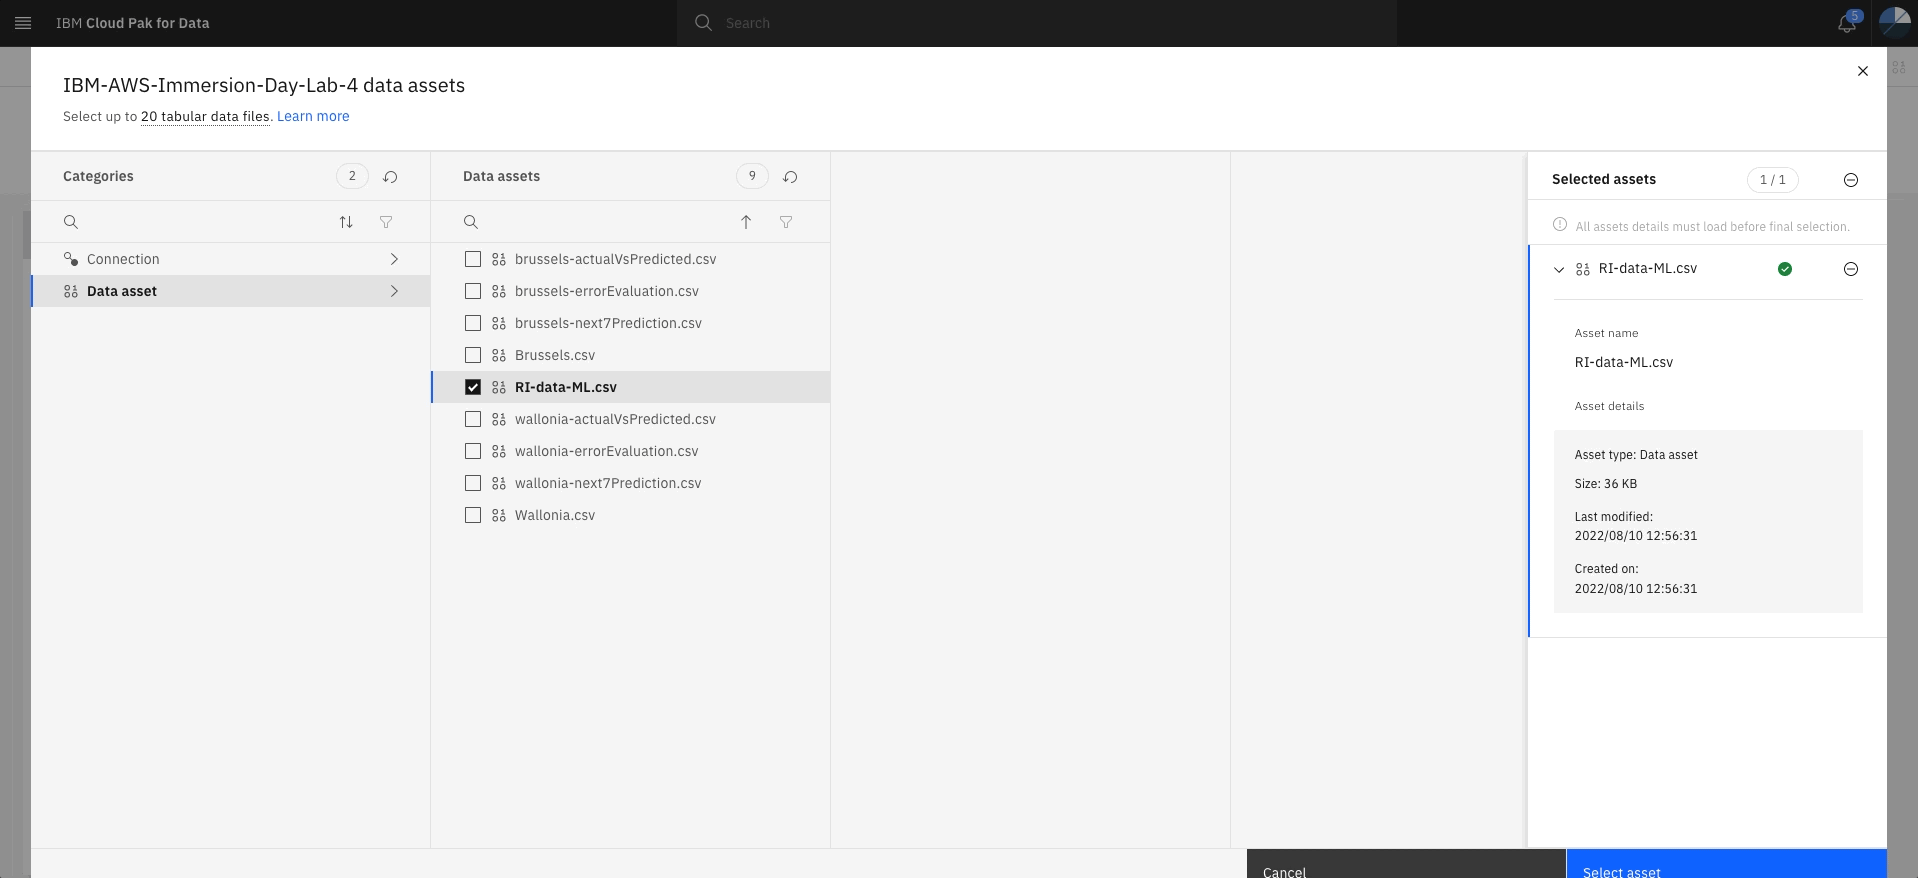
-
Click on No for creating a time series forecast. We are building a multi class classifier. Select
Risk_Indexas the option to predict and hit Run experiment.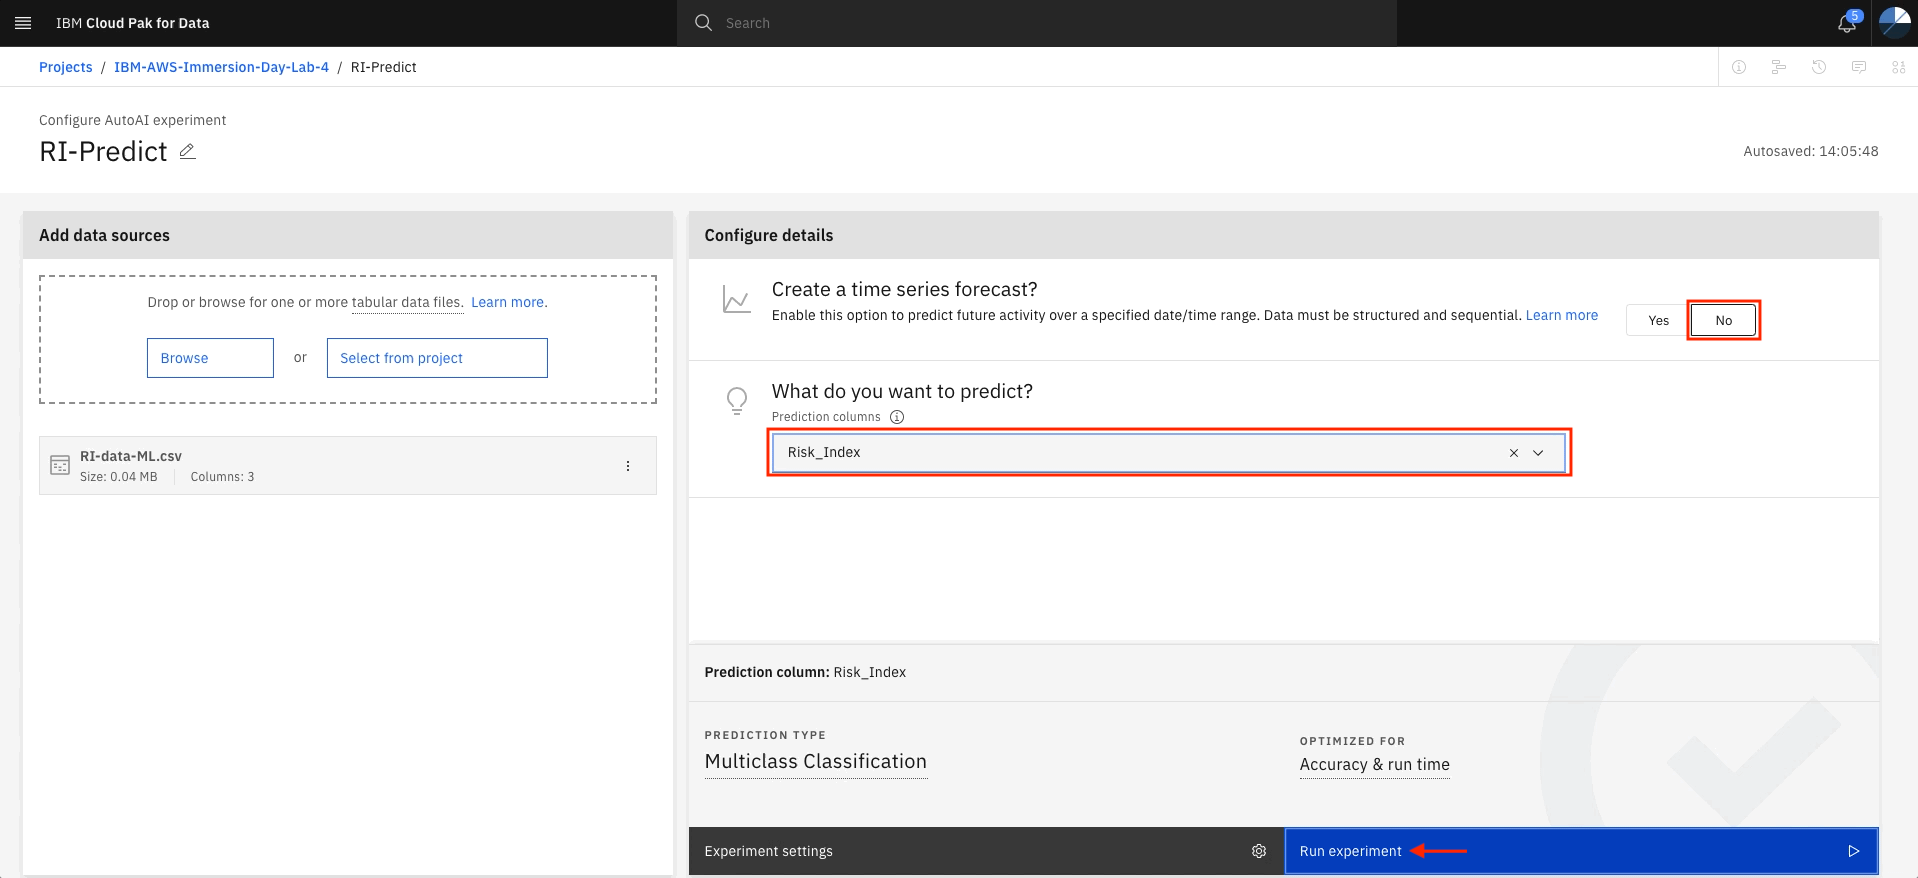
-
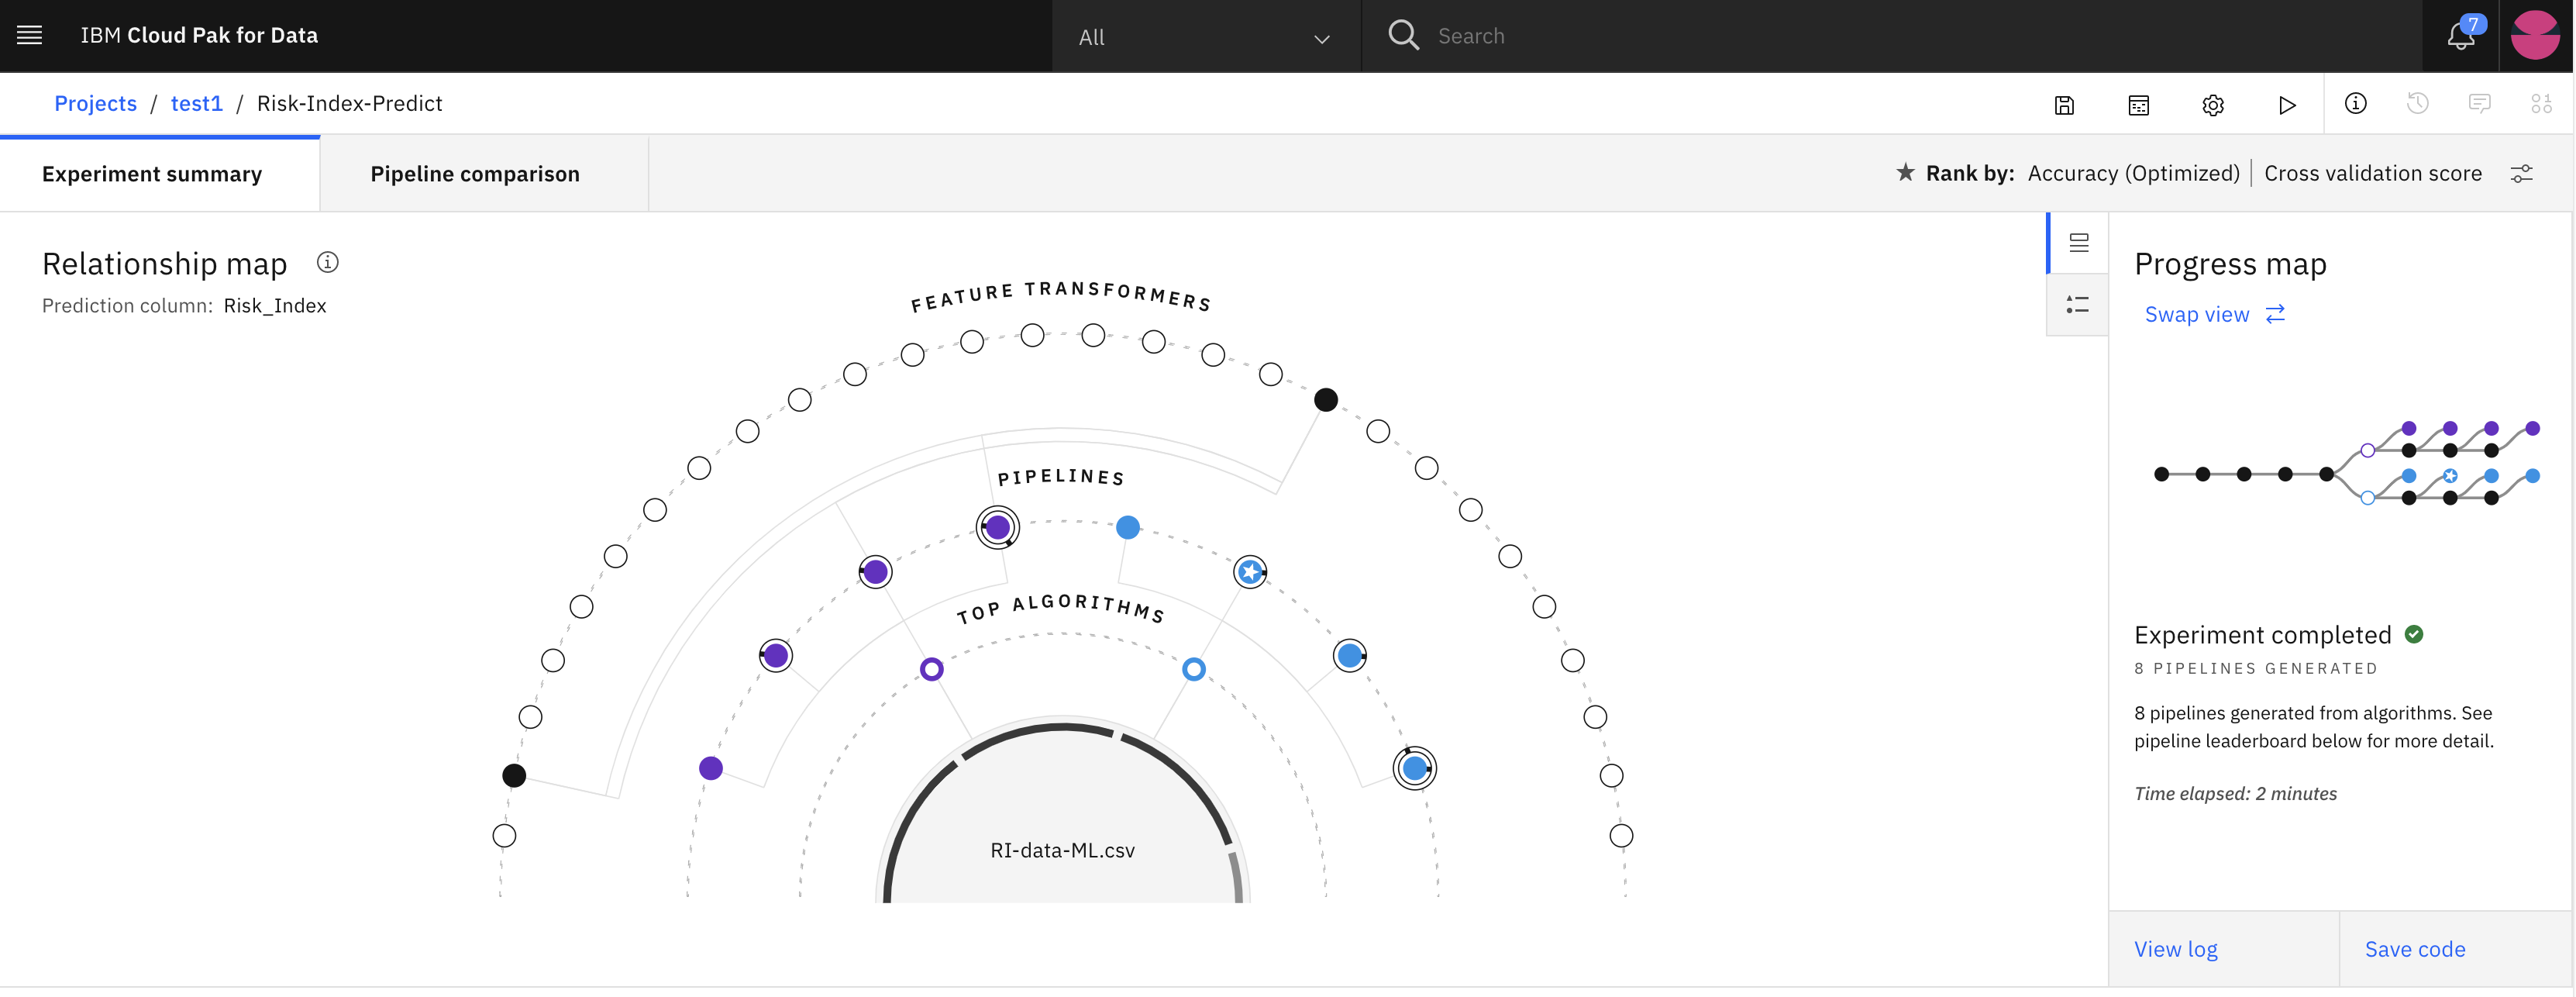
It will take a couple of minutes to complete the experiment. You will see Experiment completed on the right side of the canvas.
-
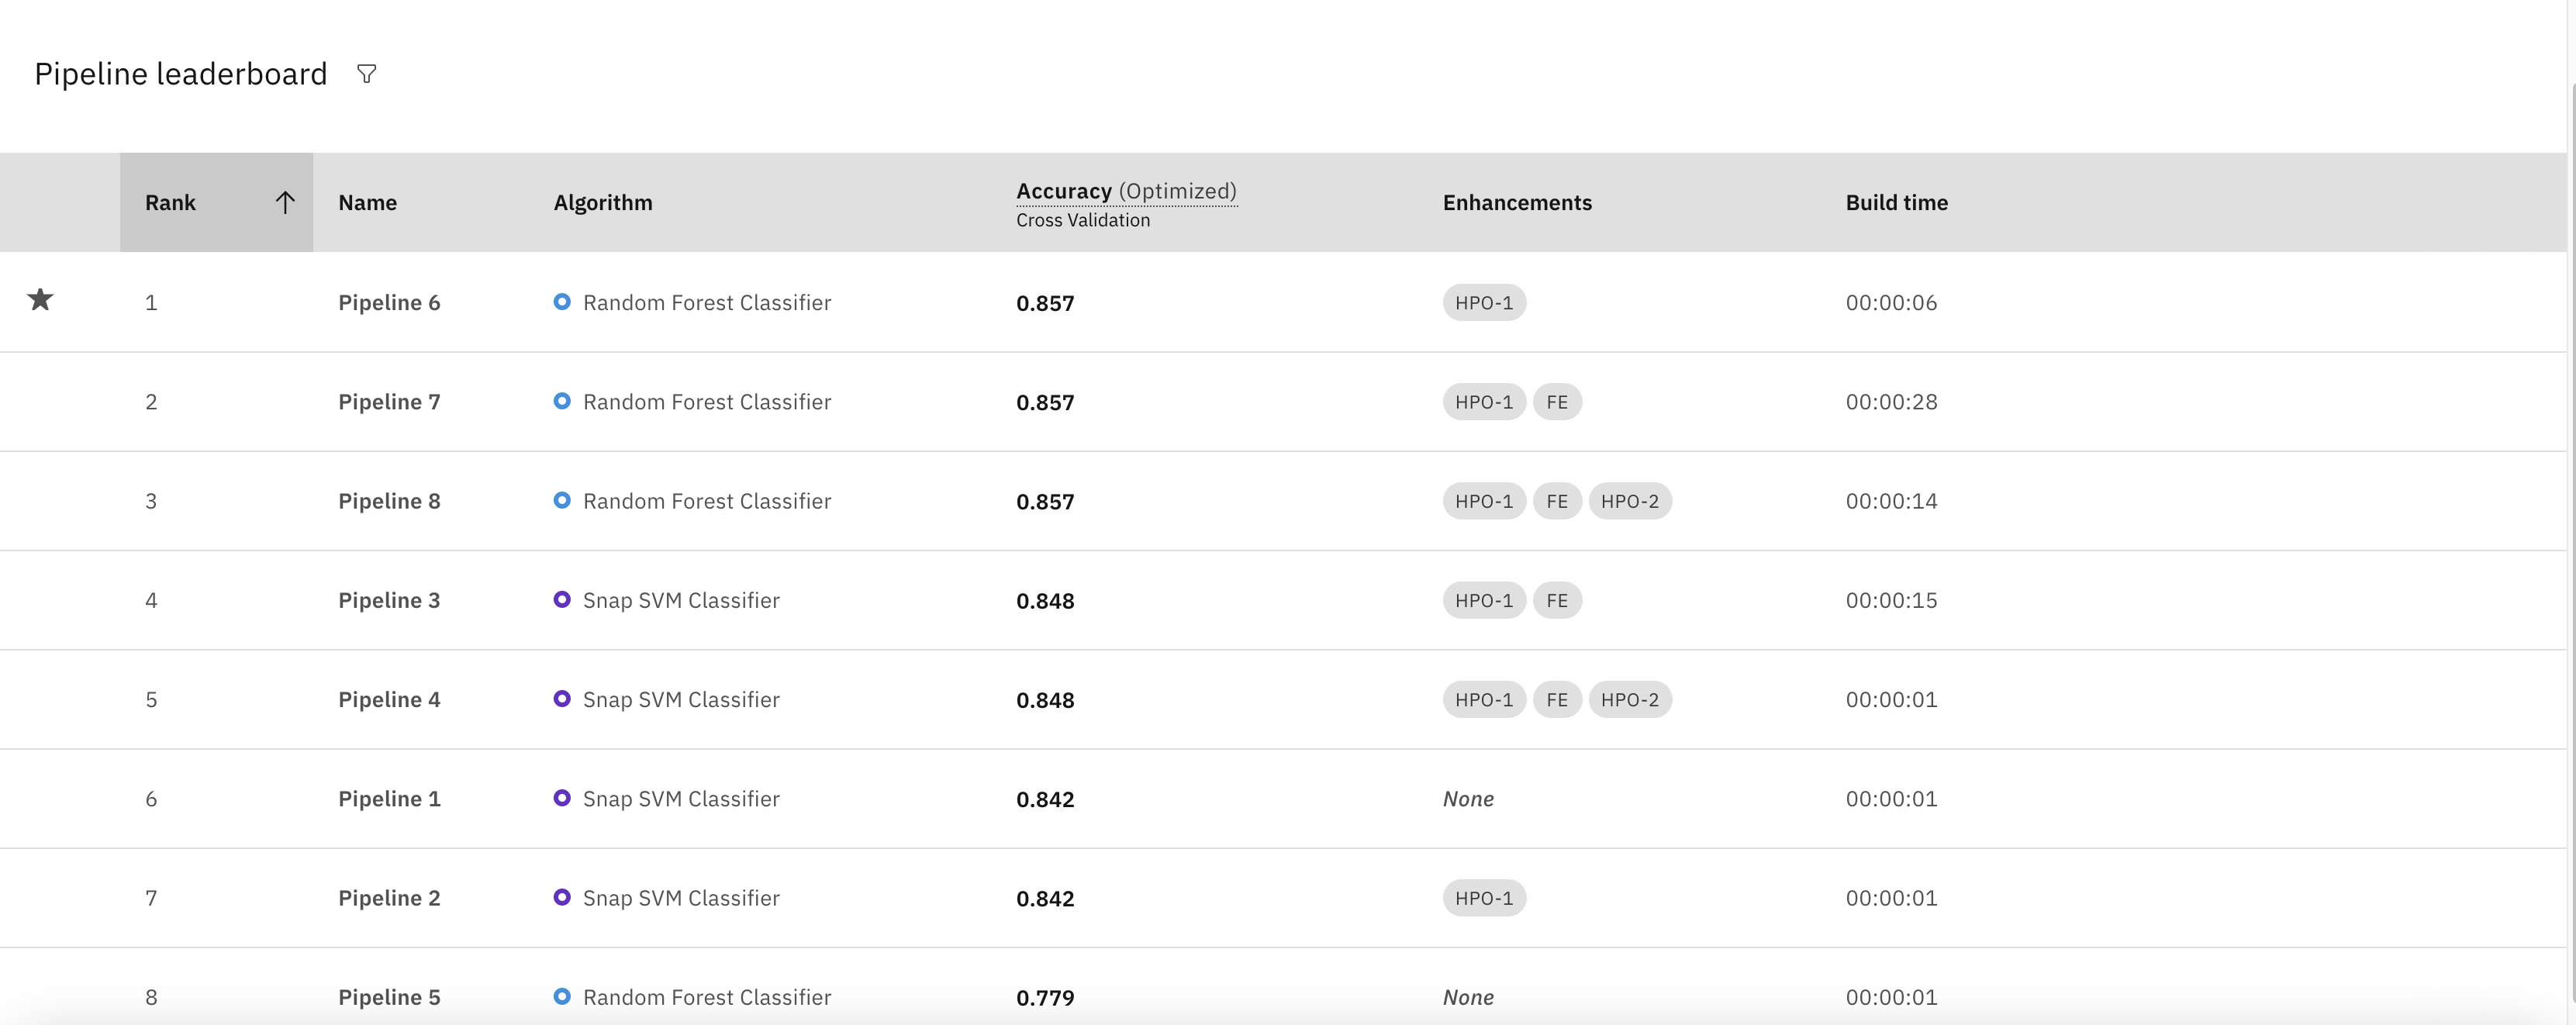
Review the eight pipelines generated per below.
-
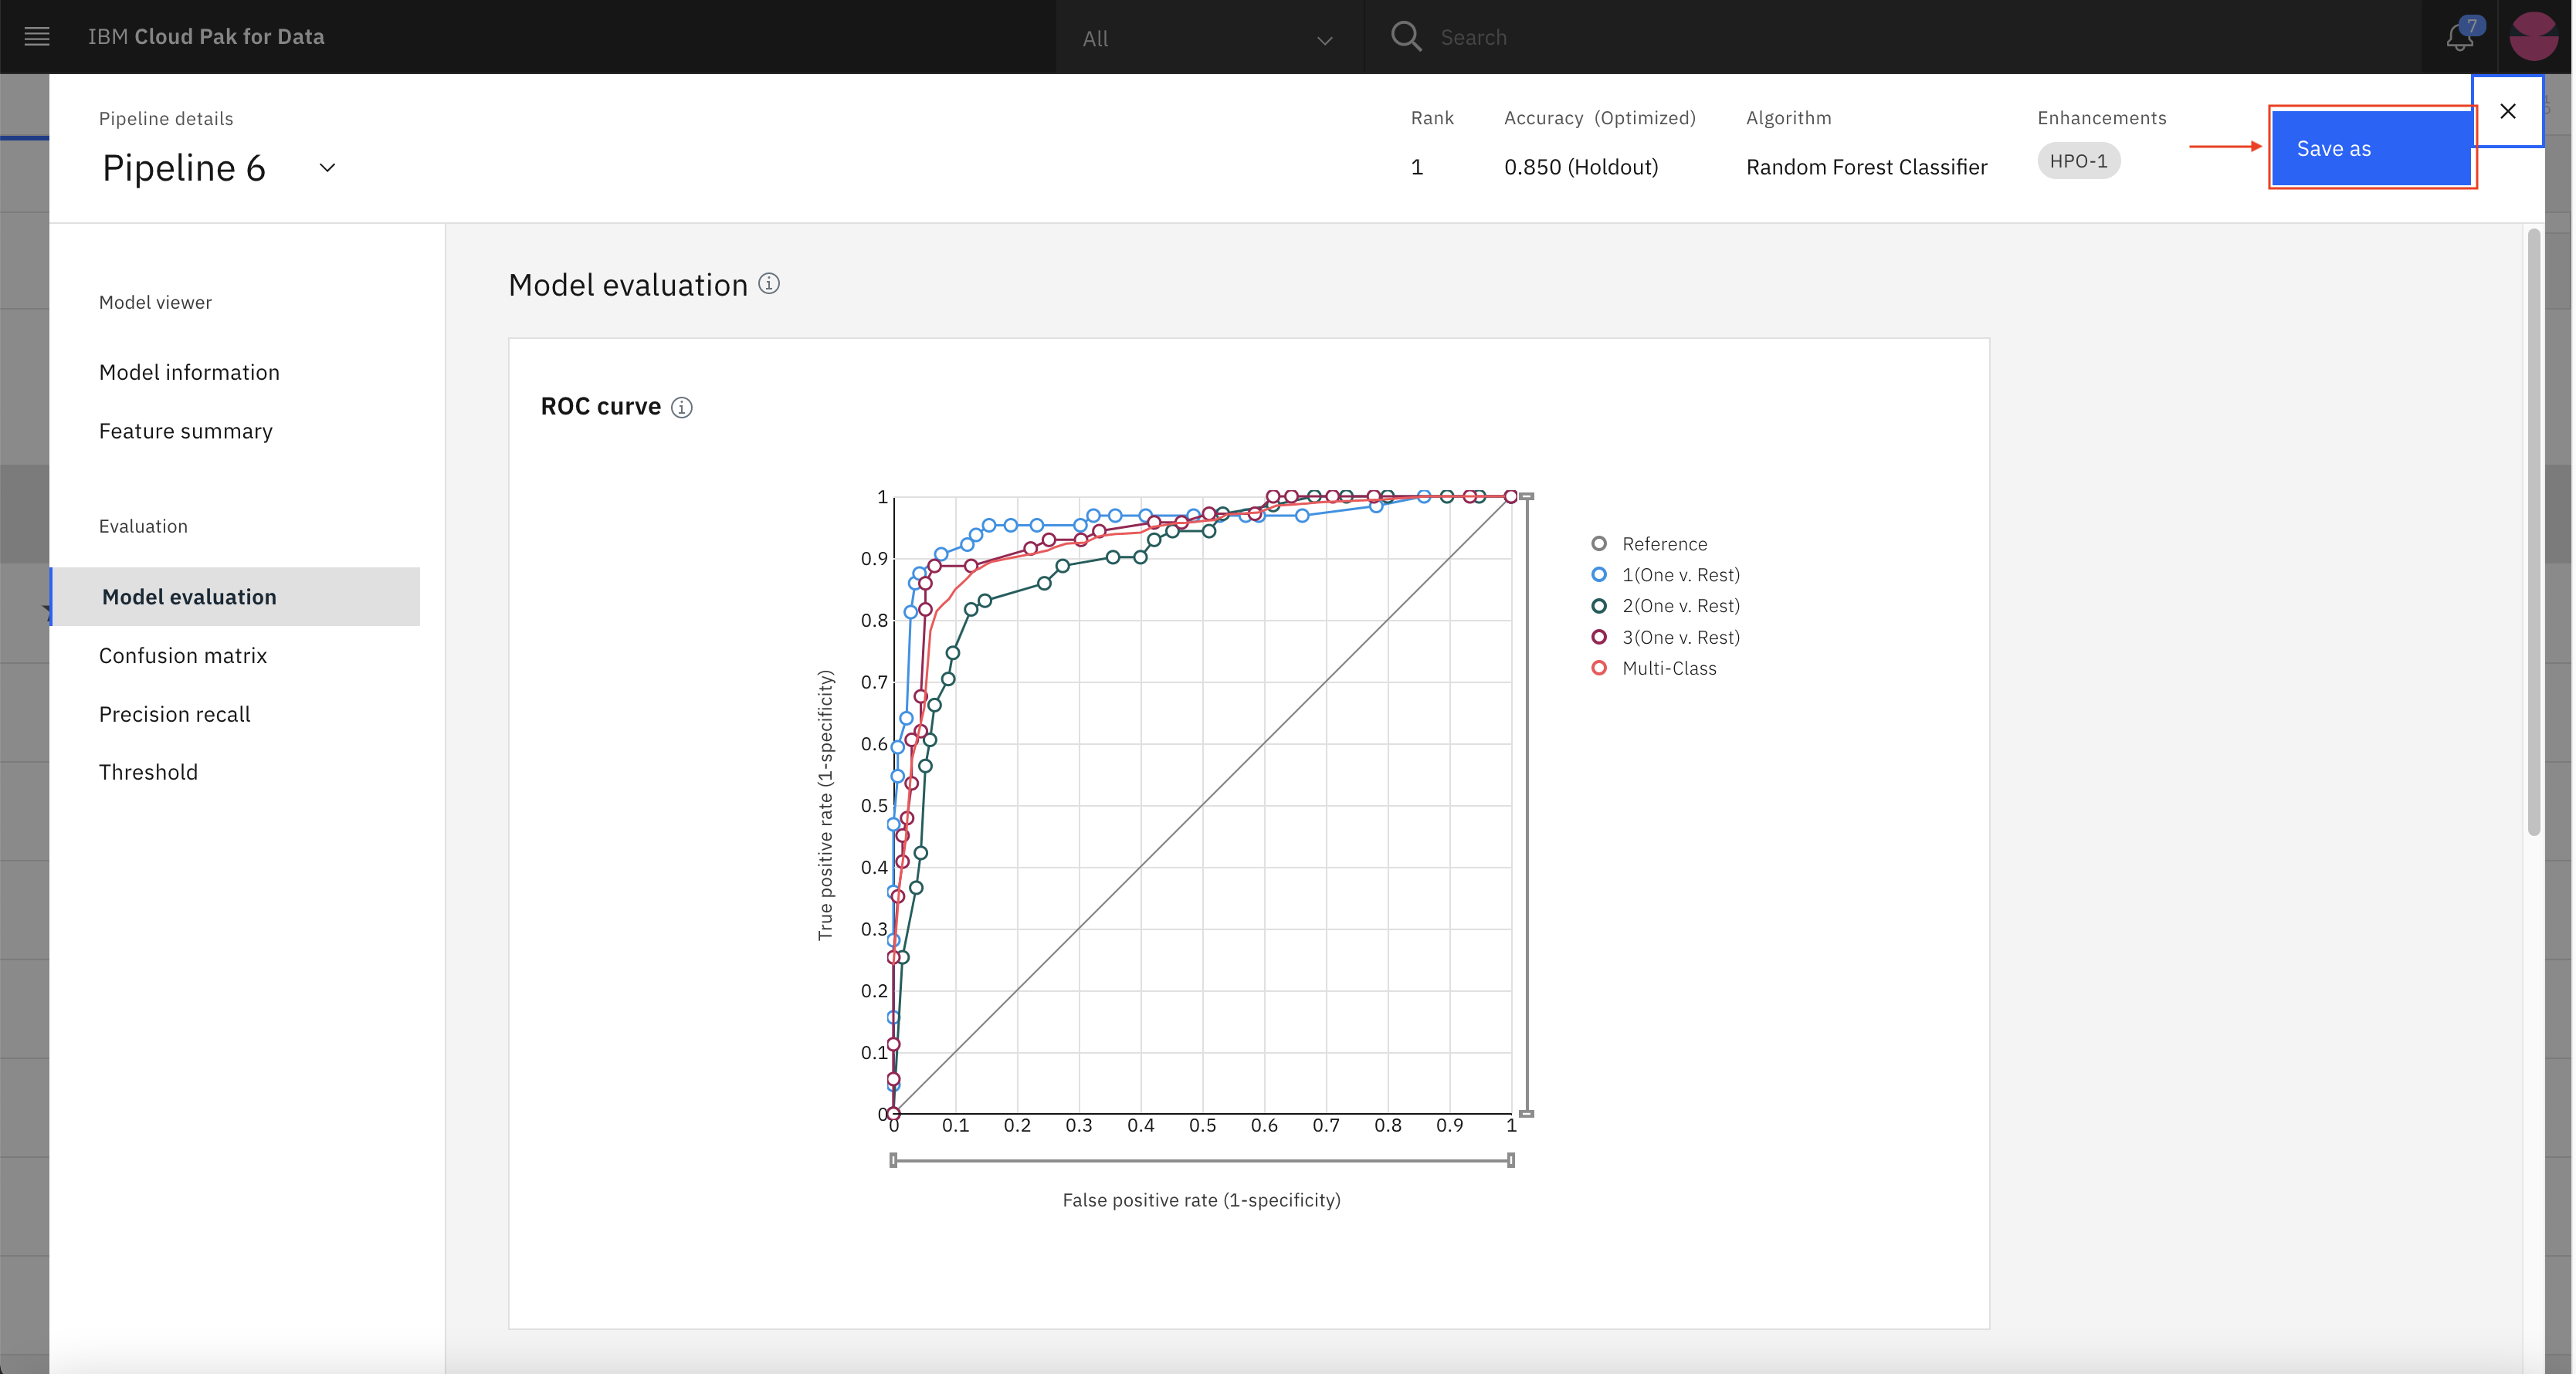
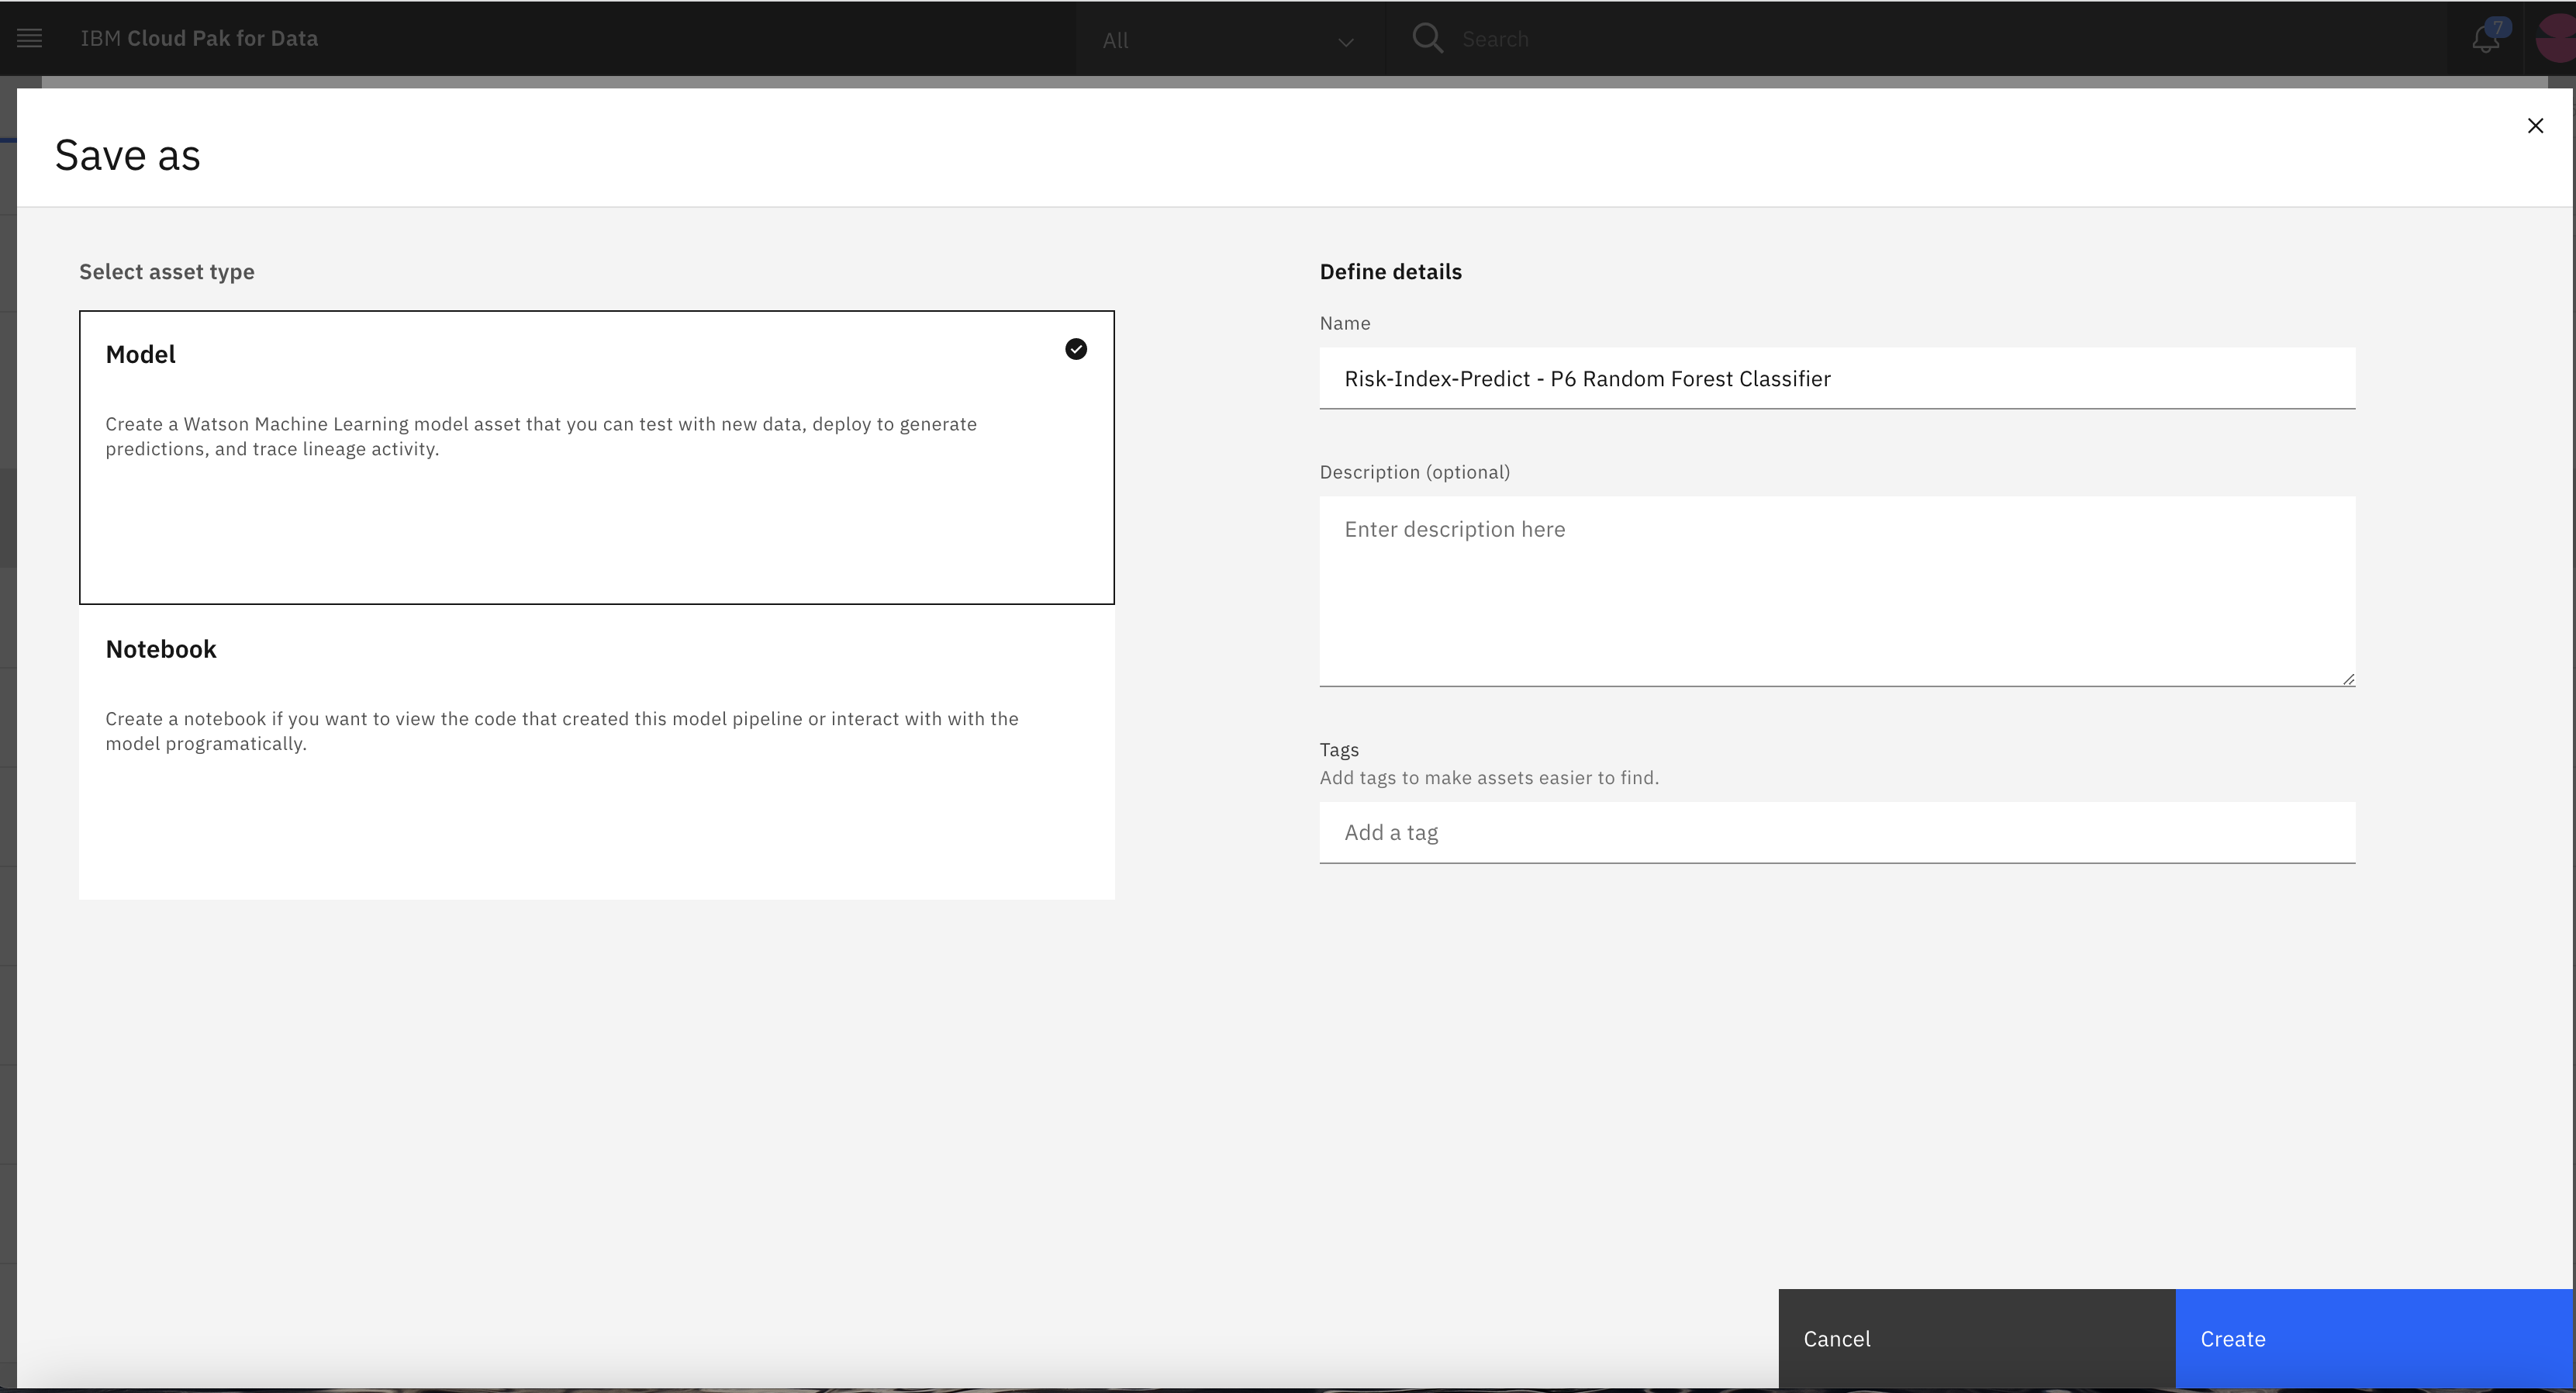
Click on first pipeline (Rank 1) and choose Save as option on the top right side.
-
Click on create.
-
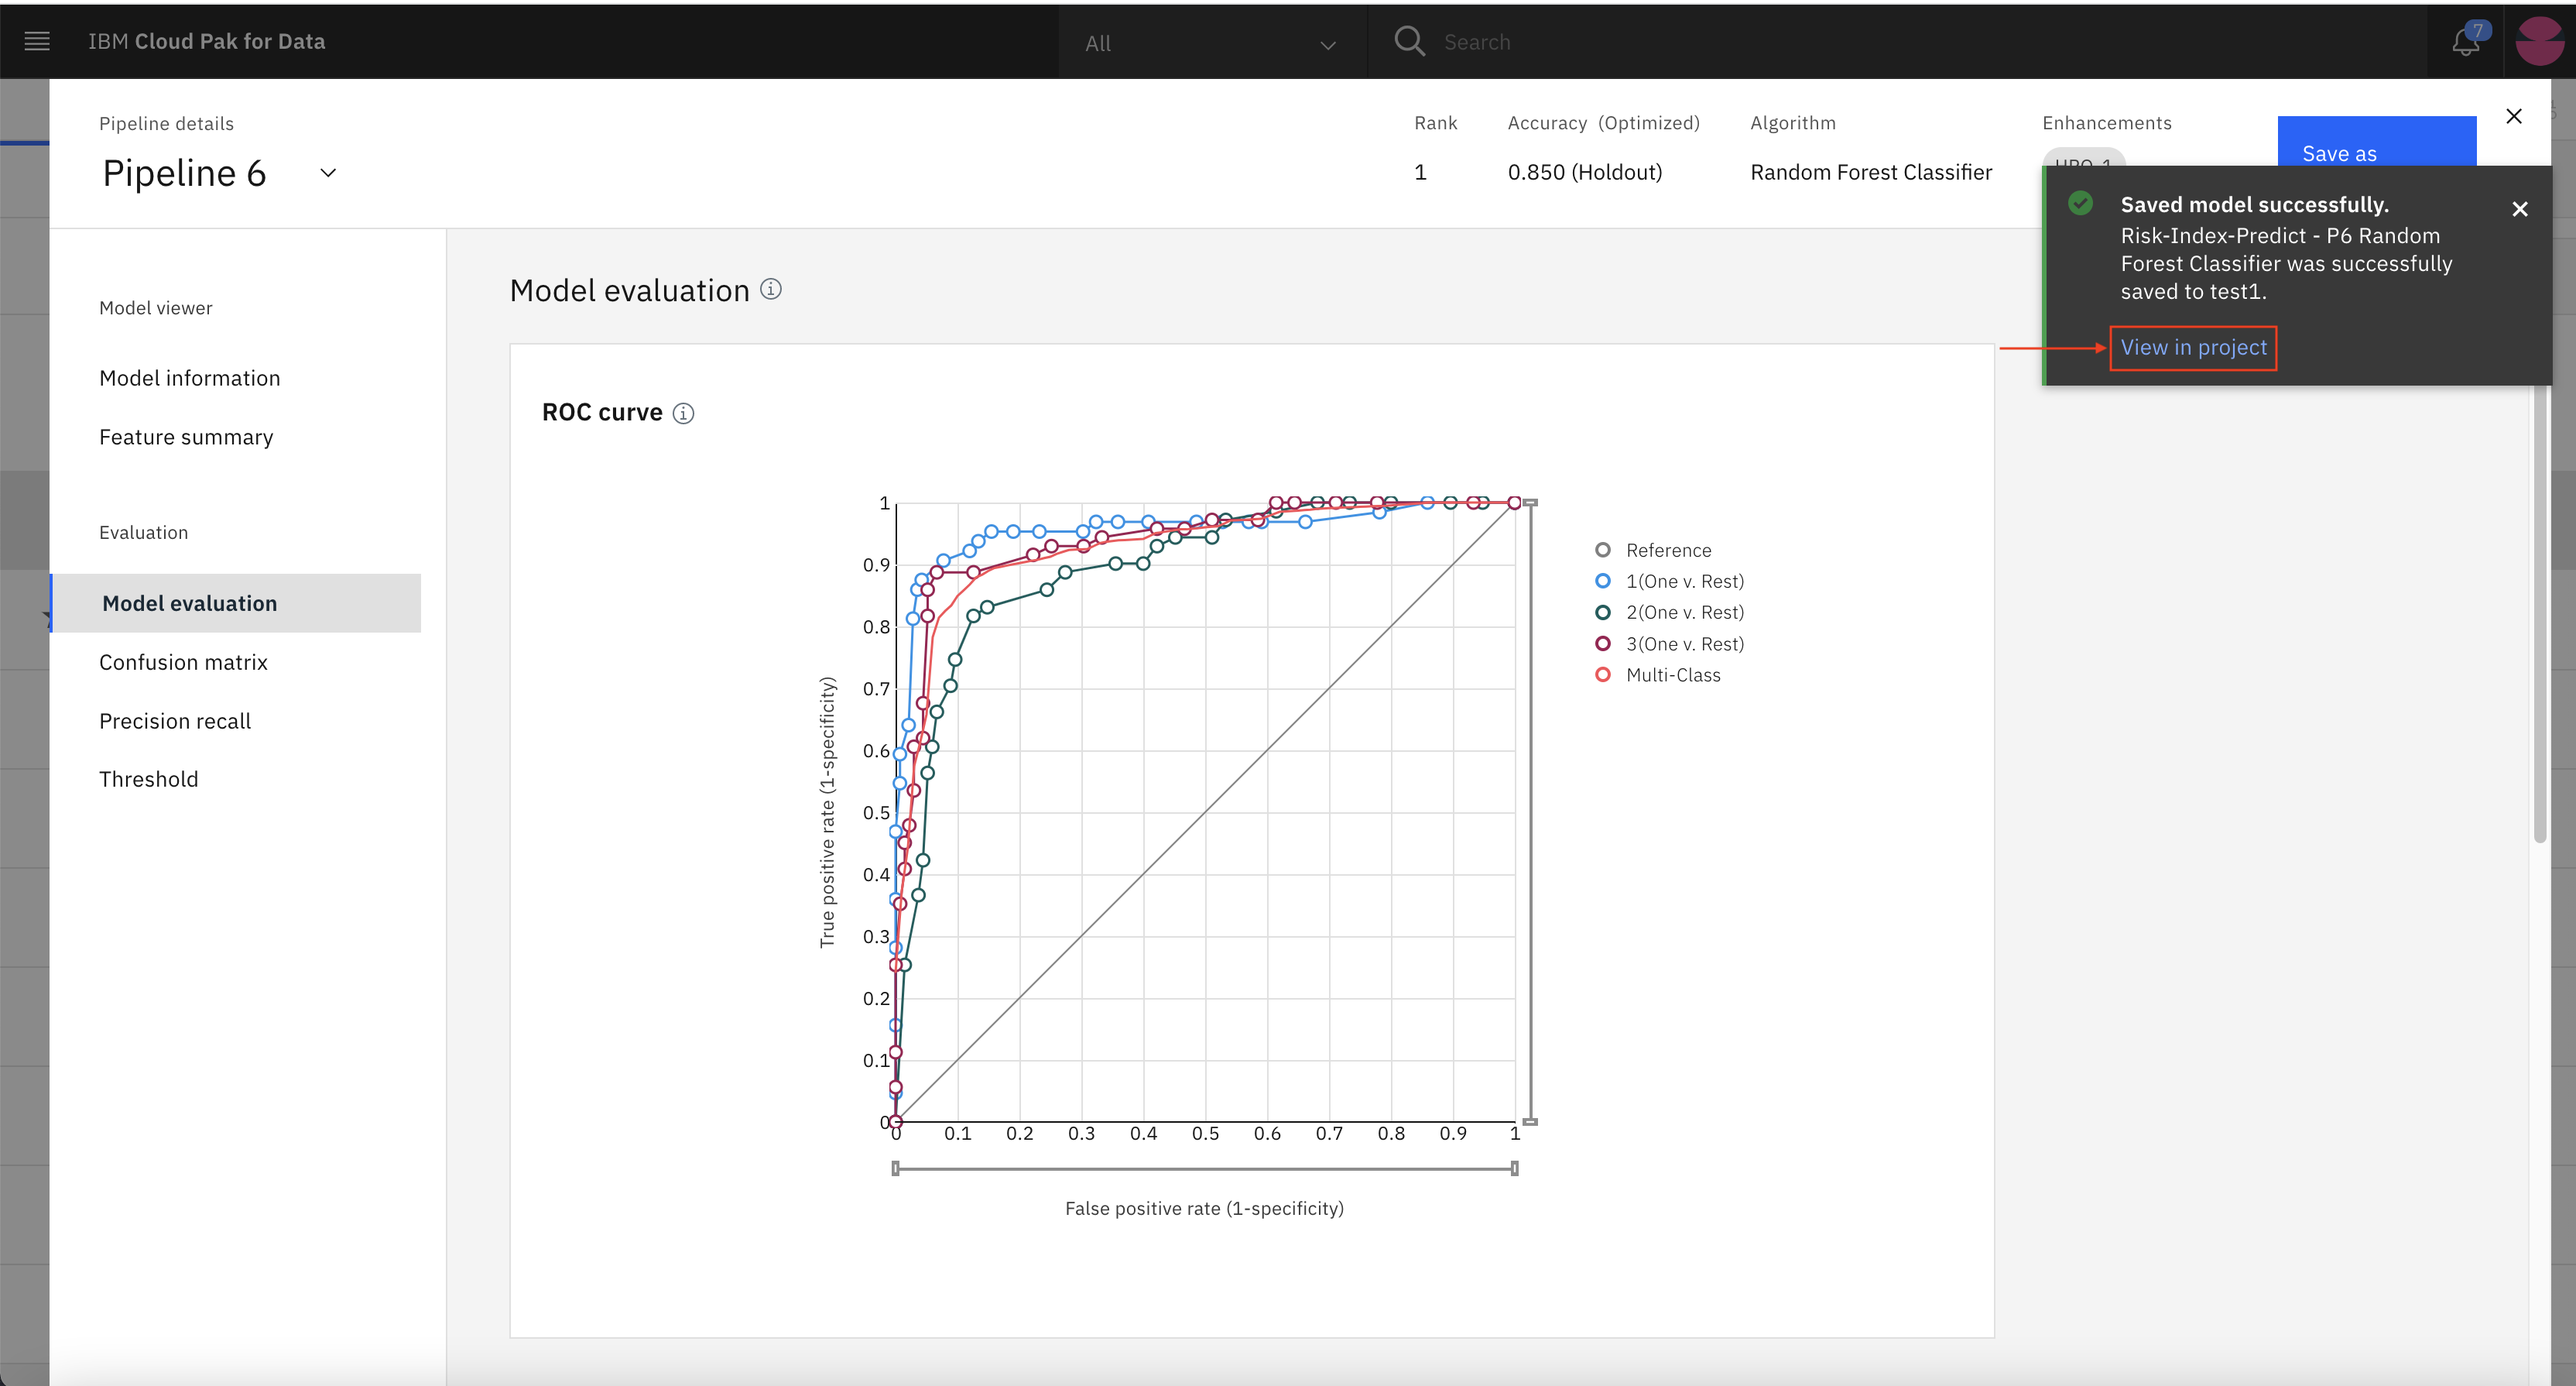
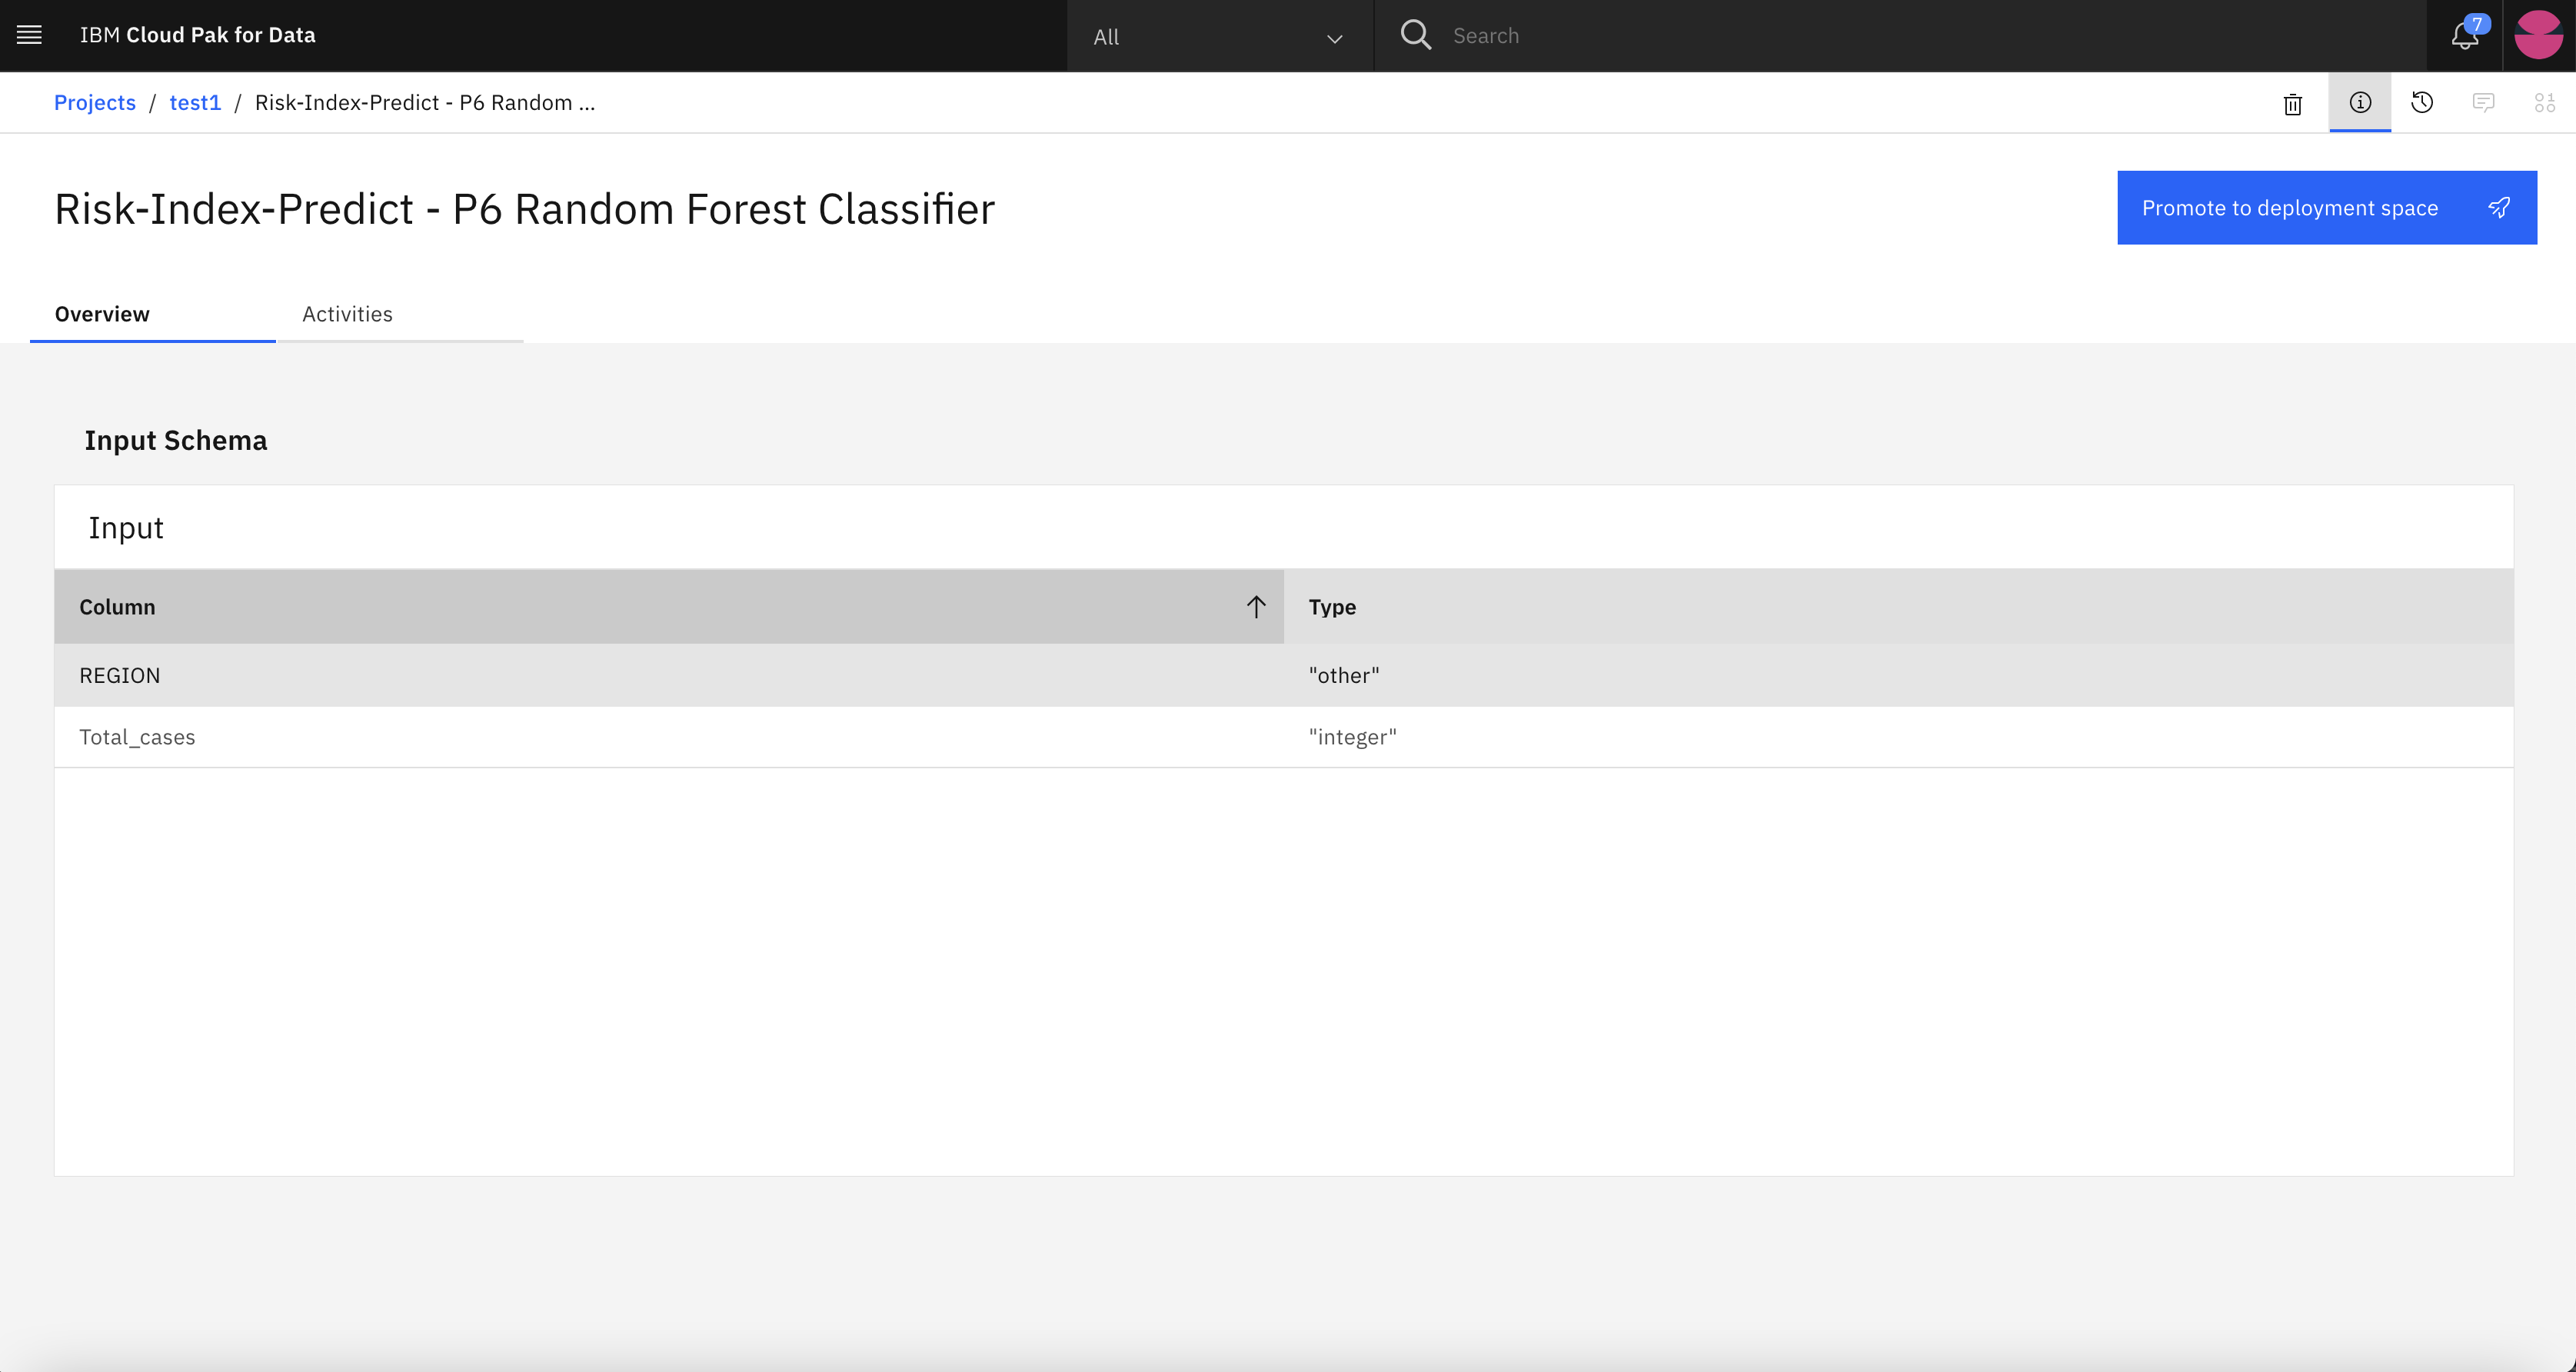
You should see the message Model saved successfully per below. Click on View in project option.
-
Click on Promote to deployment space.
-
Under Target space, create a new deployment space.
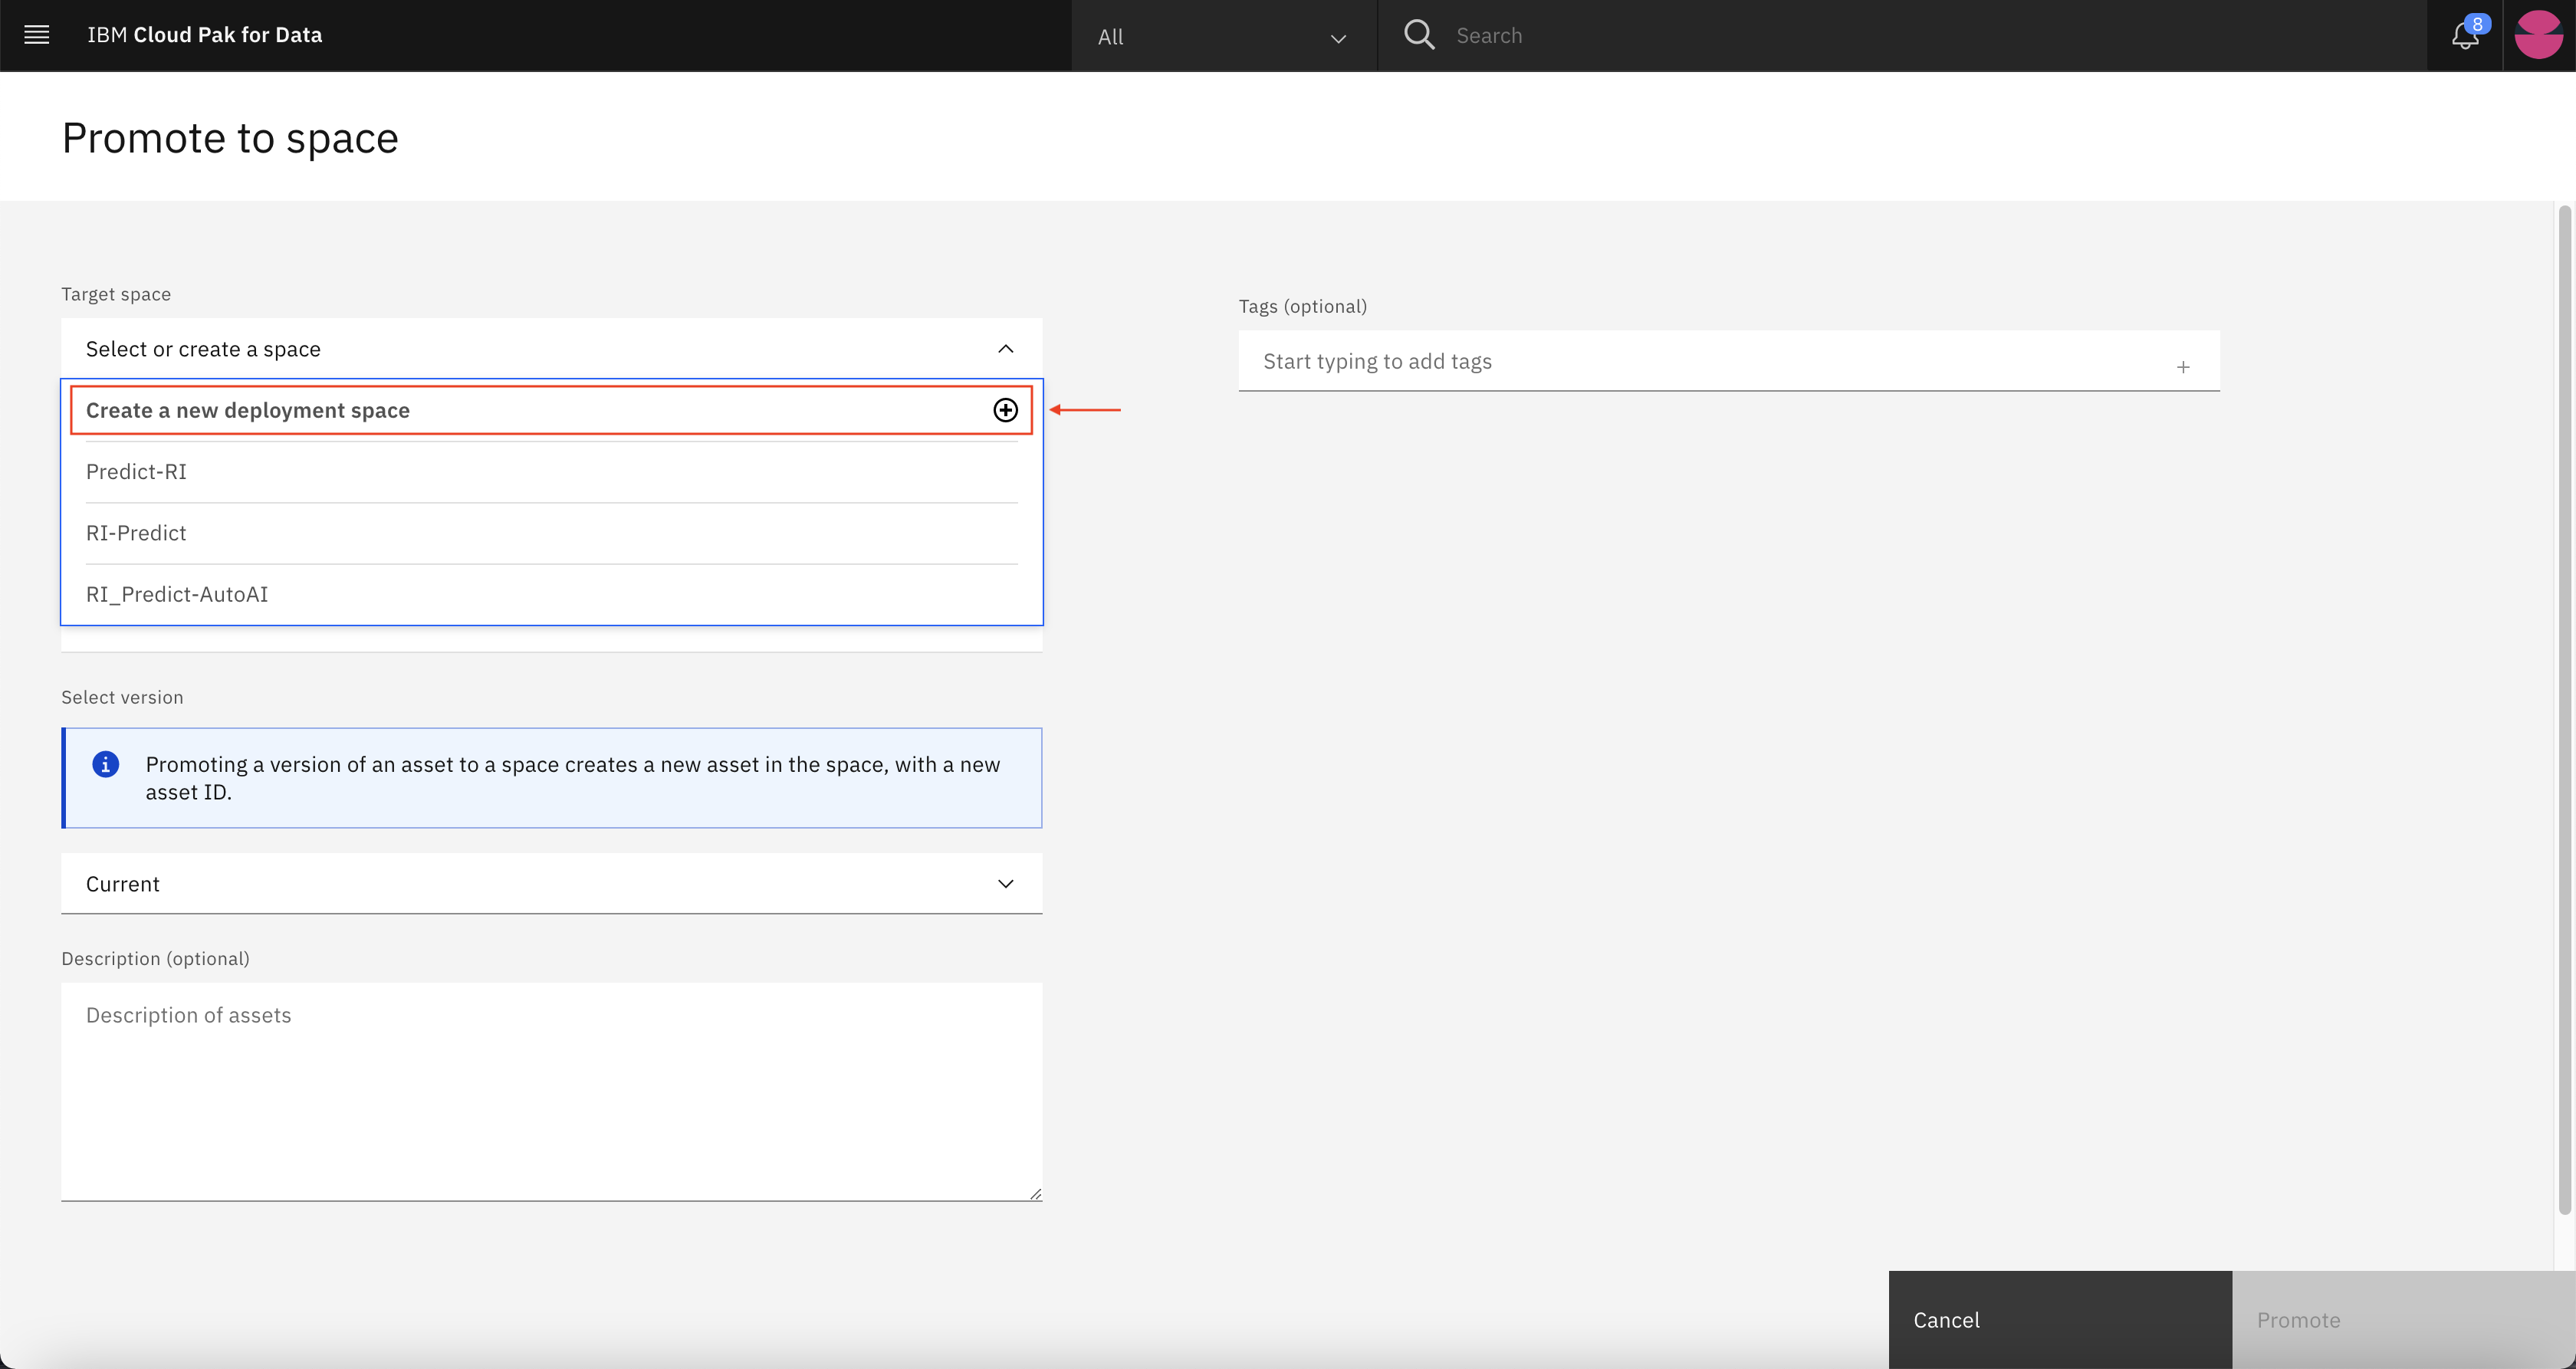
-
Give a name to the deployment and hit create.
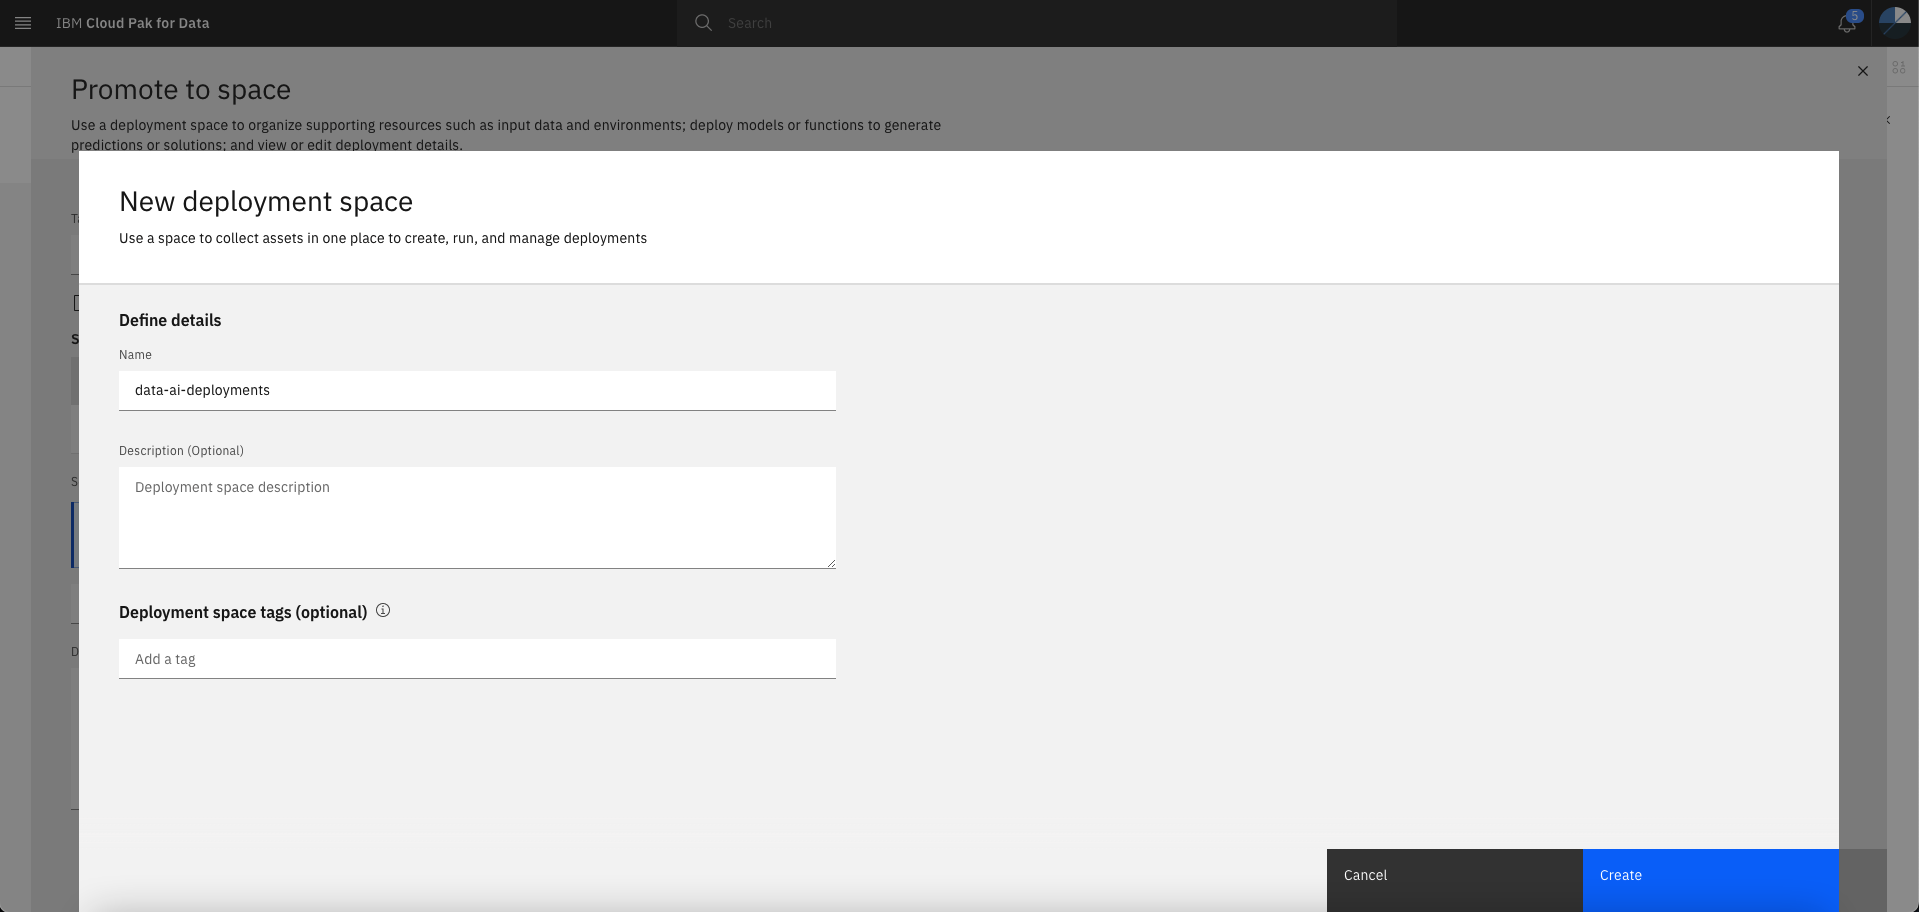
-
The deployment space gets created in a minute.
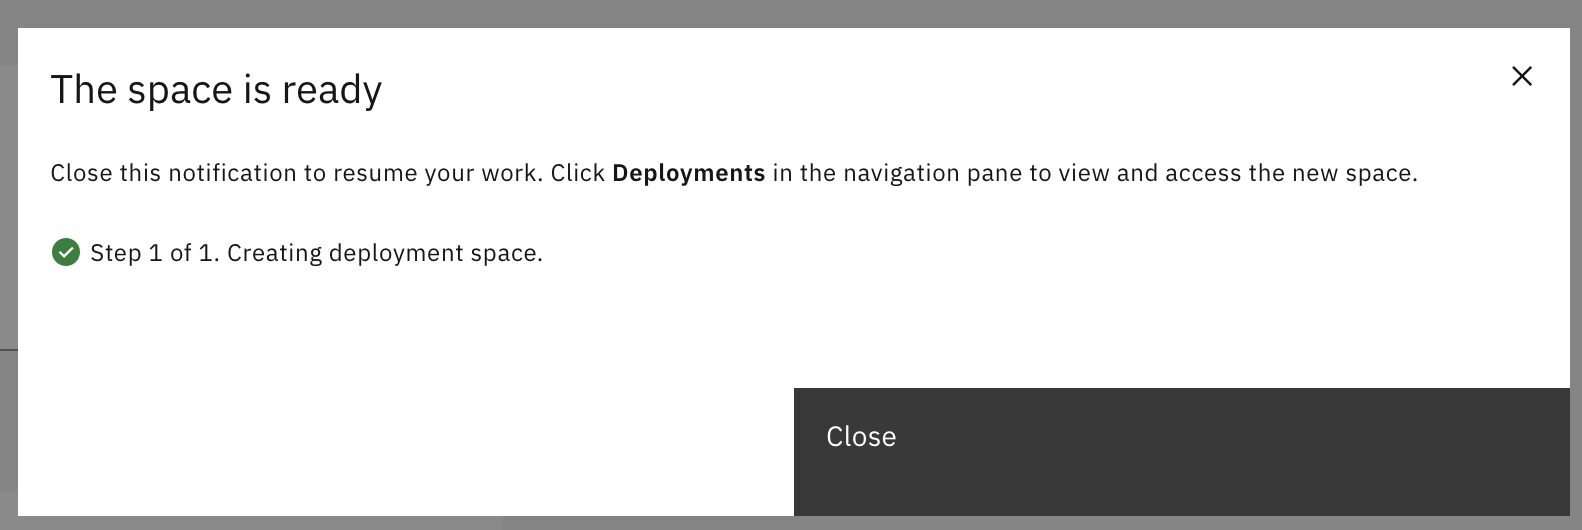
-
Select the option Go to the model in the space after promoting it and click on Promote.
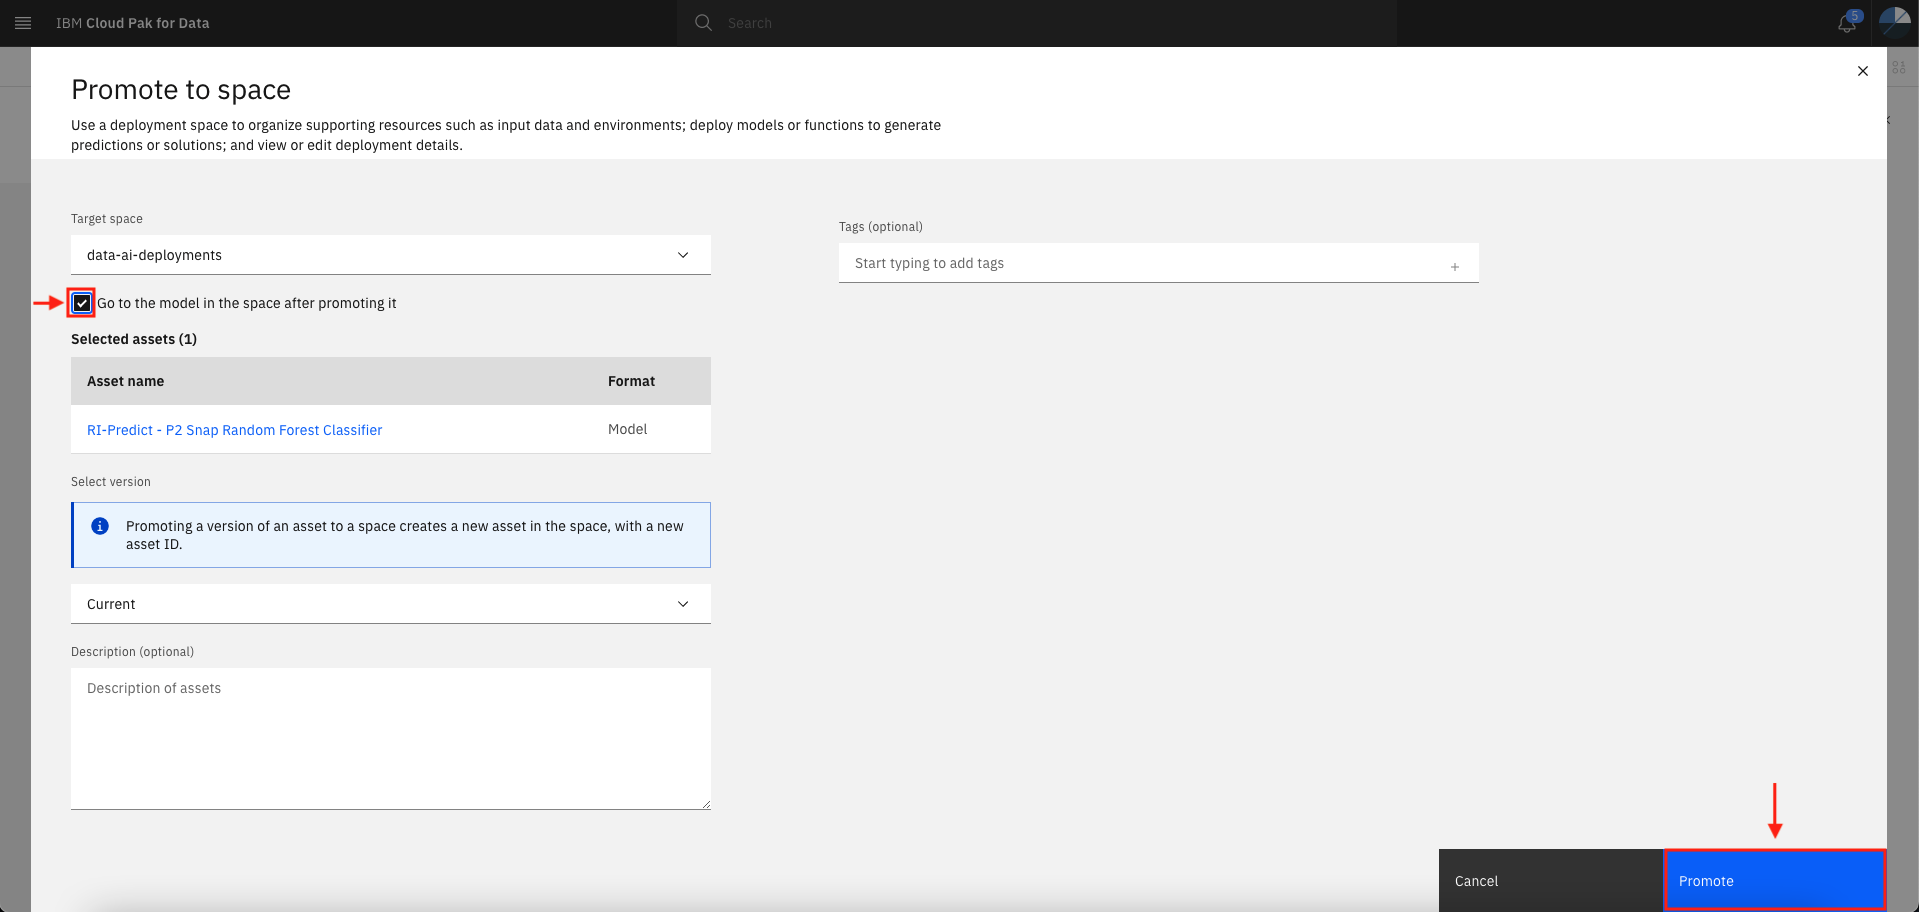
-
You will be redirected to the deployment space.

-
Click on New deployment. Select Deployment type as Online, give a name to the deployment and hit Create.

-
It will take a couple of minutes for the deployment. The status should be Deployed per below.
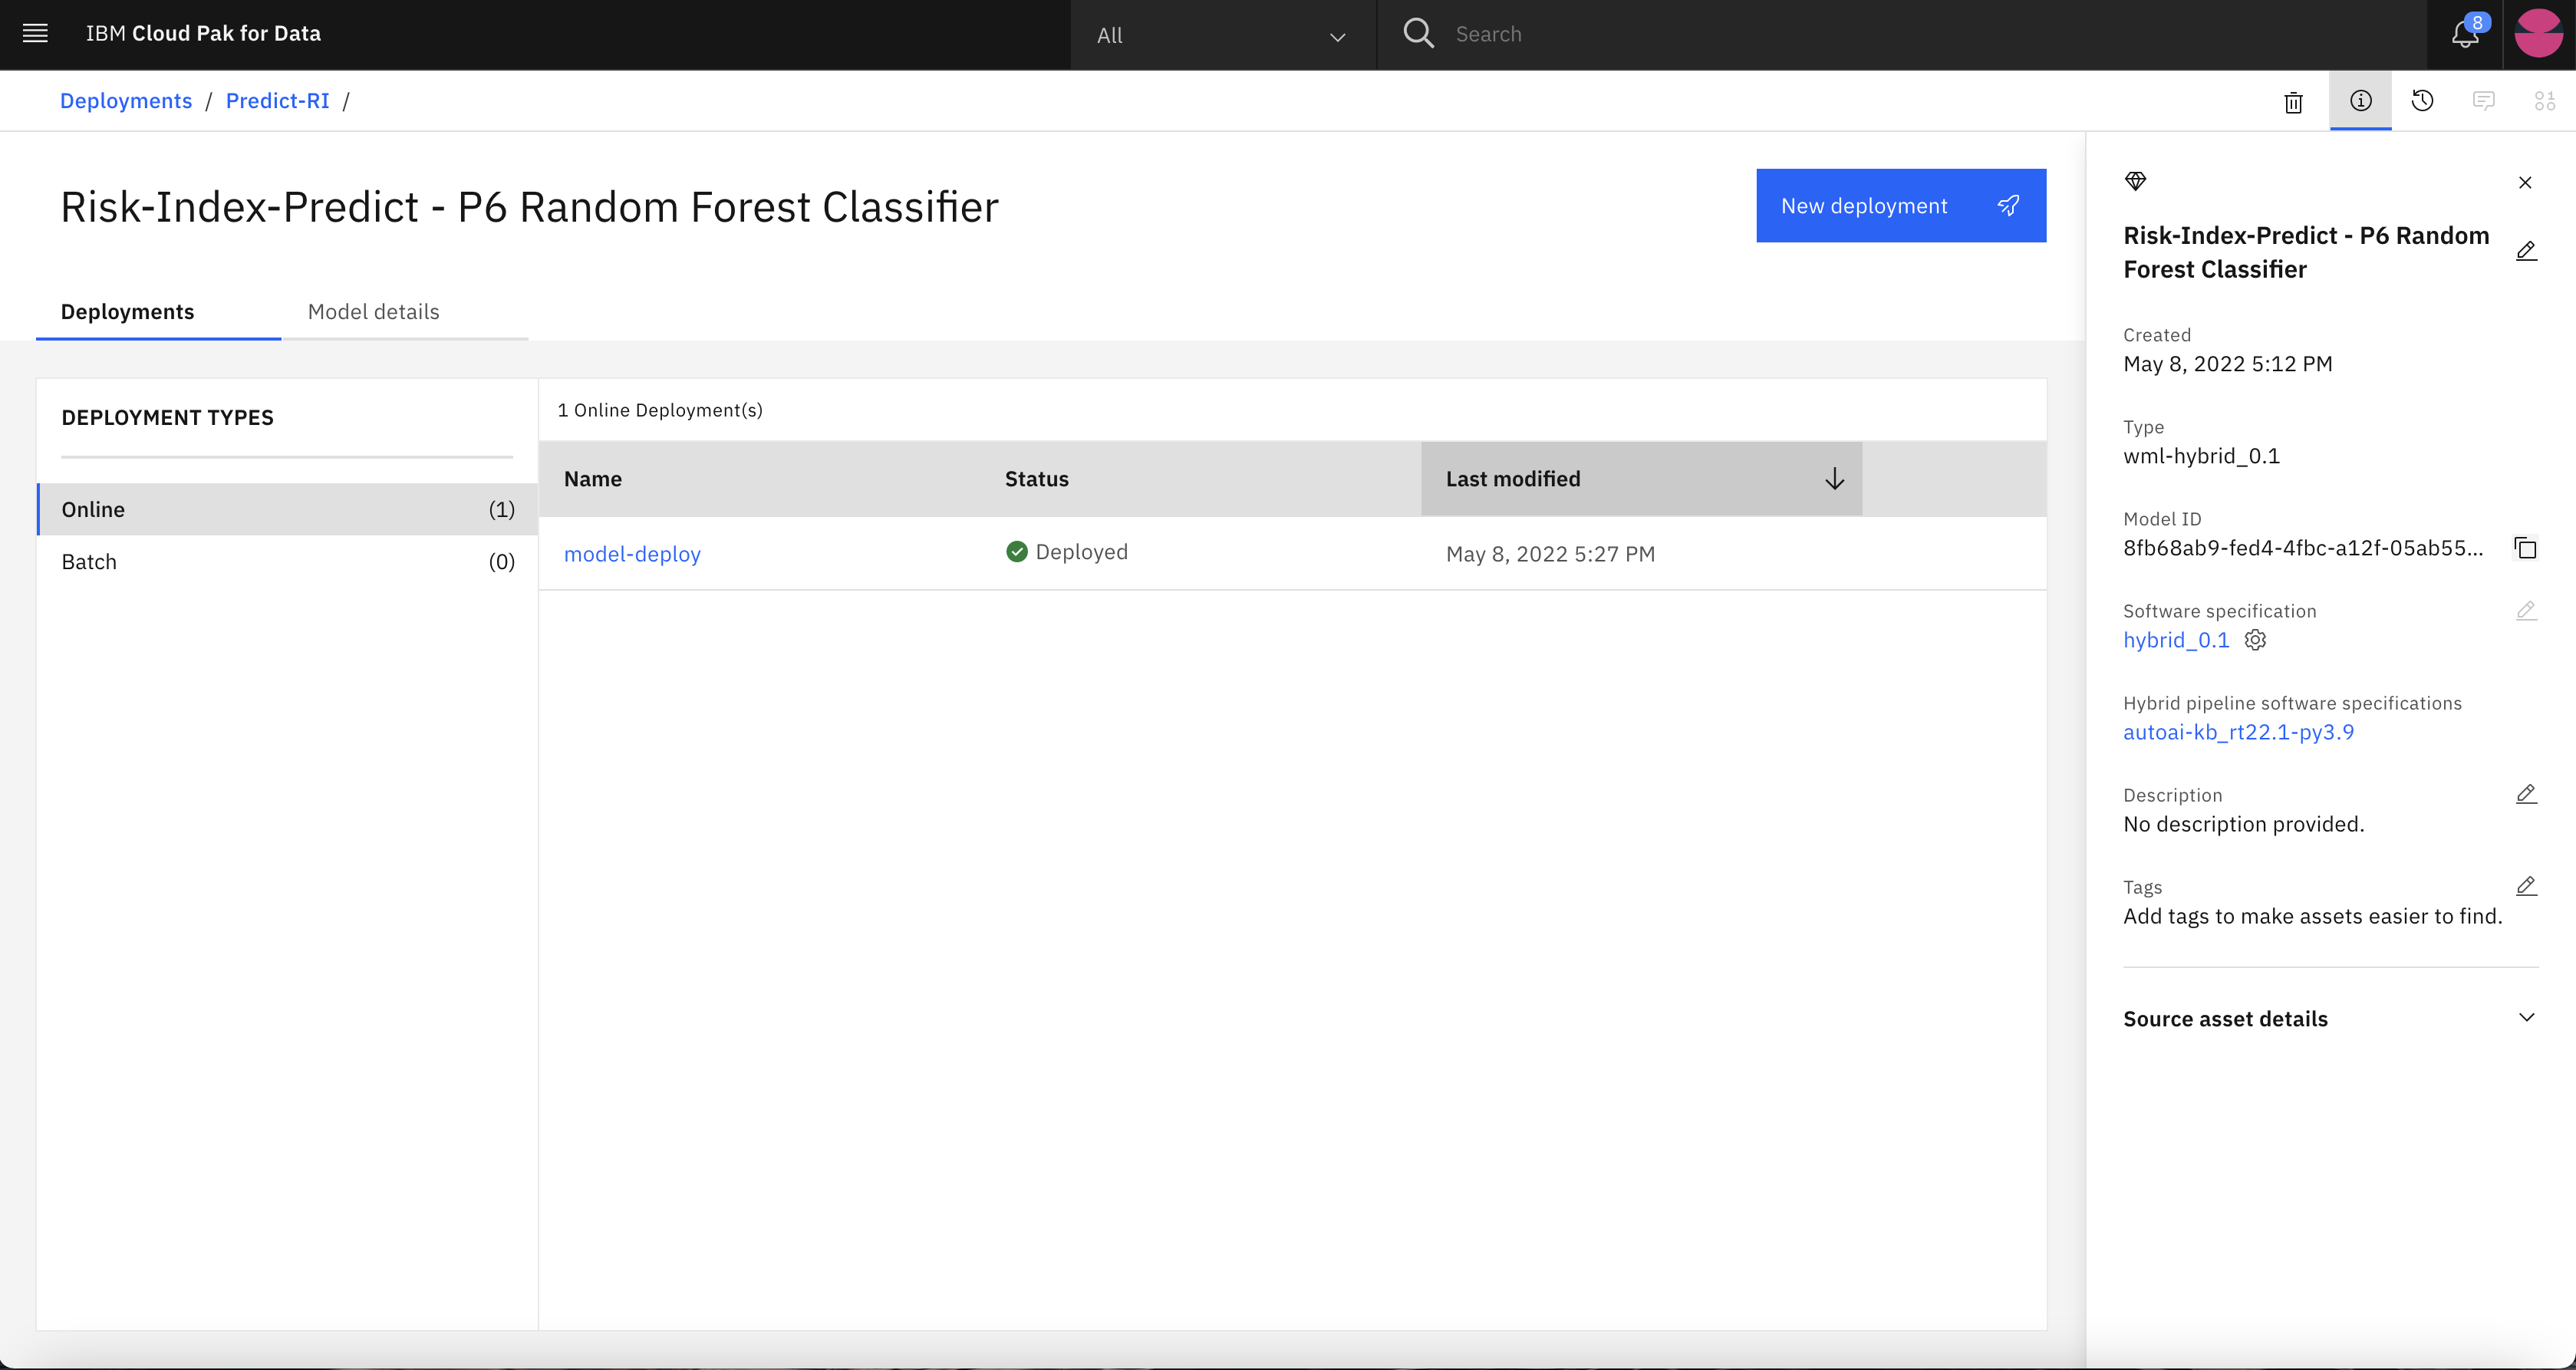
-
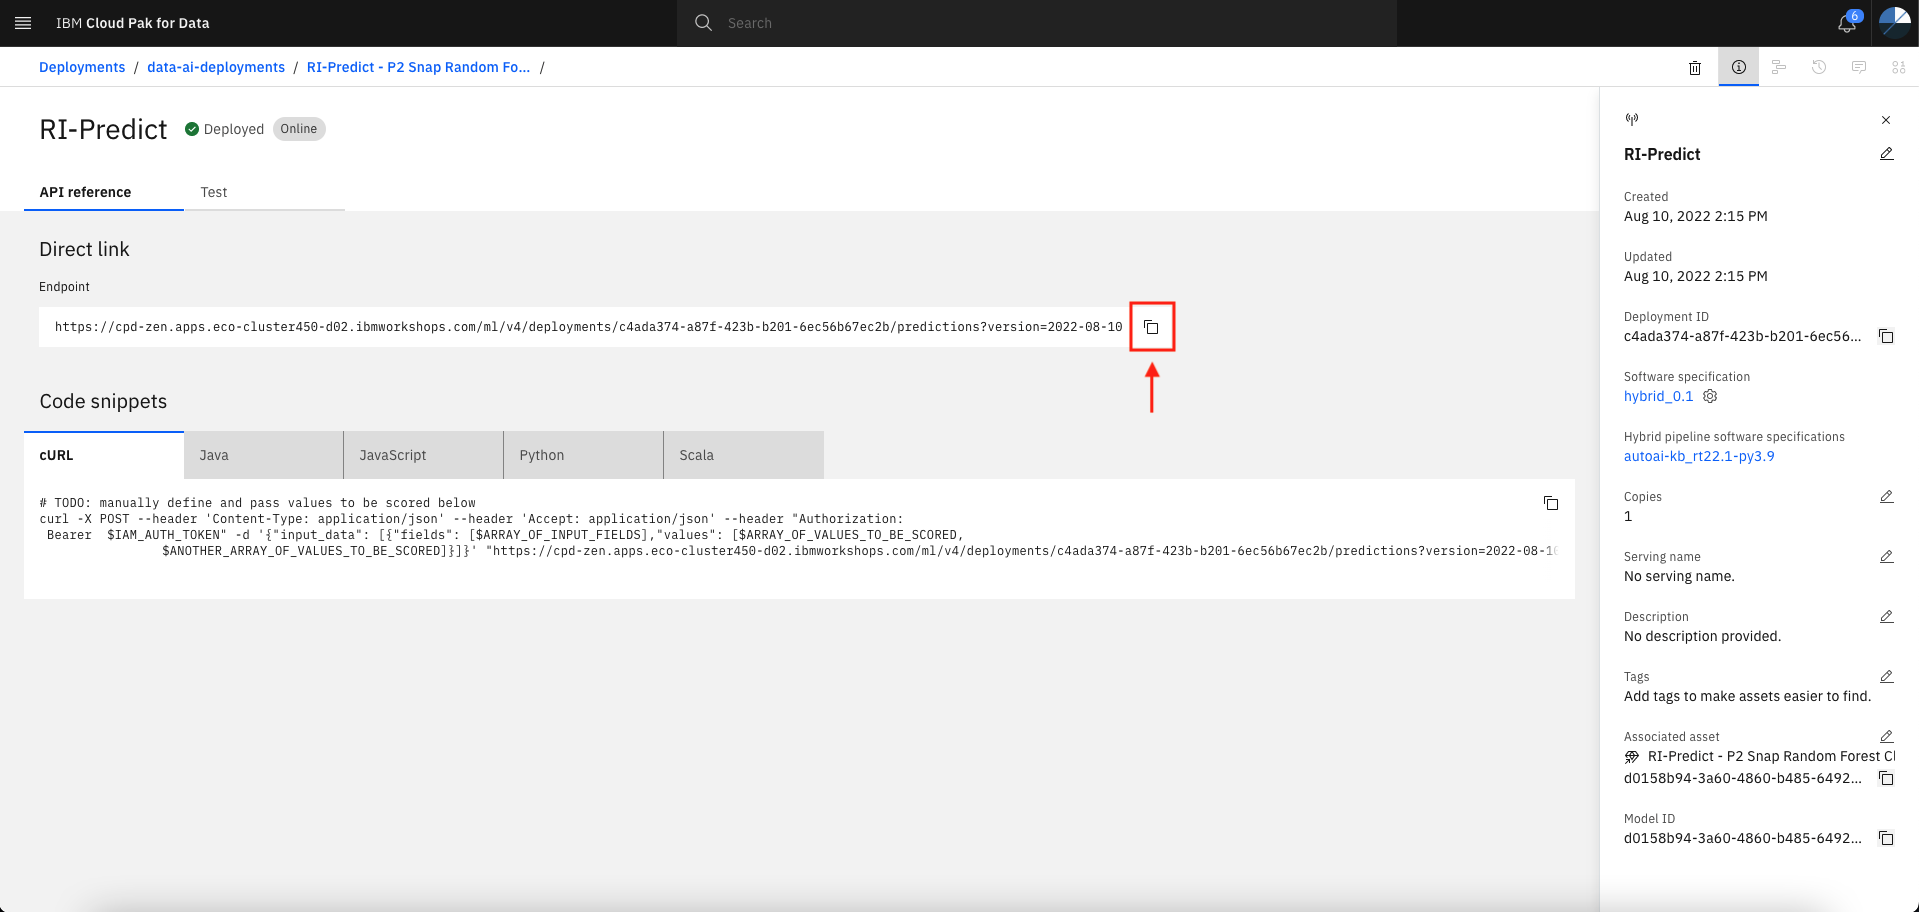
Click on model-deploy and you should see the Endpoint and Code Snippets per below.
Copy the Endpoint URL as it will be used in subsequent steps.
-
Lets do some predictions. Click on Test tab and input the data using form or Json format.
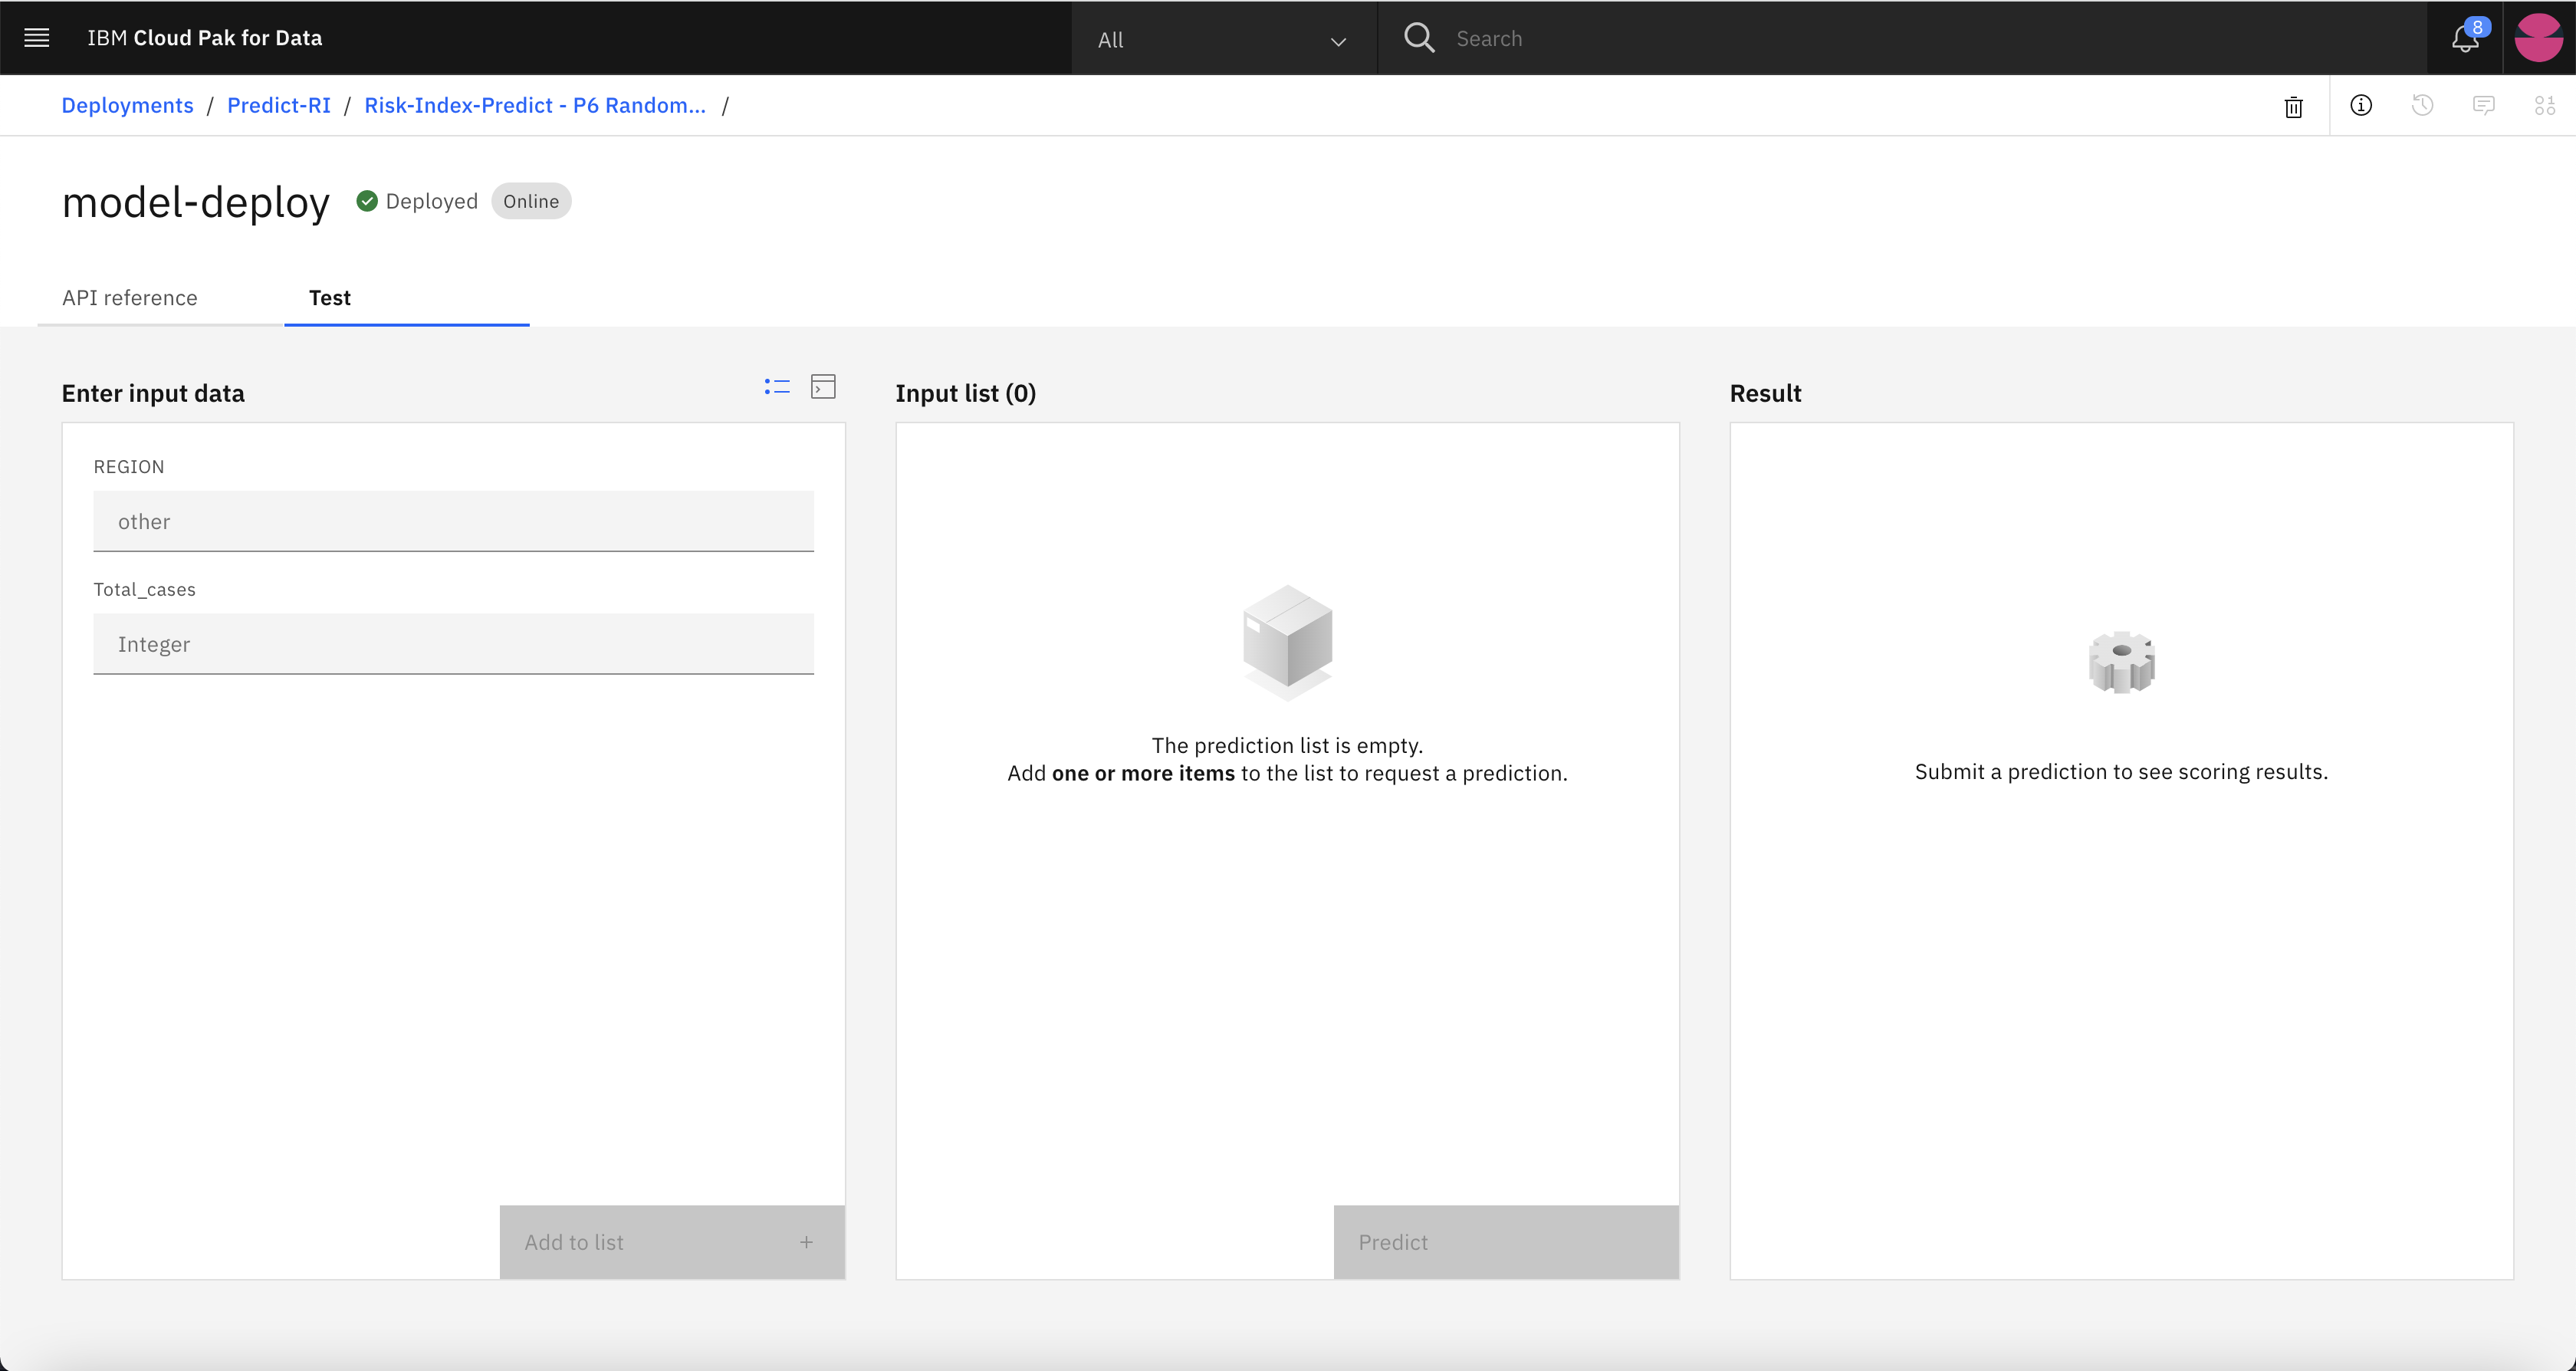
-
Enter the input data using single or multiple samples (Json). We will try with single sample by giving the input to Region as Brussels & 100 as
Total_casesand click on Add to list.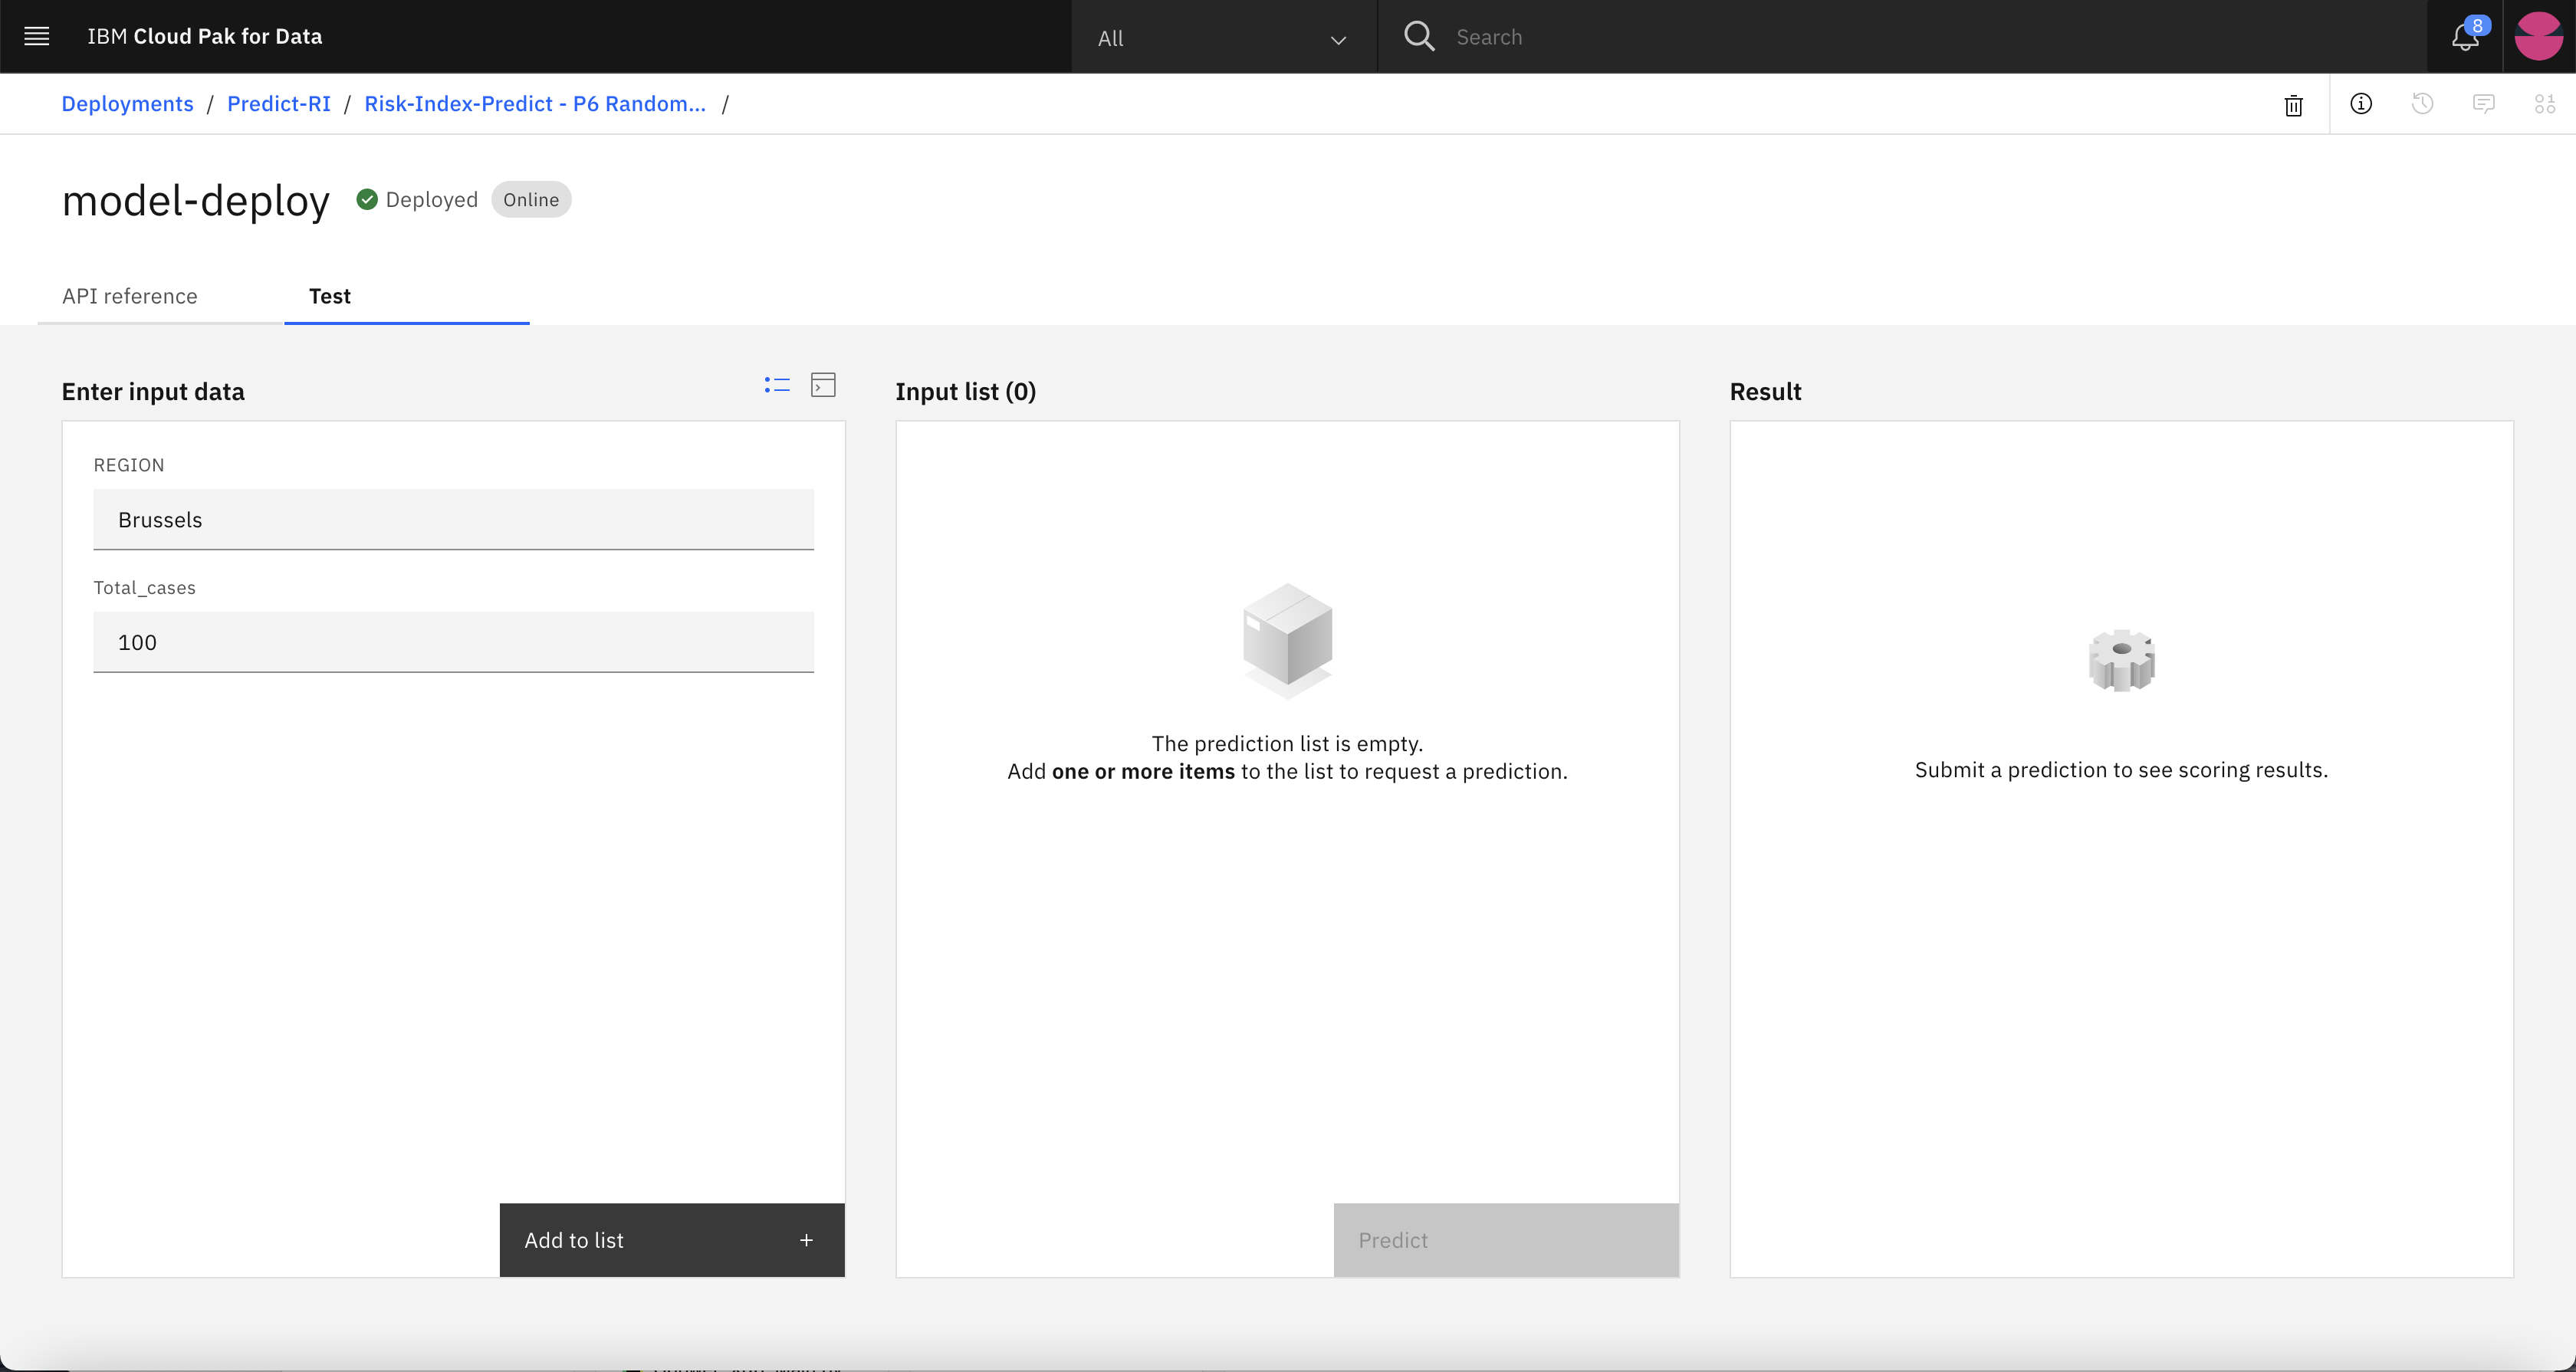
-
You should see the Input list updated with the sample values. Hit Predict to generate predictions.
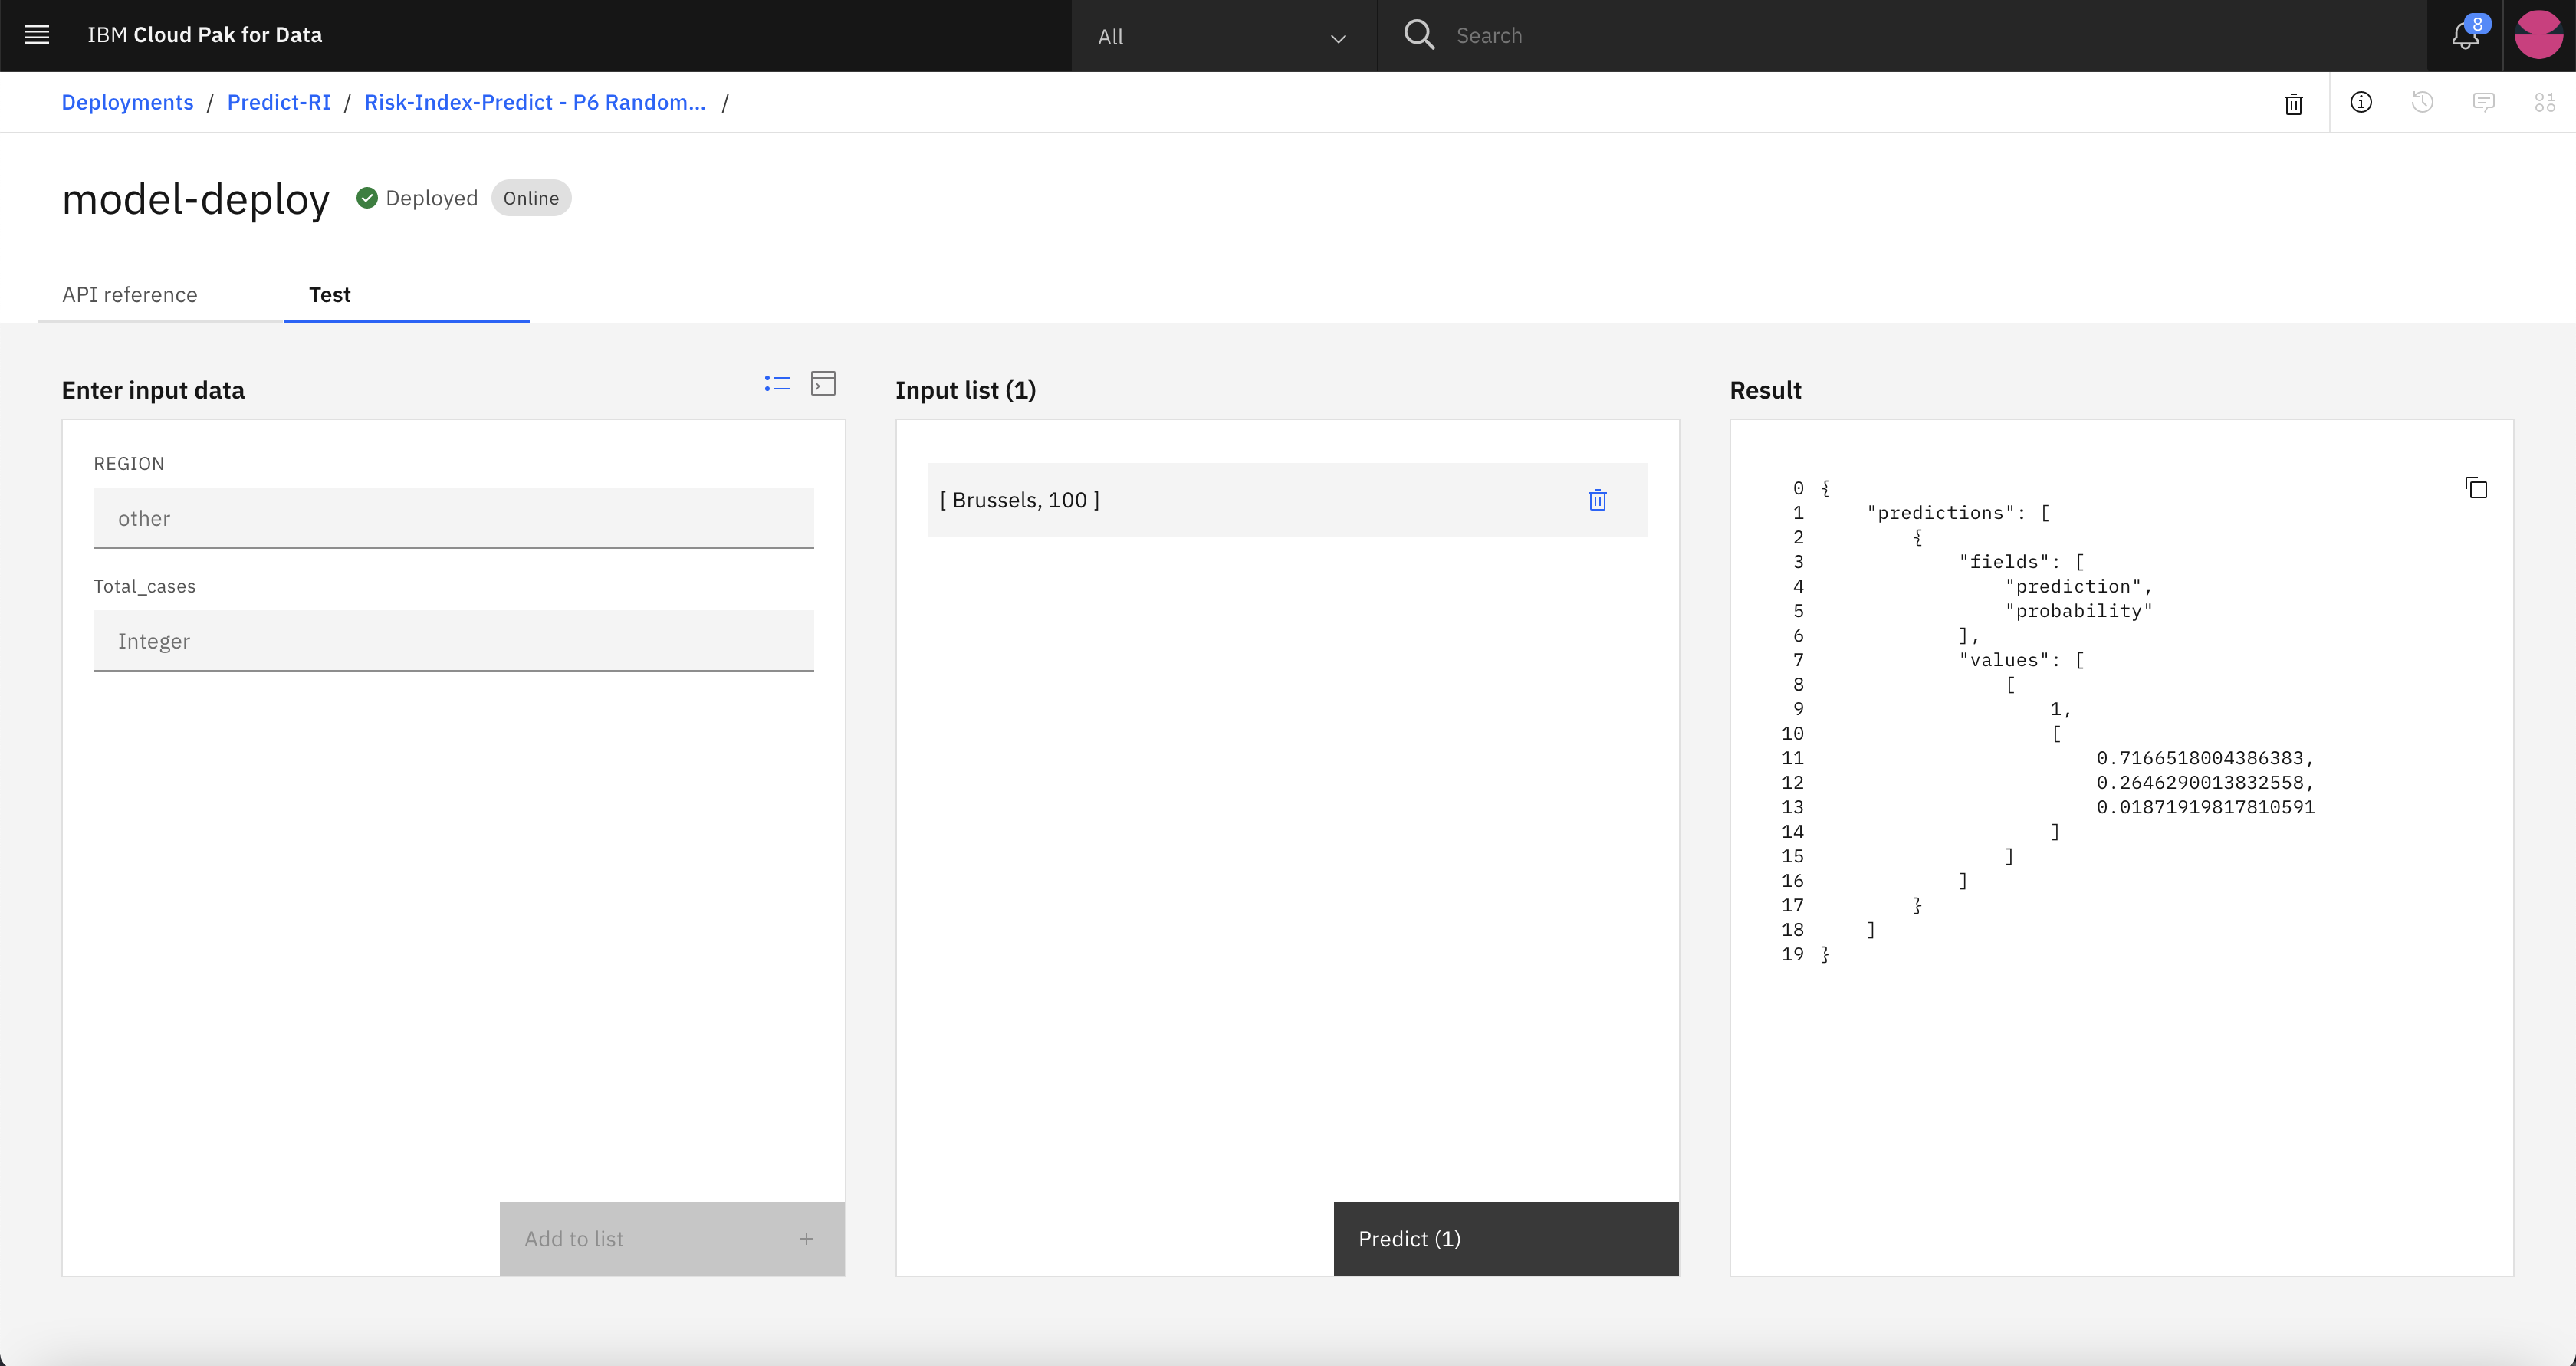
-
You can see the predicted value is 1 under Result section which means the risk index is predicted as Low for the input data of Brussels Region with 100 cases on a given day.
You have learnt how to build AI predictive models without any code, deploy the model and generate predictions. Feel free to play around to get comfortable using AutoAI for generating accurate predictions.