Data Integration (ETL) Lab
Learning Objectives:
In this tutorial you will learn:
- How to make a connection between external data source and IBM Cloud Pak for Data.
- How to create ETL pipeline using IBM DataStage.
- How to create scheduling rule to create data integration pipeline.
Prerequisites
- IBM Cloud Pak for Data
- IBM DataStage
- External Data Sources (Amazon S3, Amazon Aurora PostgreSQL)
- IBM Watson Knowledge Catalog
Estimated time
It should take you approximately 15 minutes to complete this lab.
Lab Steps:
Step 1: Login to IBM Cloud Pak for Data
To perform this lab you need IBM Cloud Pak for Data’s credential which include both username and password. If you do not have the credentials then refer Infra Provisioning Lab to get the one.
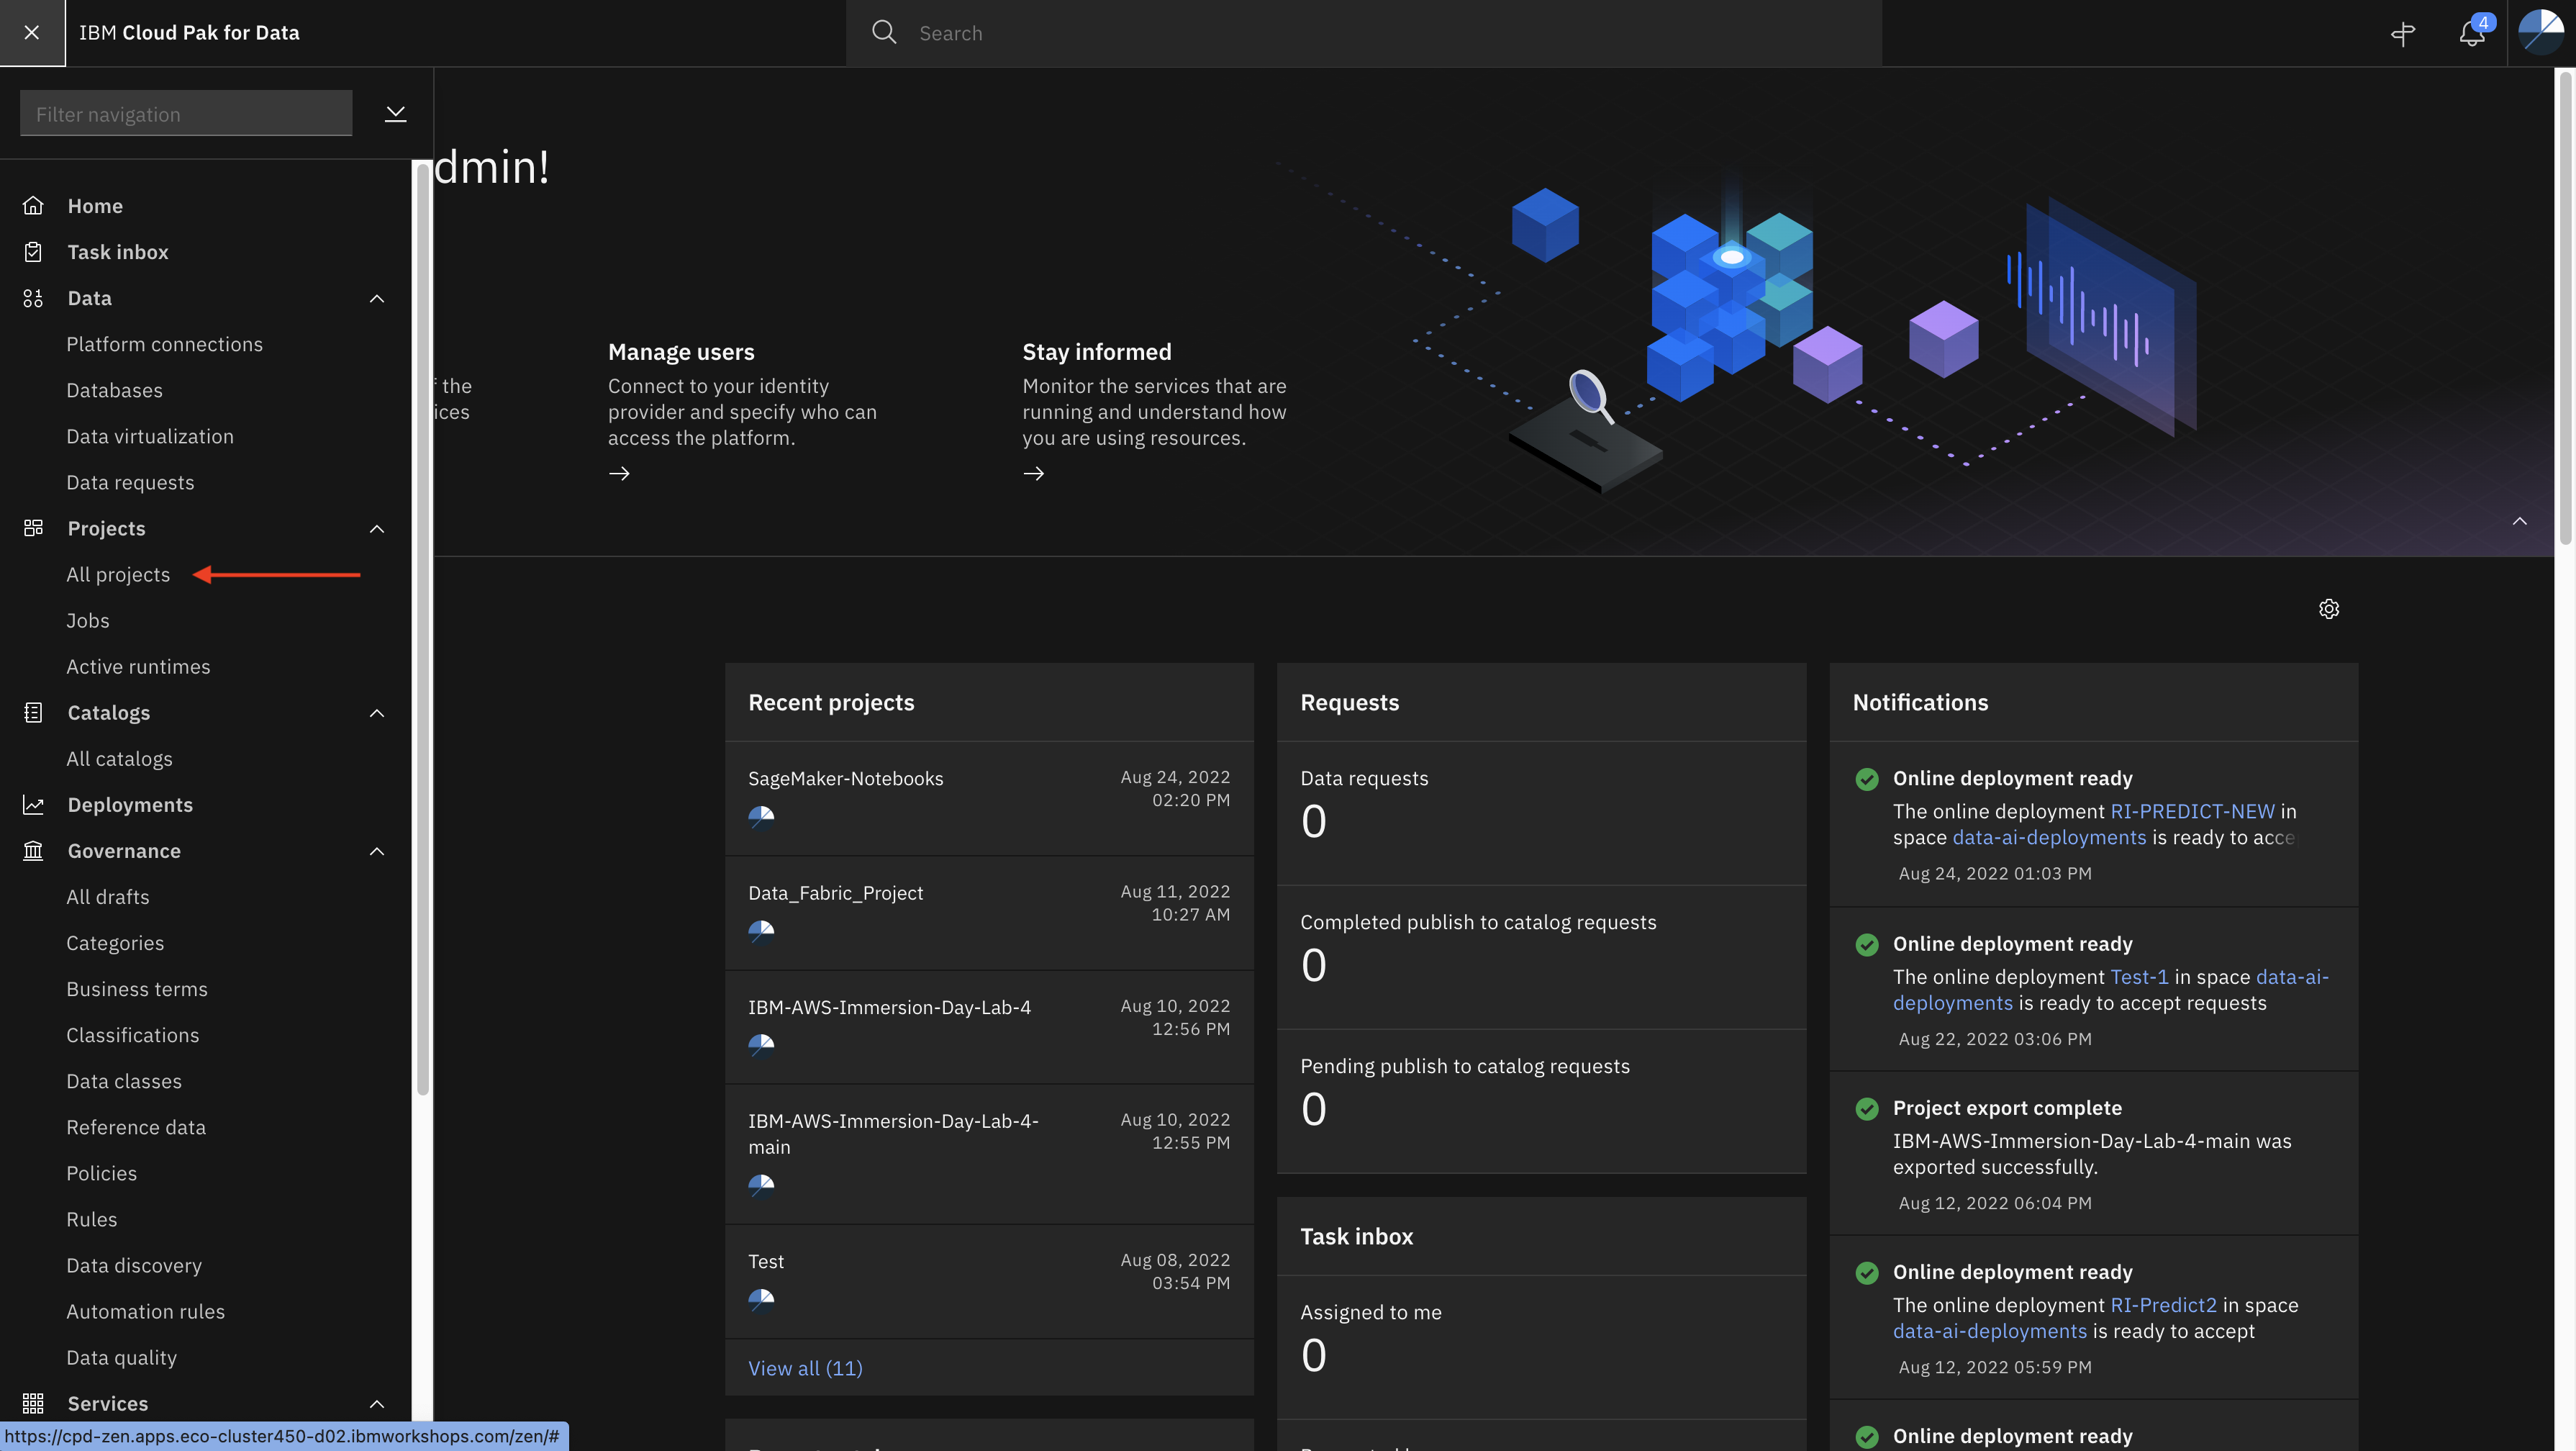
Step 2: Create new project
Click on the Navigation Menu and expend Projects and click All Projects. Then click New Project + and then select Analytics project to create new analytics project
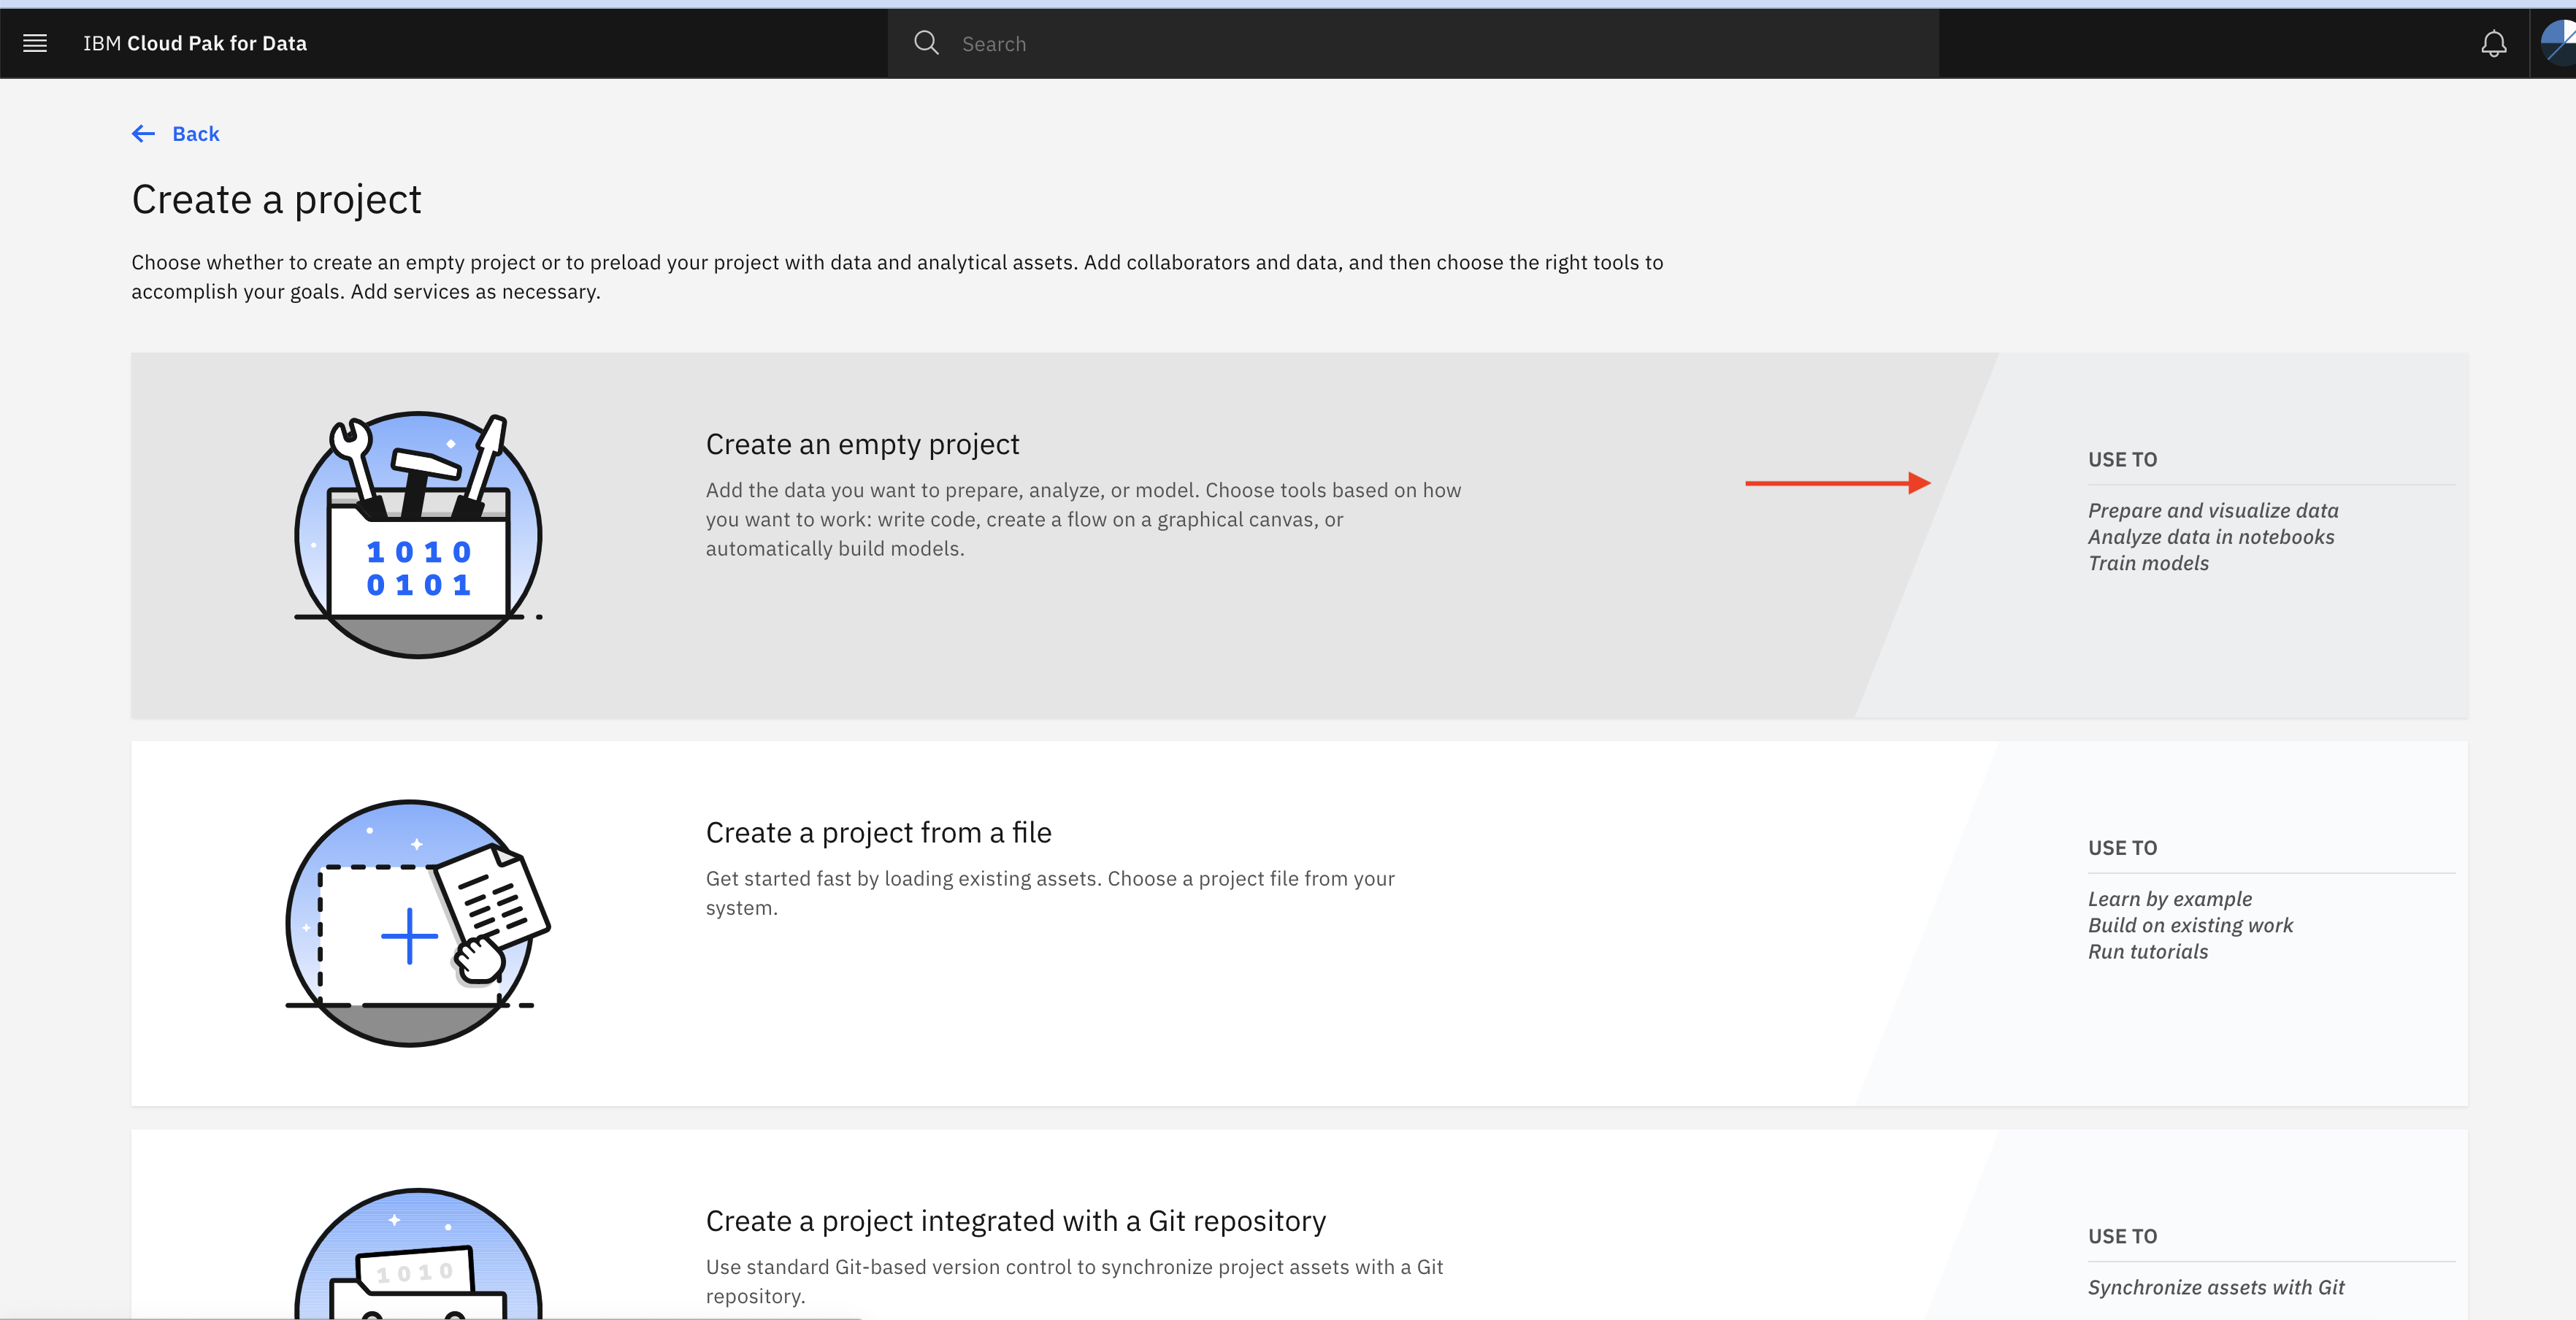
Click Create an empty project
Specify a name to new project and click Create
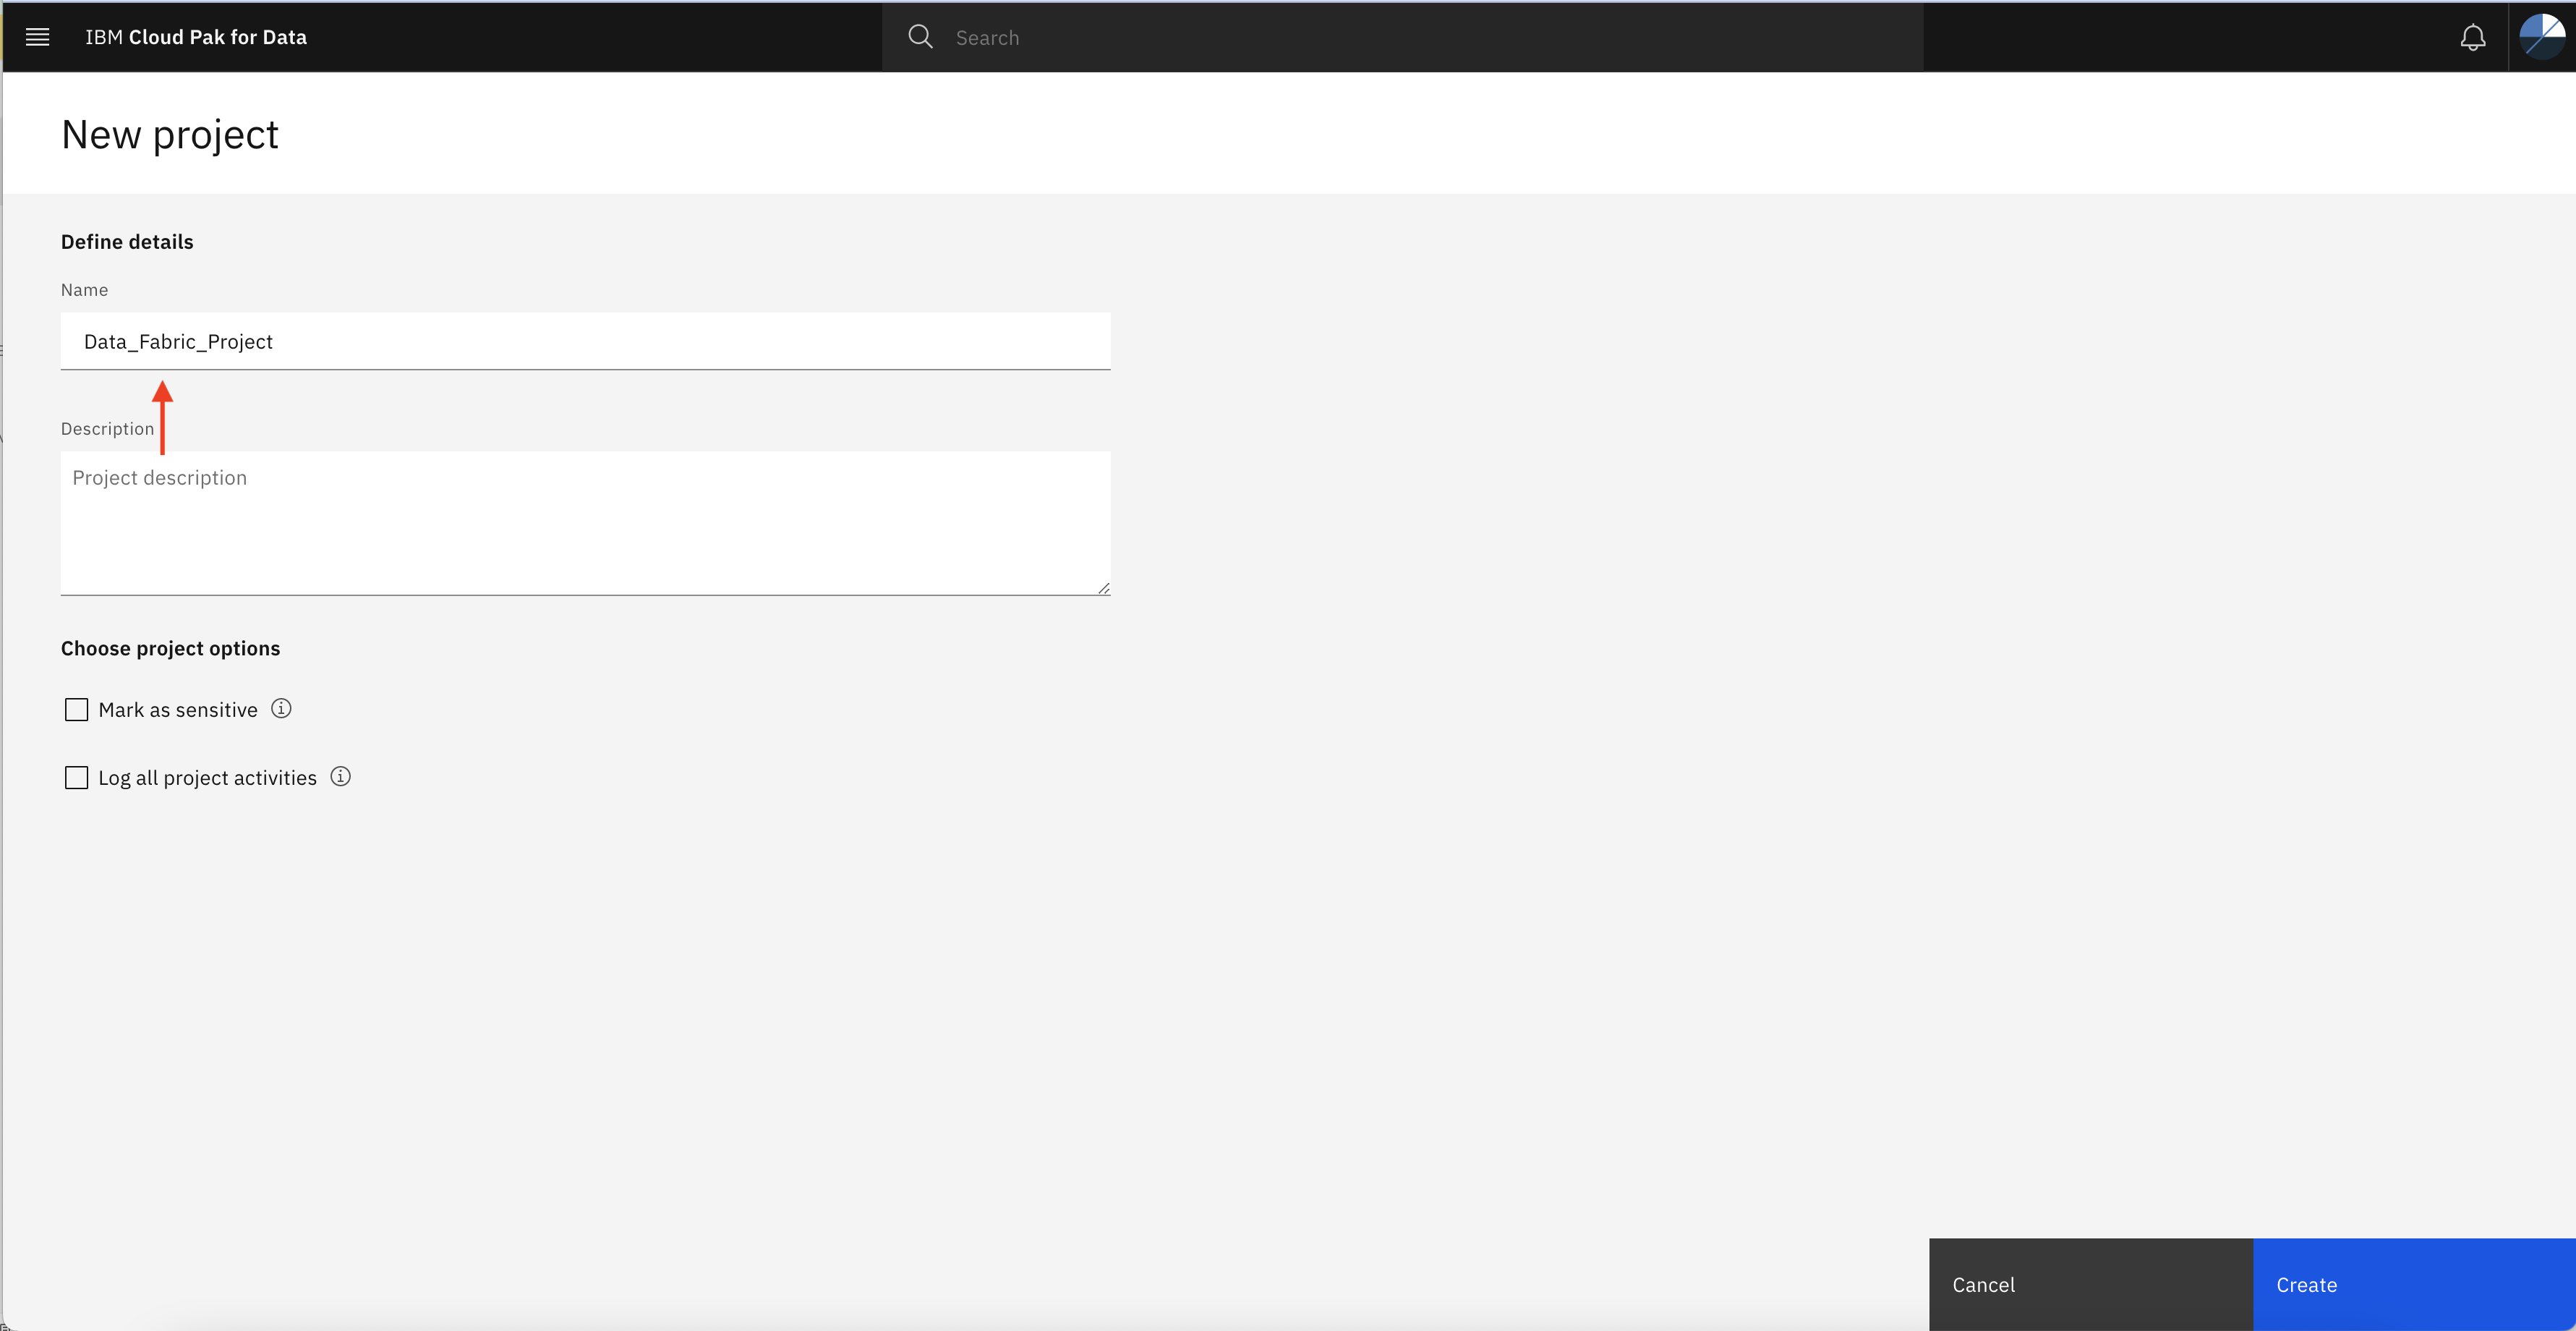
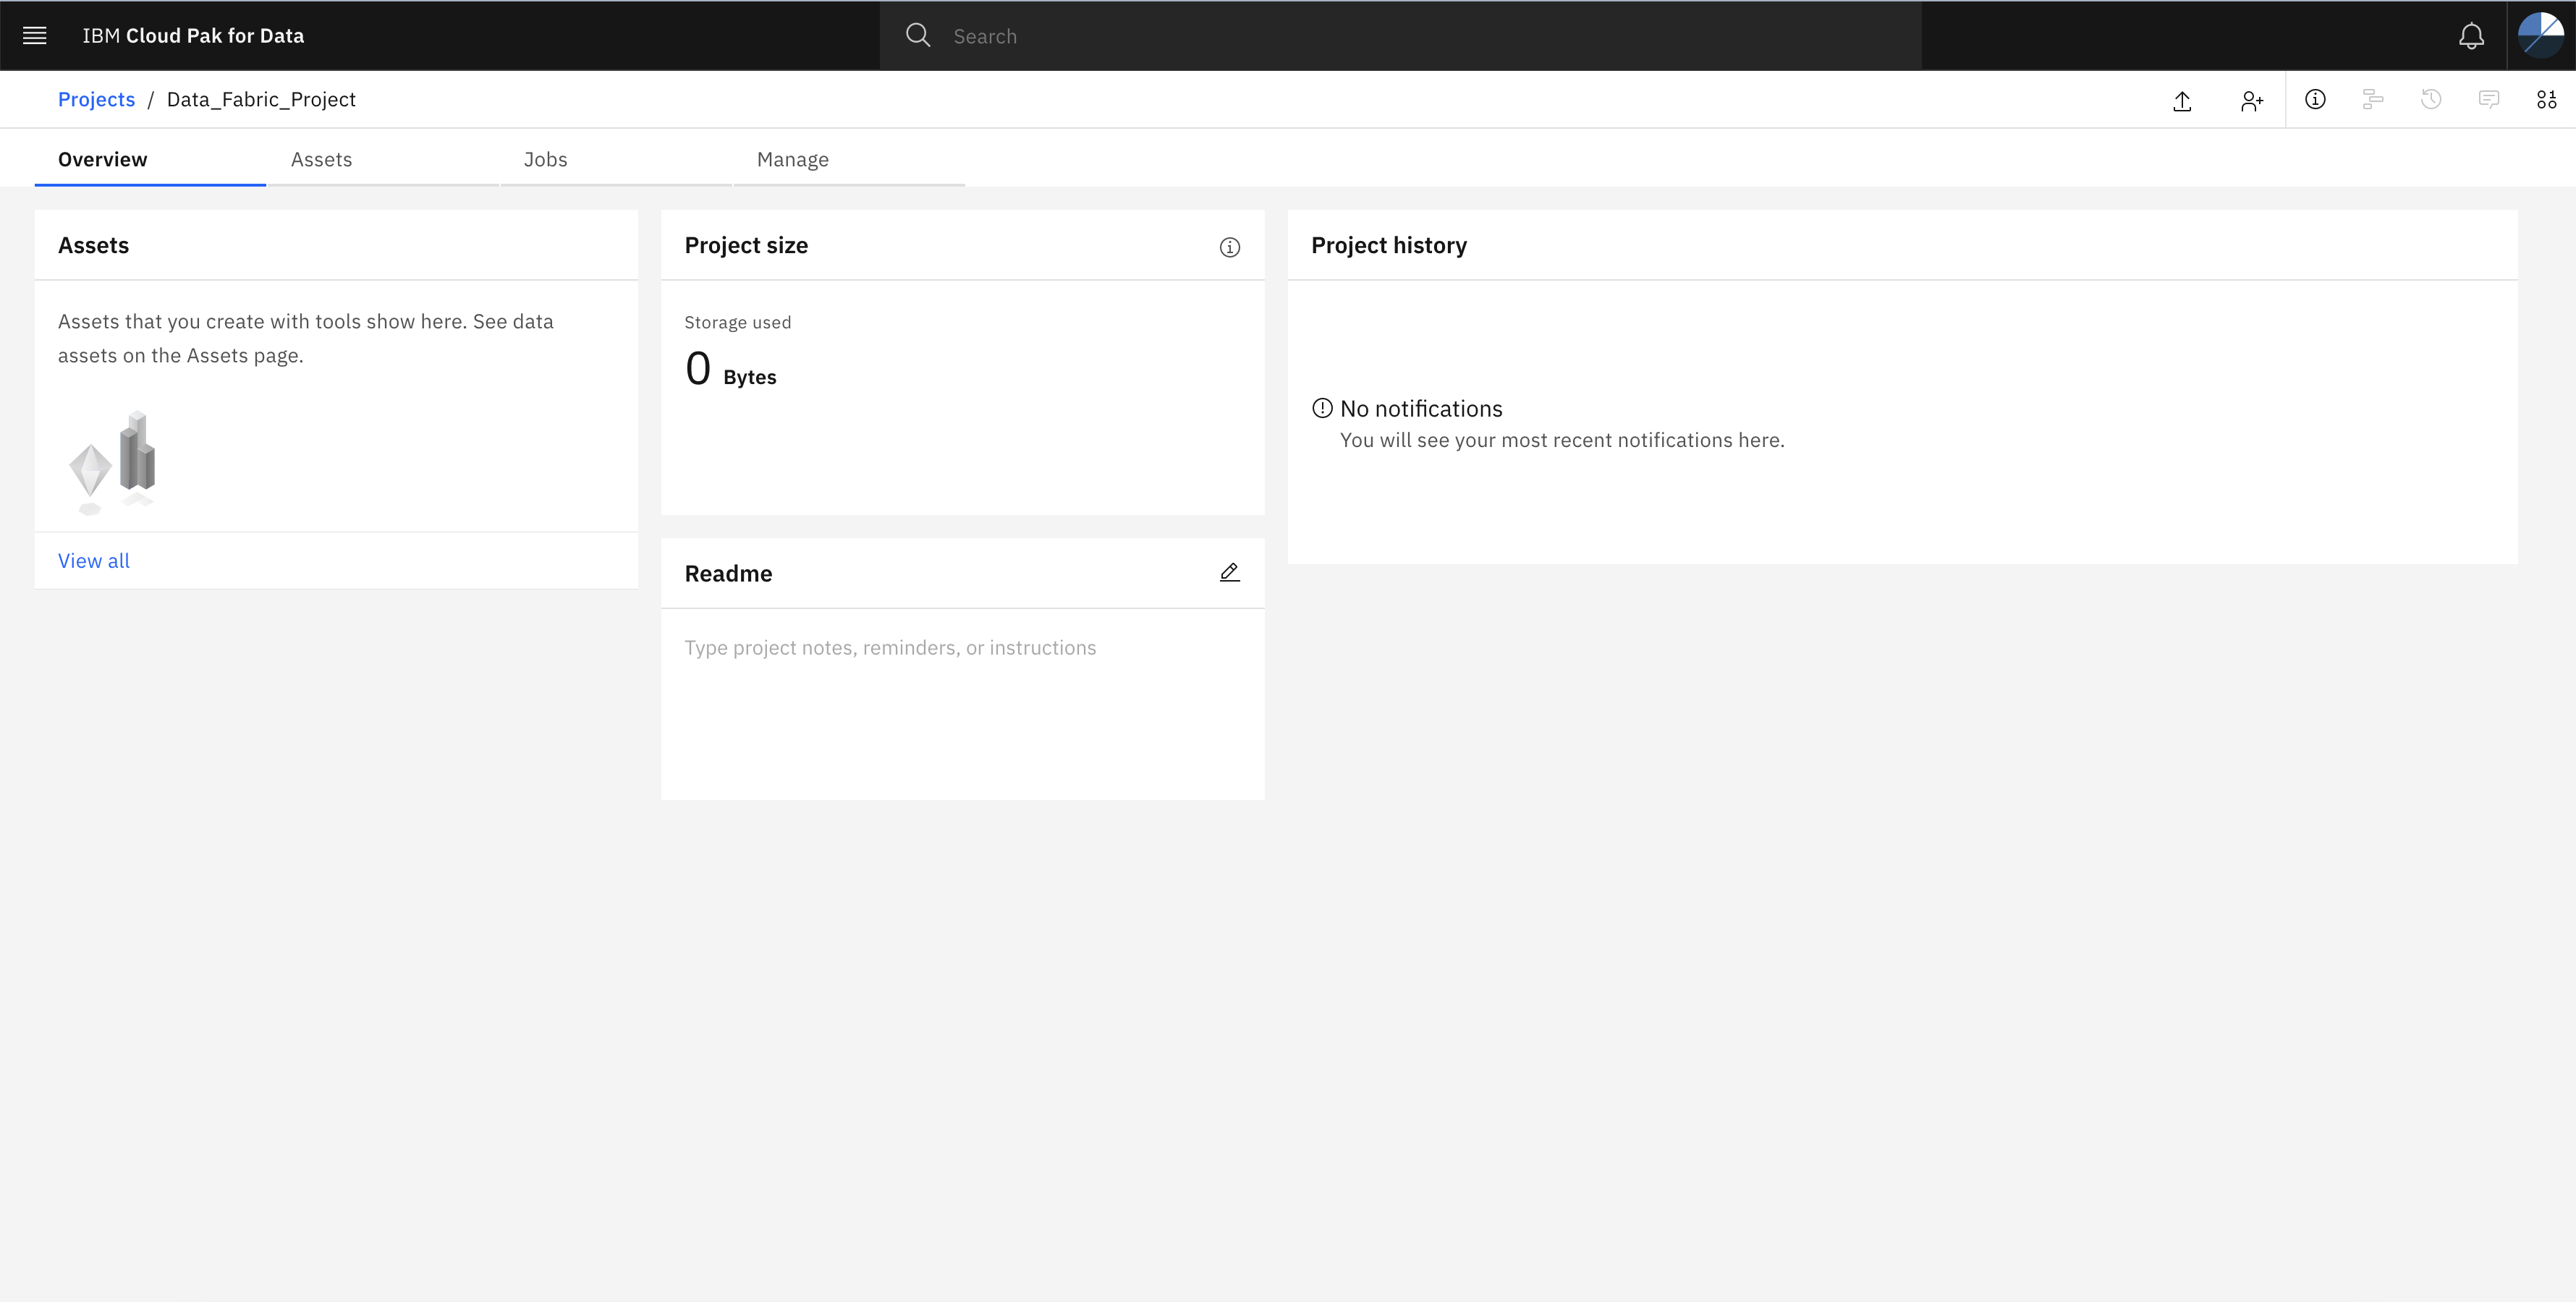
Once project is created you will see project homepage.
Step 3: Create new connections with external data sources.
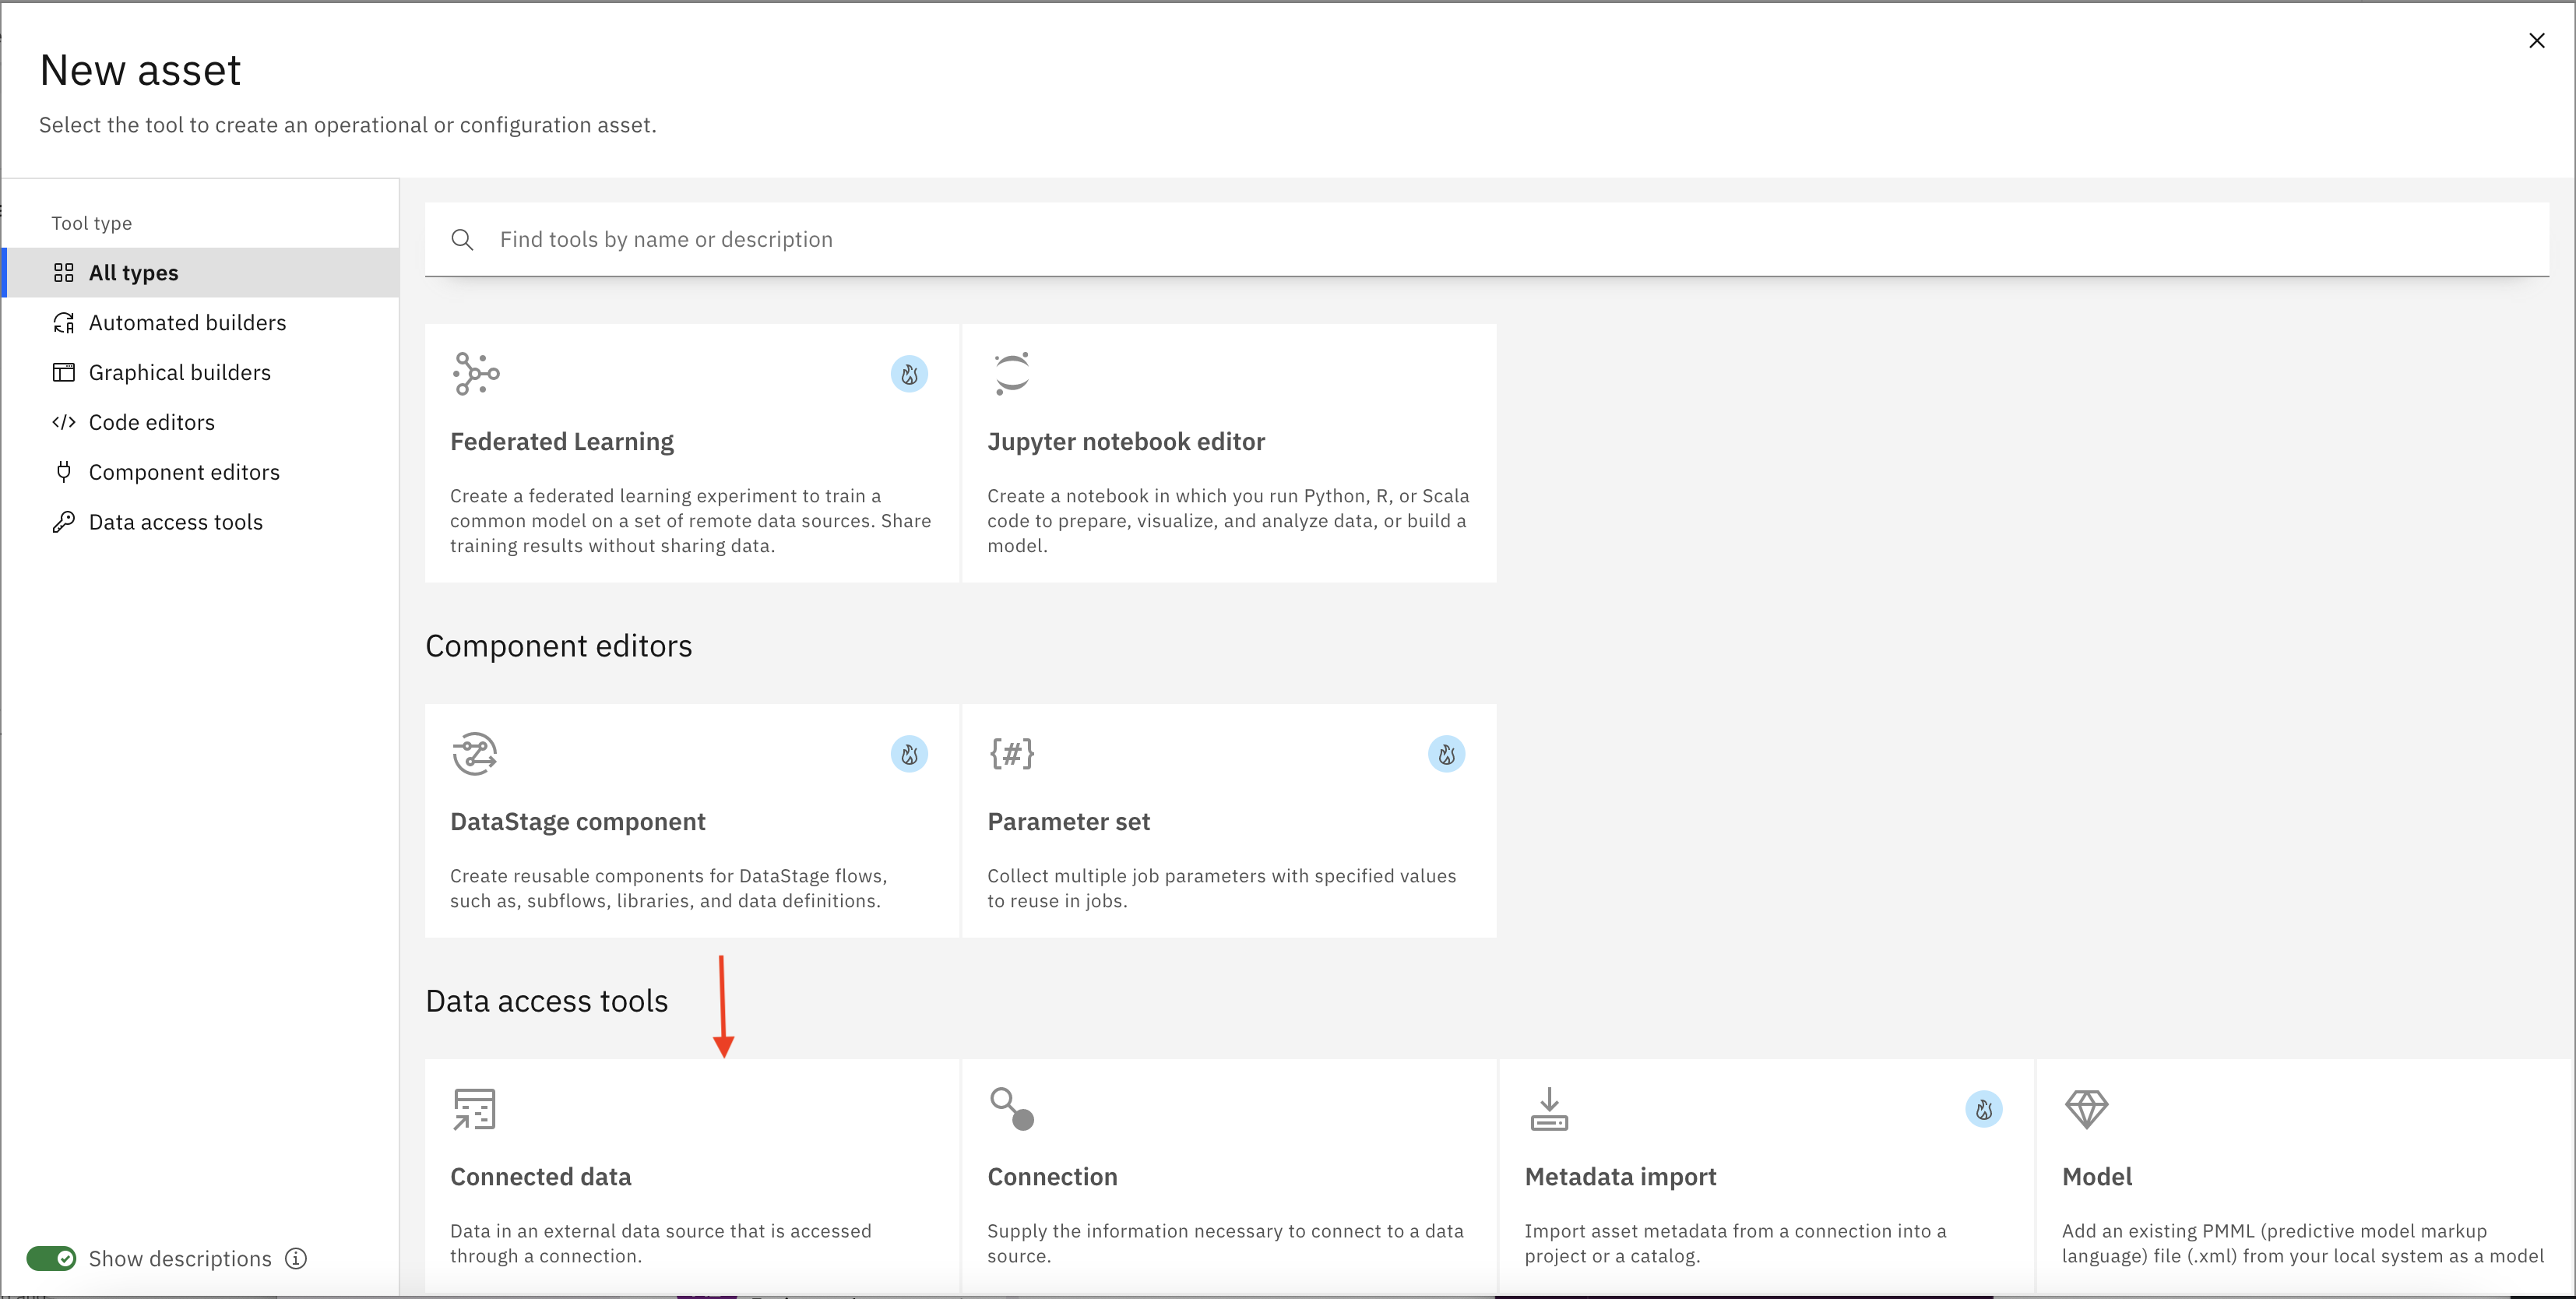
- Click on Assets tab and then click New asset +
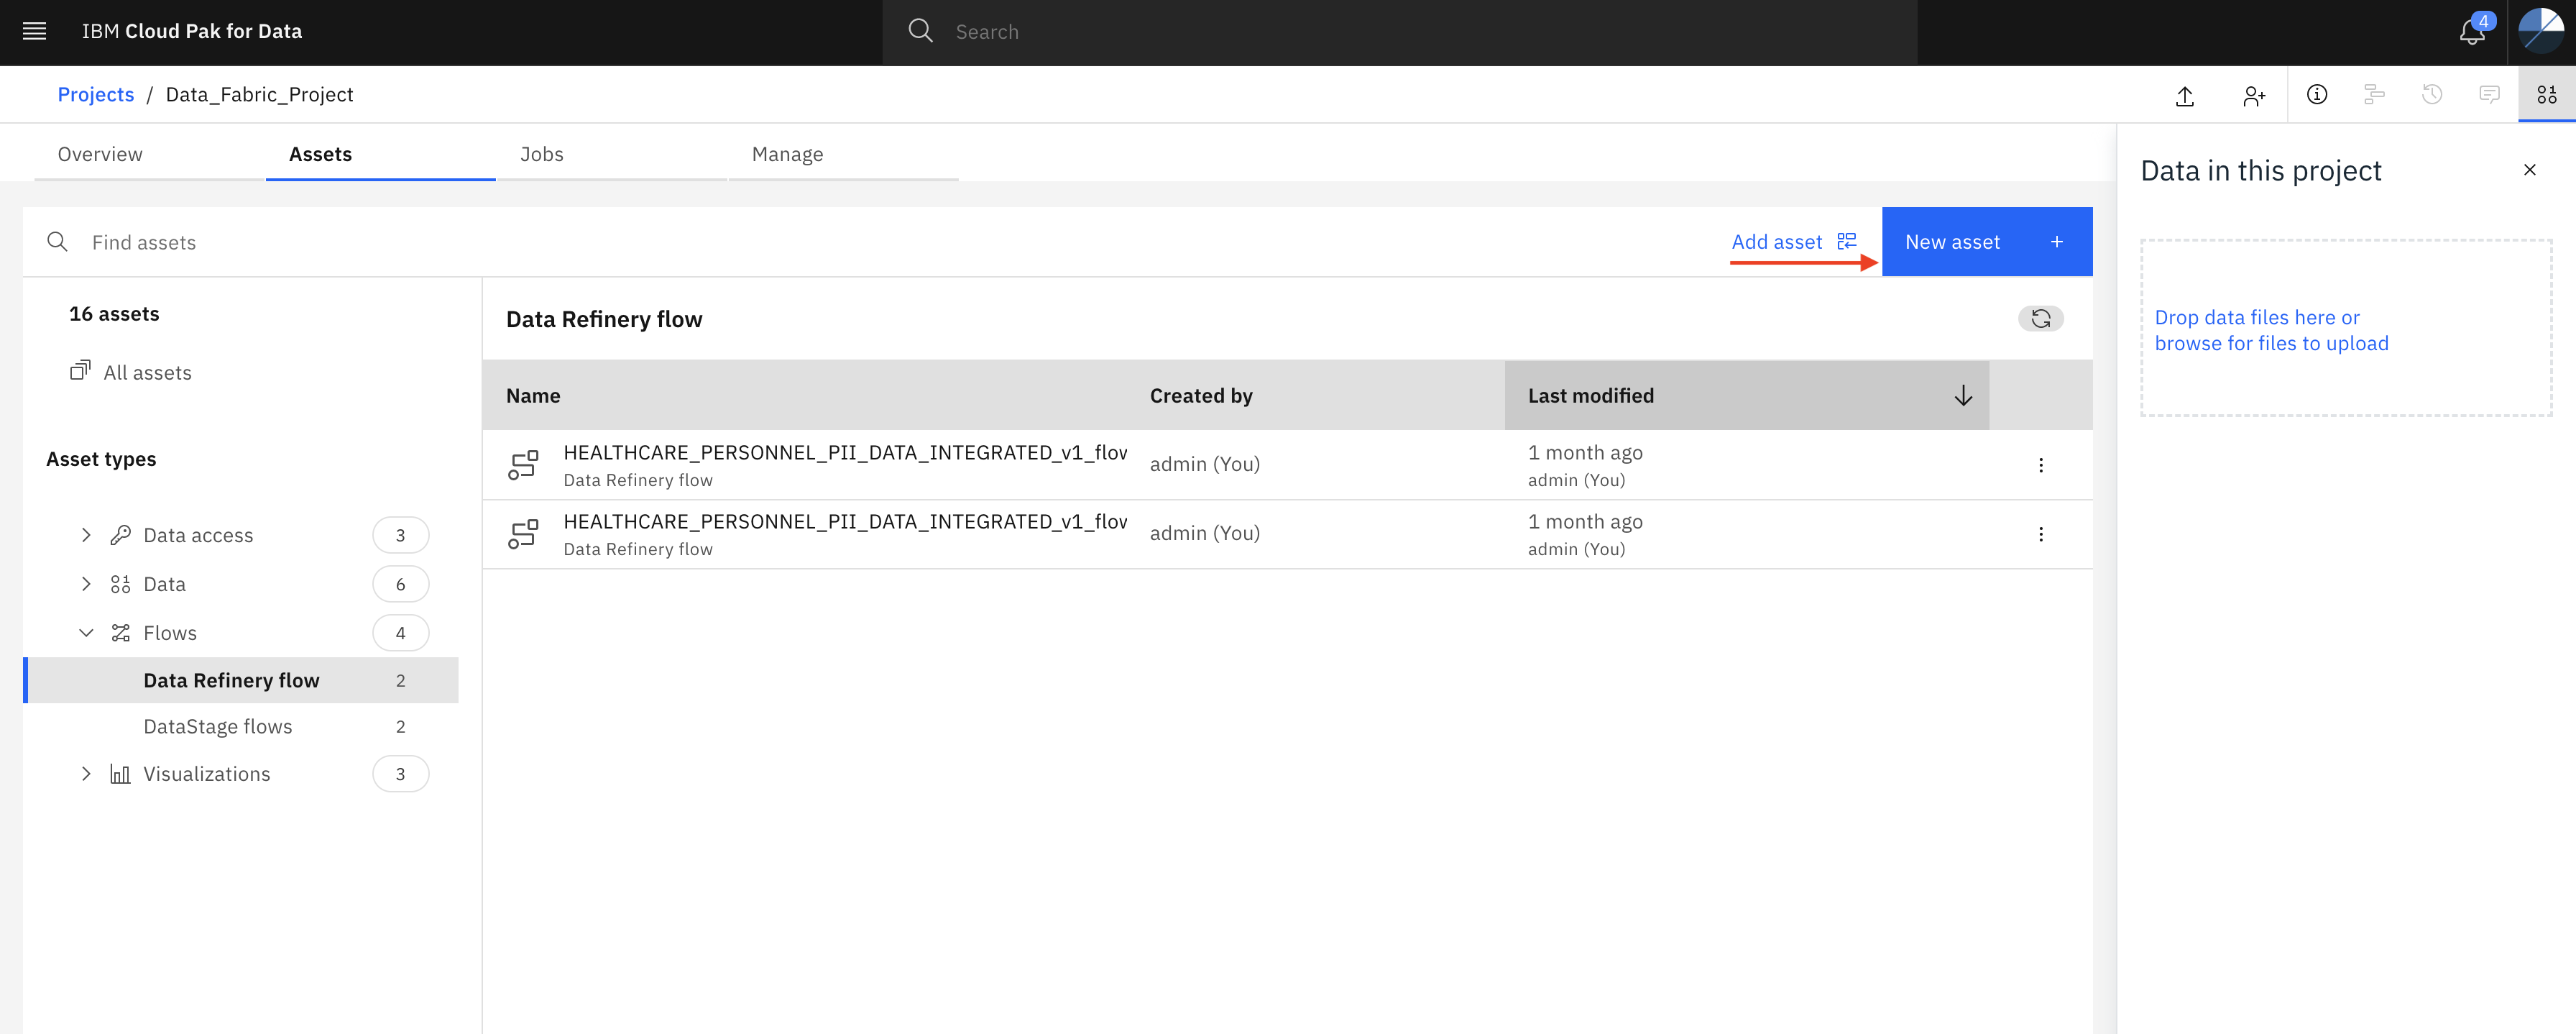
Scroll down and click Connection

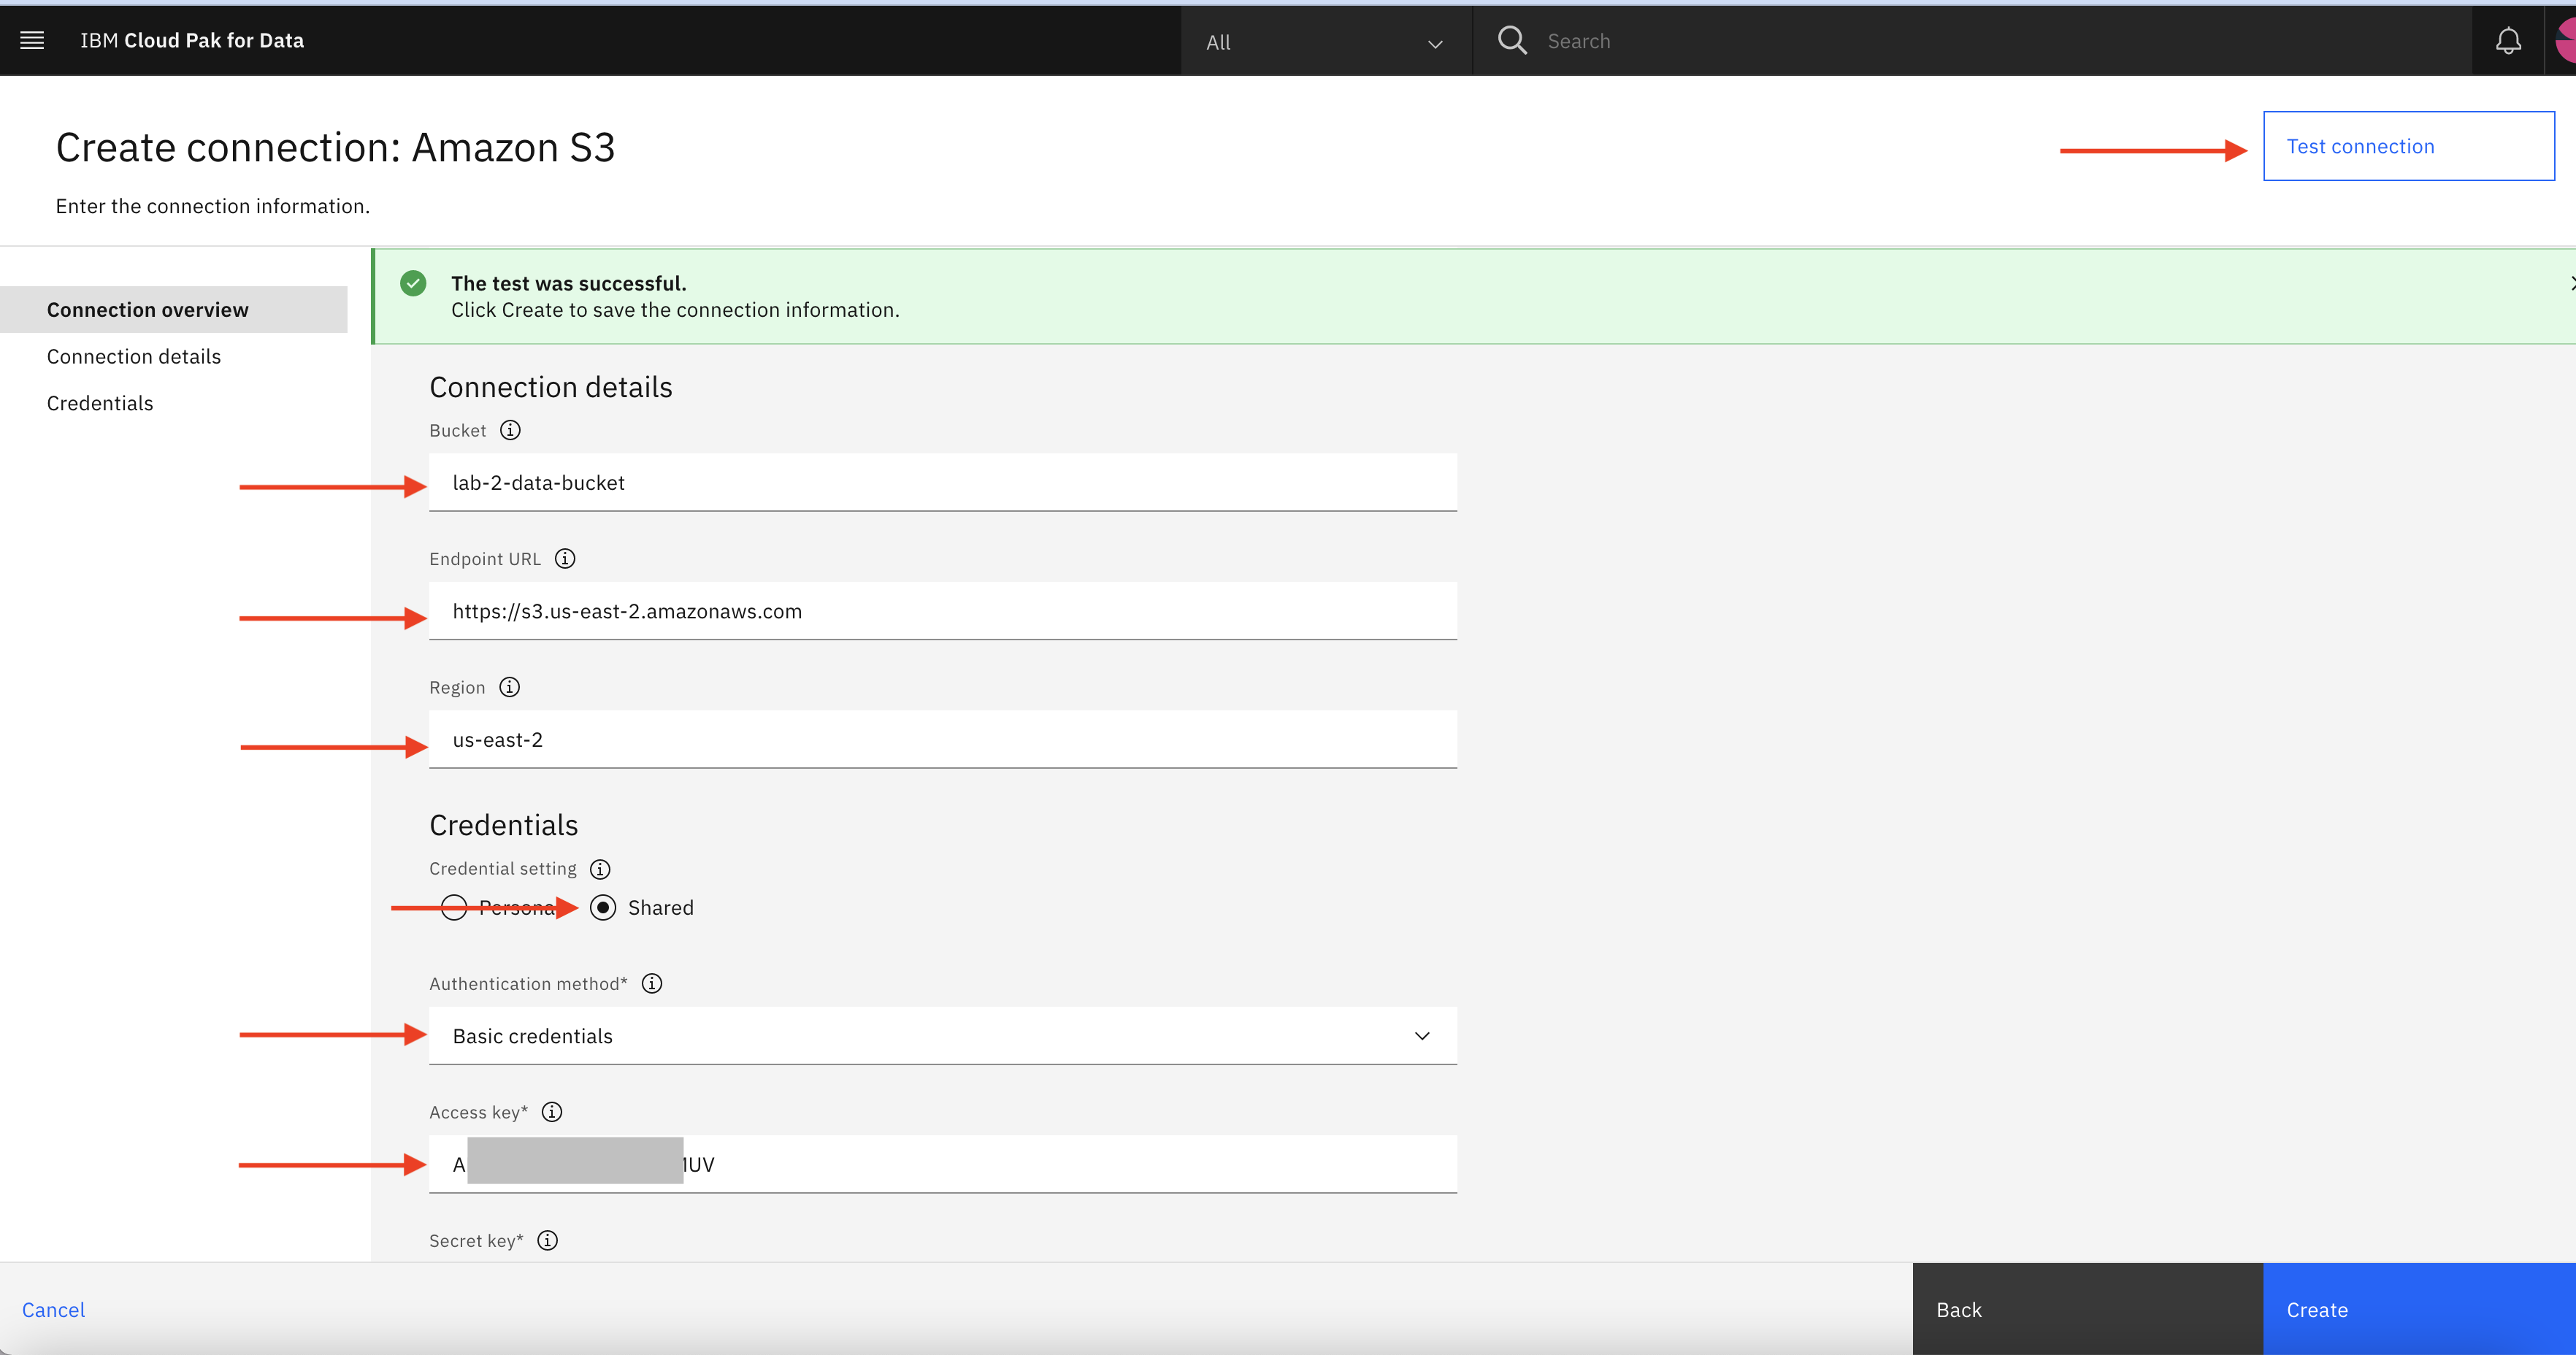
- Here you should see many IBM CP4D connectors. Choose Amazon S3 connector.

-
Specify Amazon S3 connection details such as name, bucket name, endpoint, region, and credential details(Provided as part of Infra Provisioning Lab ) to make connection between Amazon S3 and IBM Cloud Pak for Data.
-
Click Test connection to validate the connection. If it is successful click Create to create S3 connection.

- Similarly perform same step to create connection for asset type Amazon Redshift, and Amazon RDS for PostgreSQL.
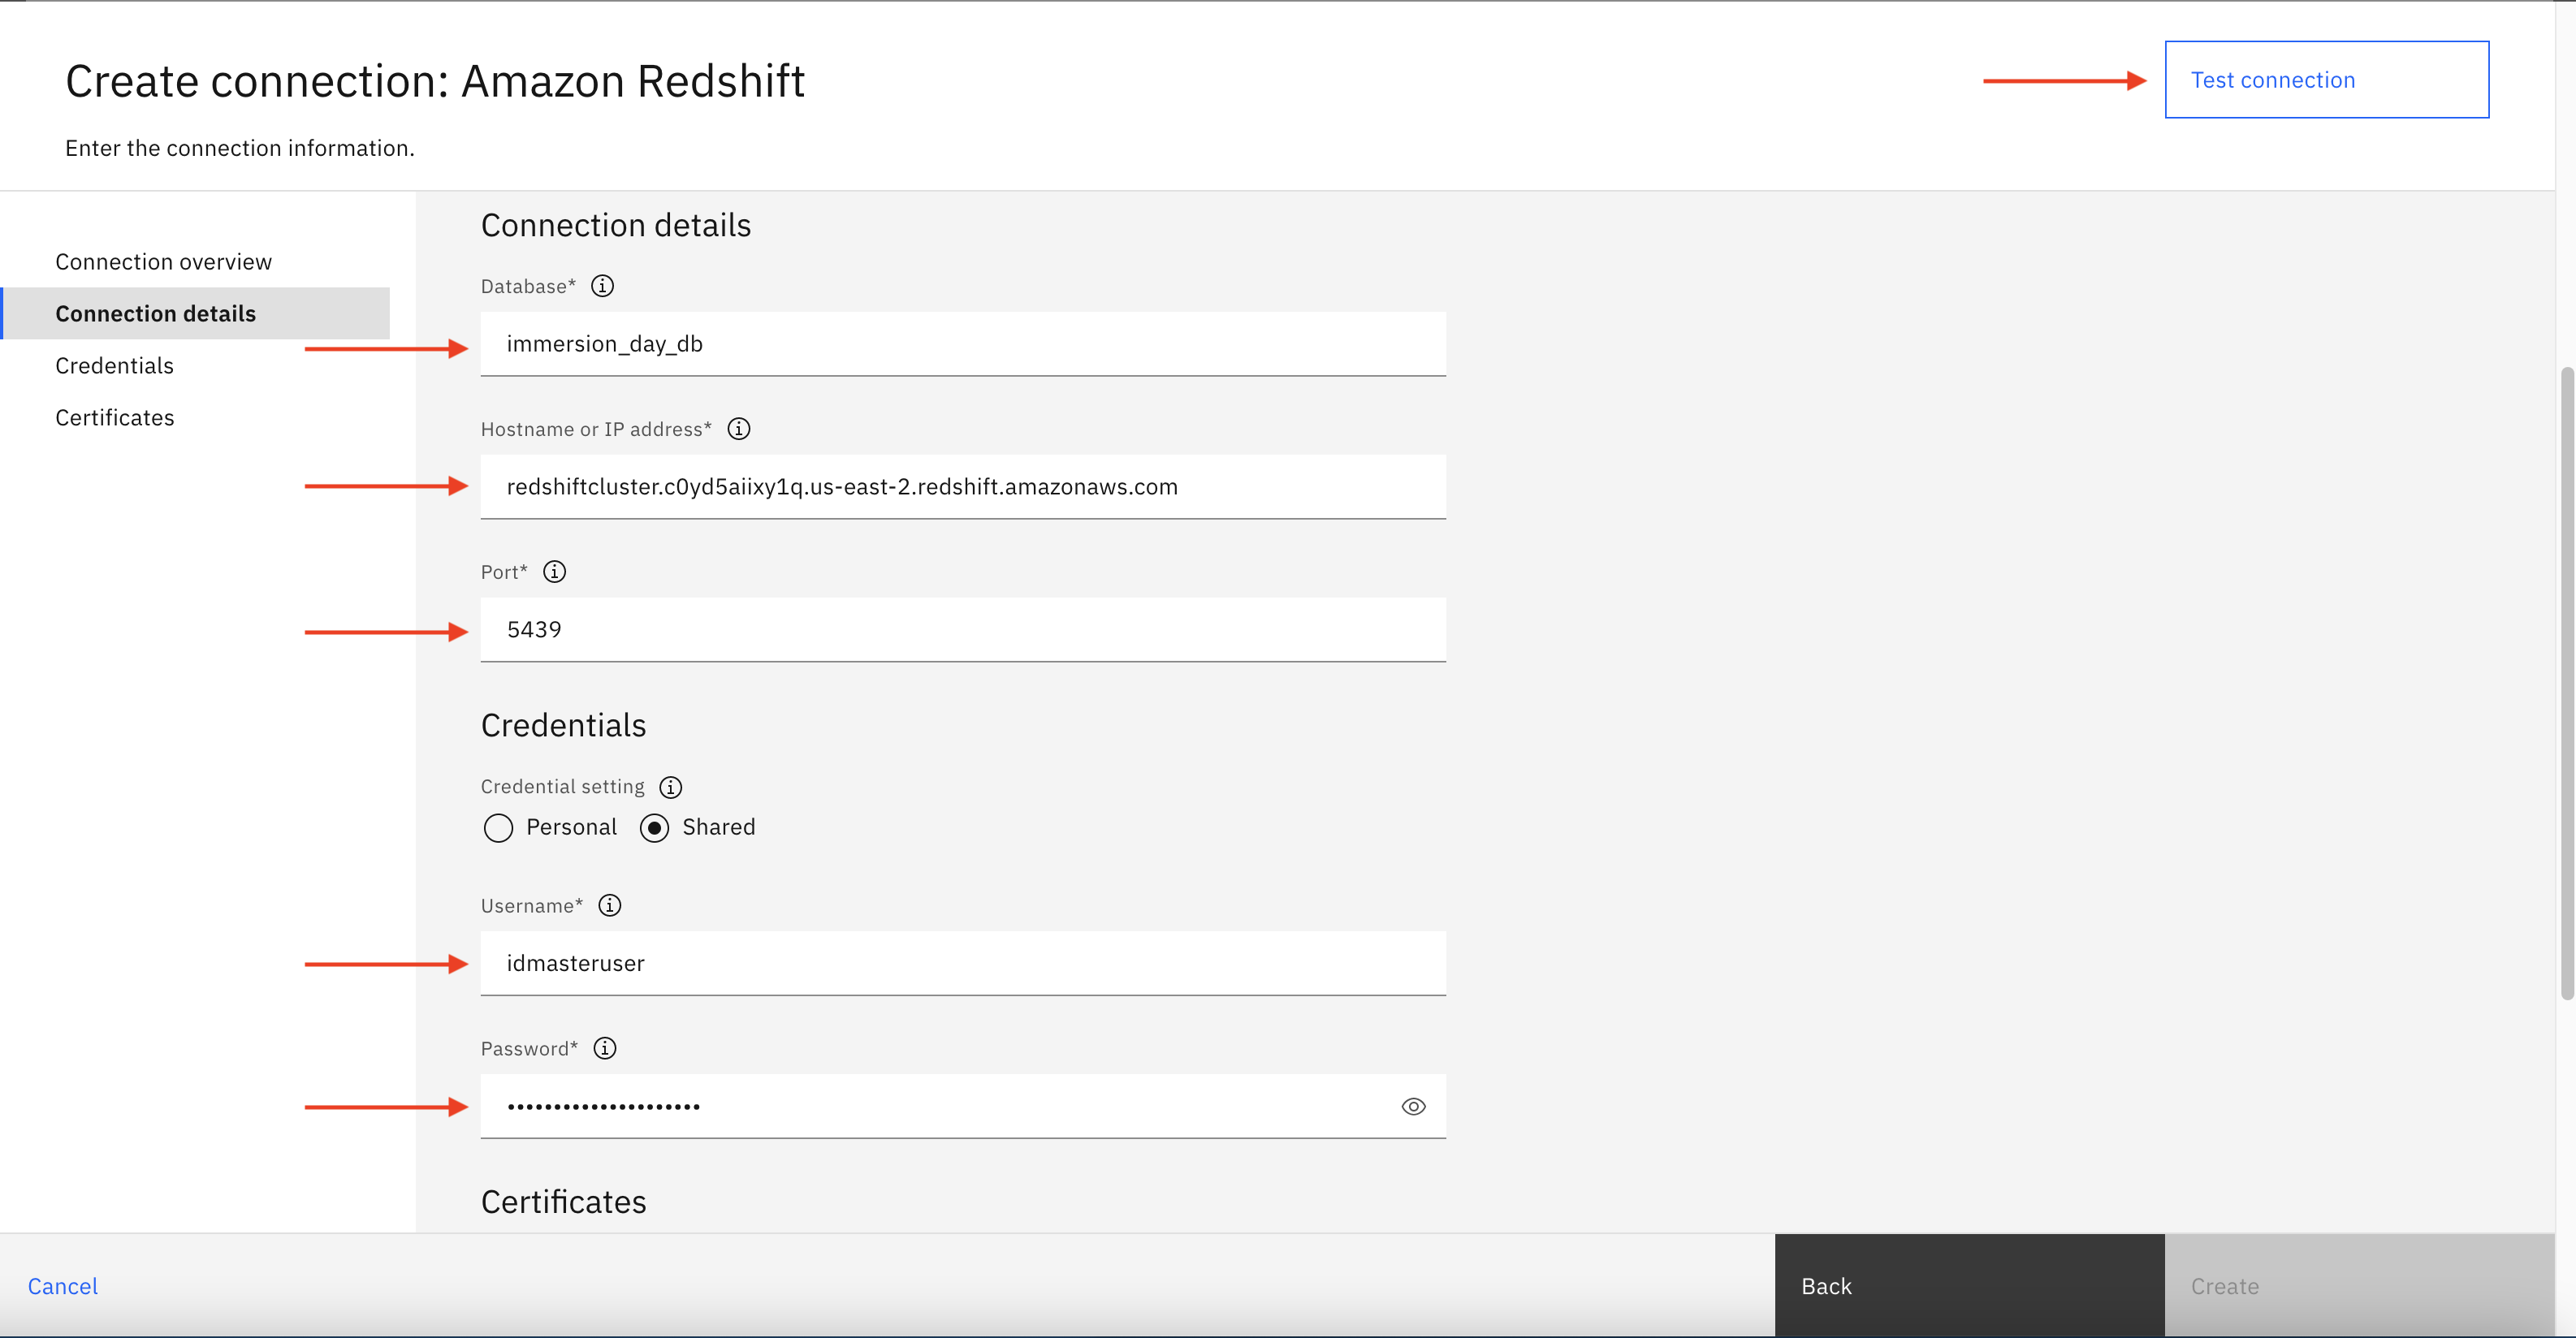
Again from the project page, click New asset + and then click Connections. Select Amazon Redshift connector from available connectors

Specify the connection details provided as part of Infra Provisioning Lab and then click on Test connection. If test connection is successful, then click Create to create new Redshift connection
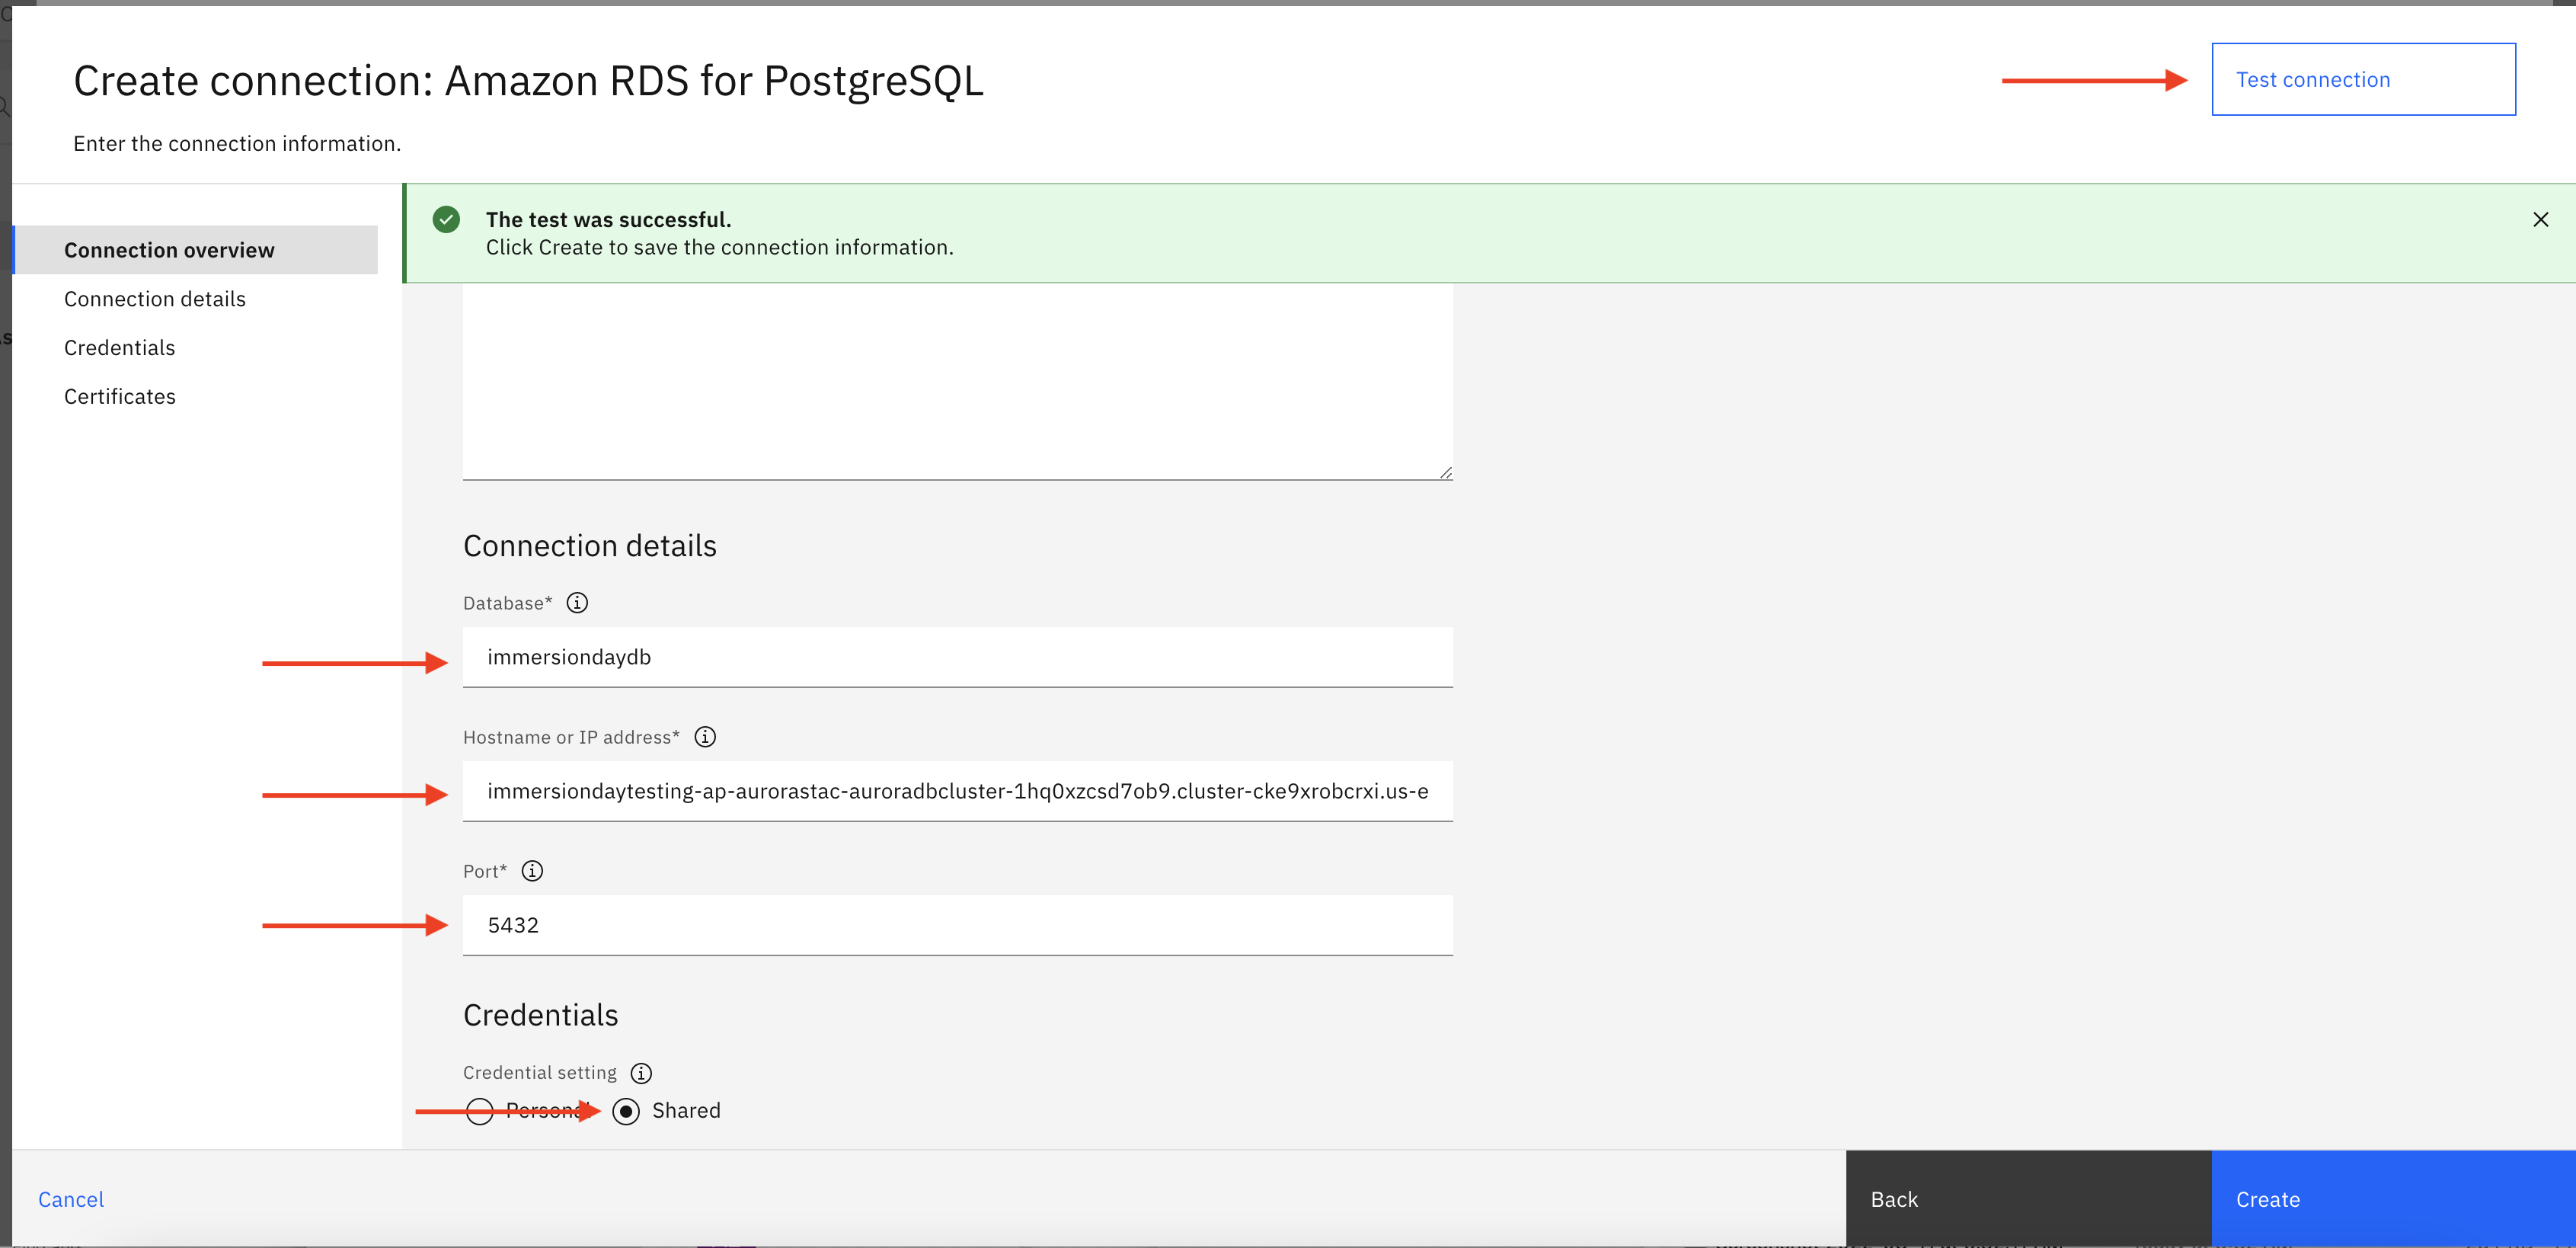
In the project home page, click New asset+ to create Amazon RDS connection.
Select Amazon RDS for PostgreSQL

Specify the connection details provided as part of Infra Provisioning Lab and then click on Test connection. If test connection is successful, then click Create to create new Aurora PostgreSQL DB connection
Step 4: Create DataStage pipeline
Now, we have connected to external data sources. Let’s go back to newly created project to integrate data from those 3 connections.
- To create integration pipeline, let’s click Add assets + then DataStage flow.
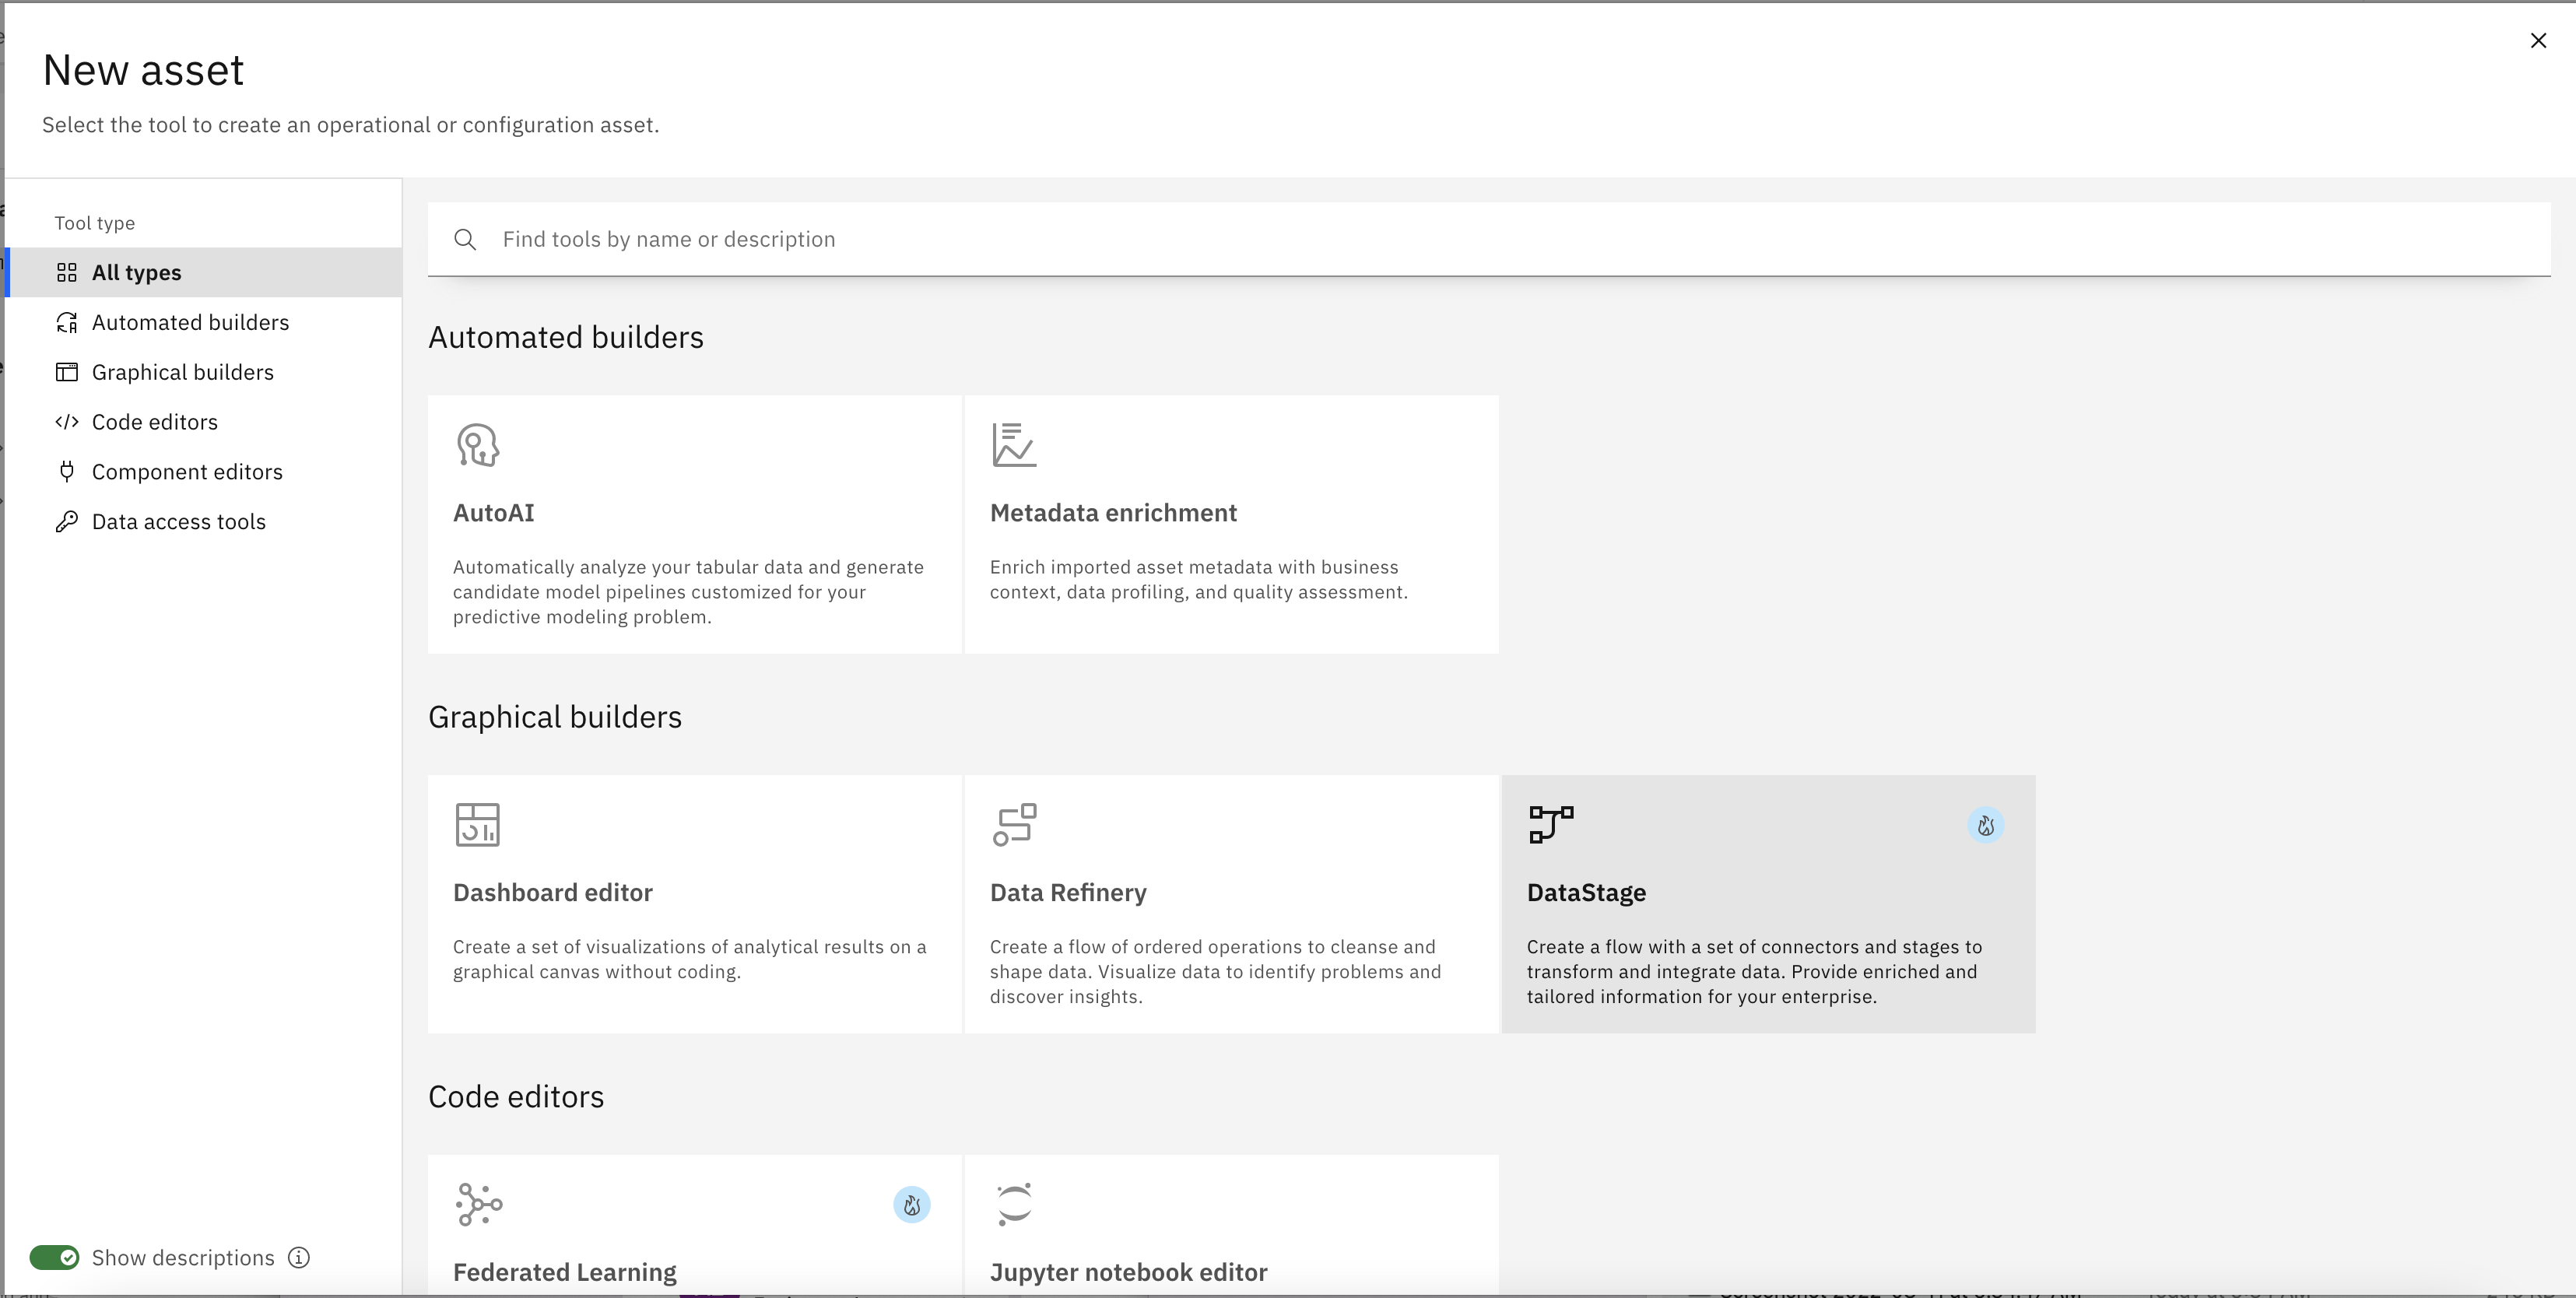
-
Download the DataStage pipeline zip file here Datastage_Integration_Pipeline.zip .
-
Click ZIP file import tab and click Drag and drop file here or upload to upload the zip file
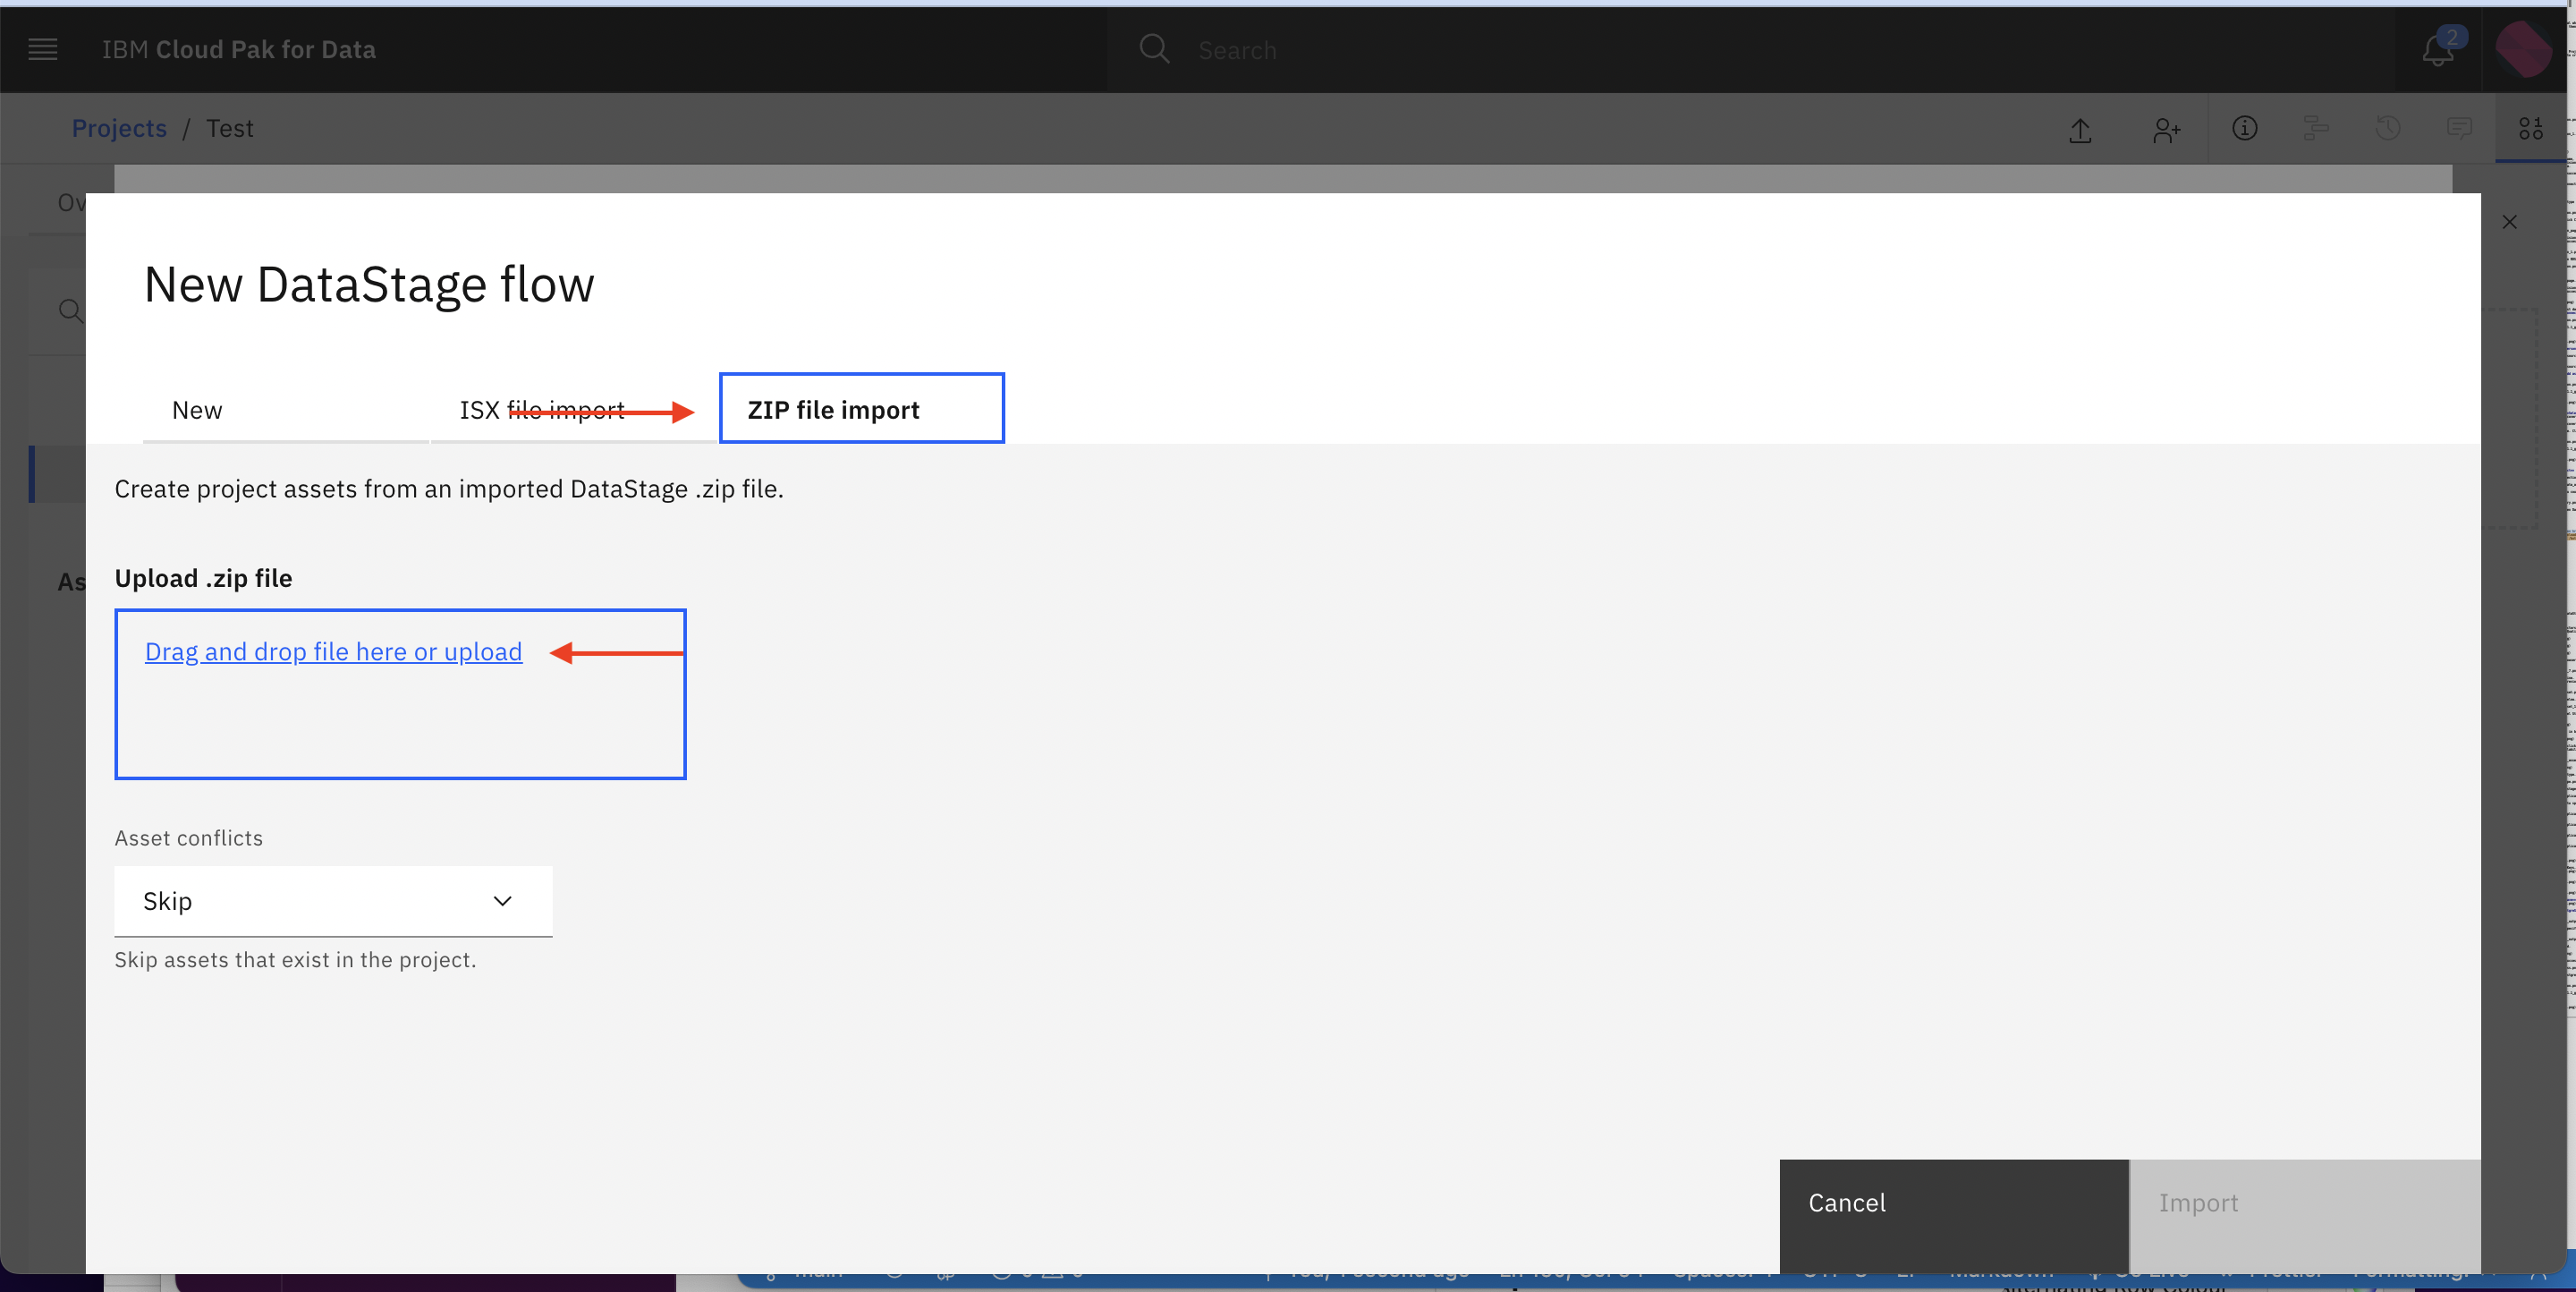
-
After uploading file click Import
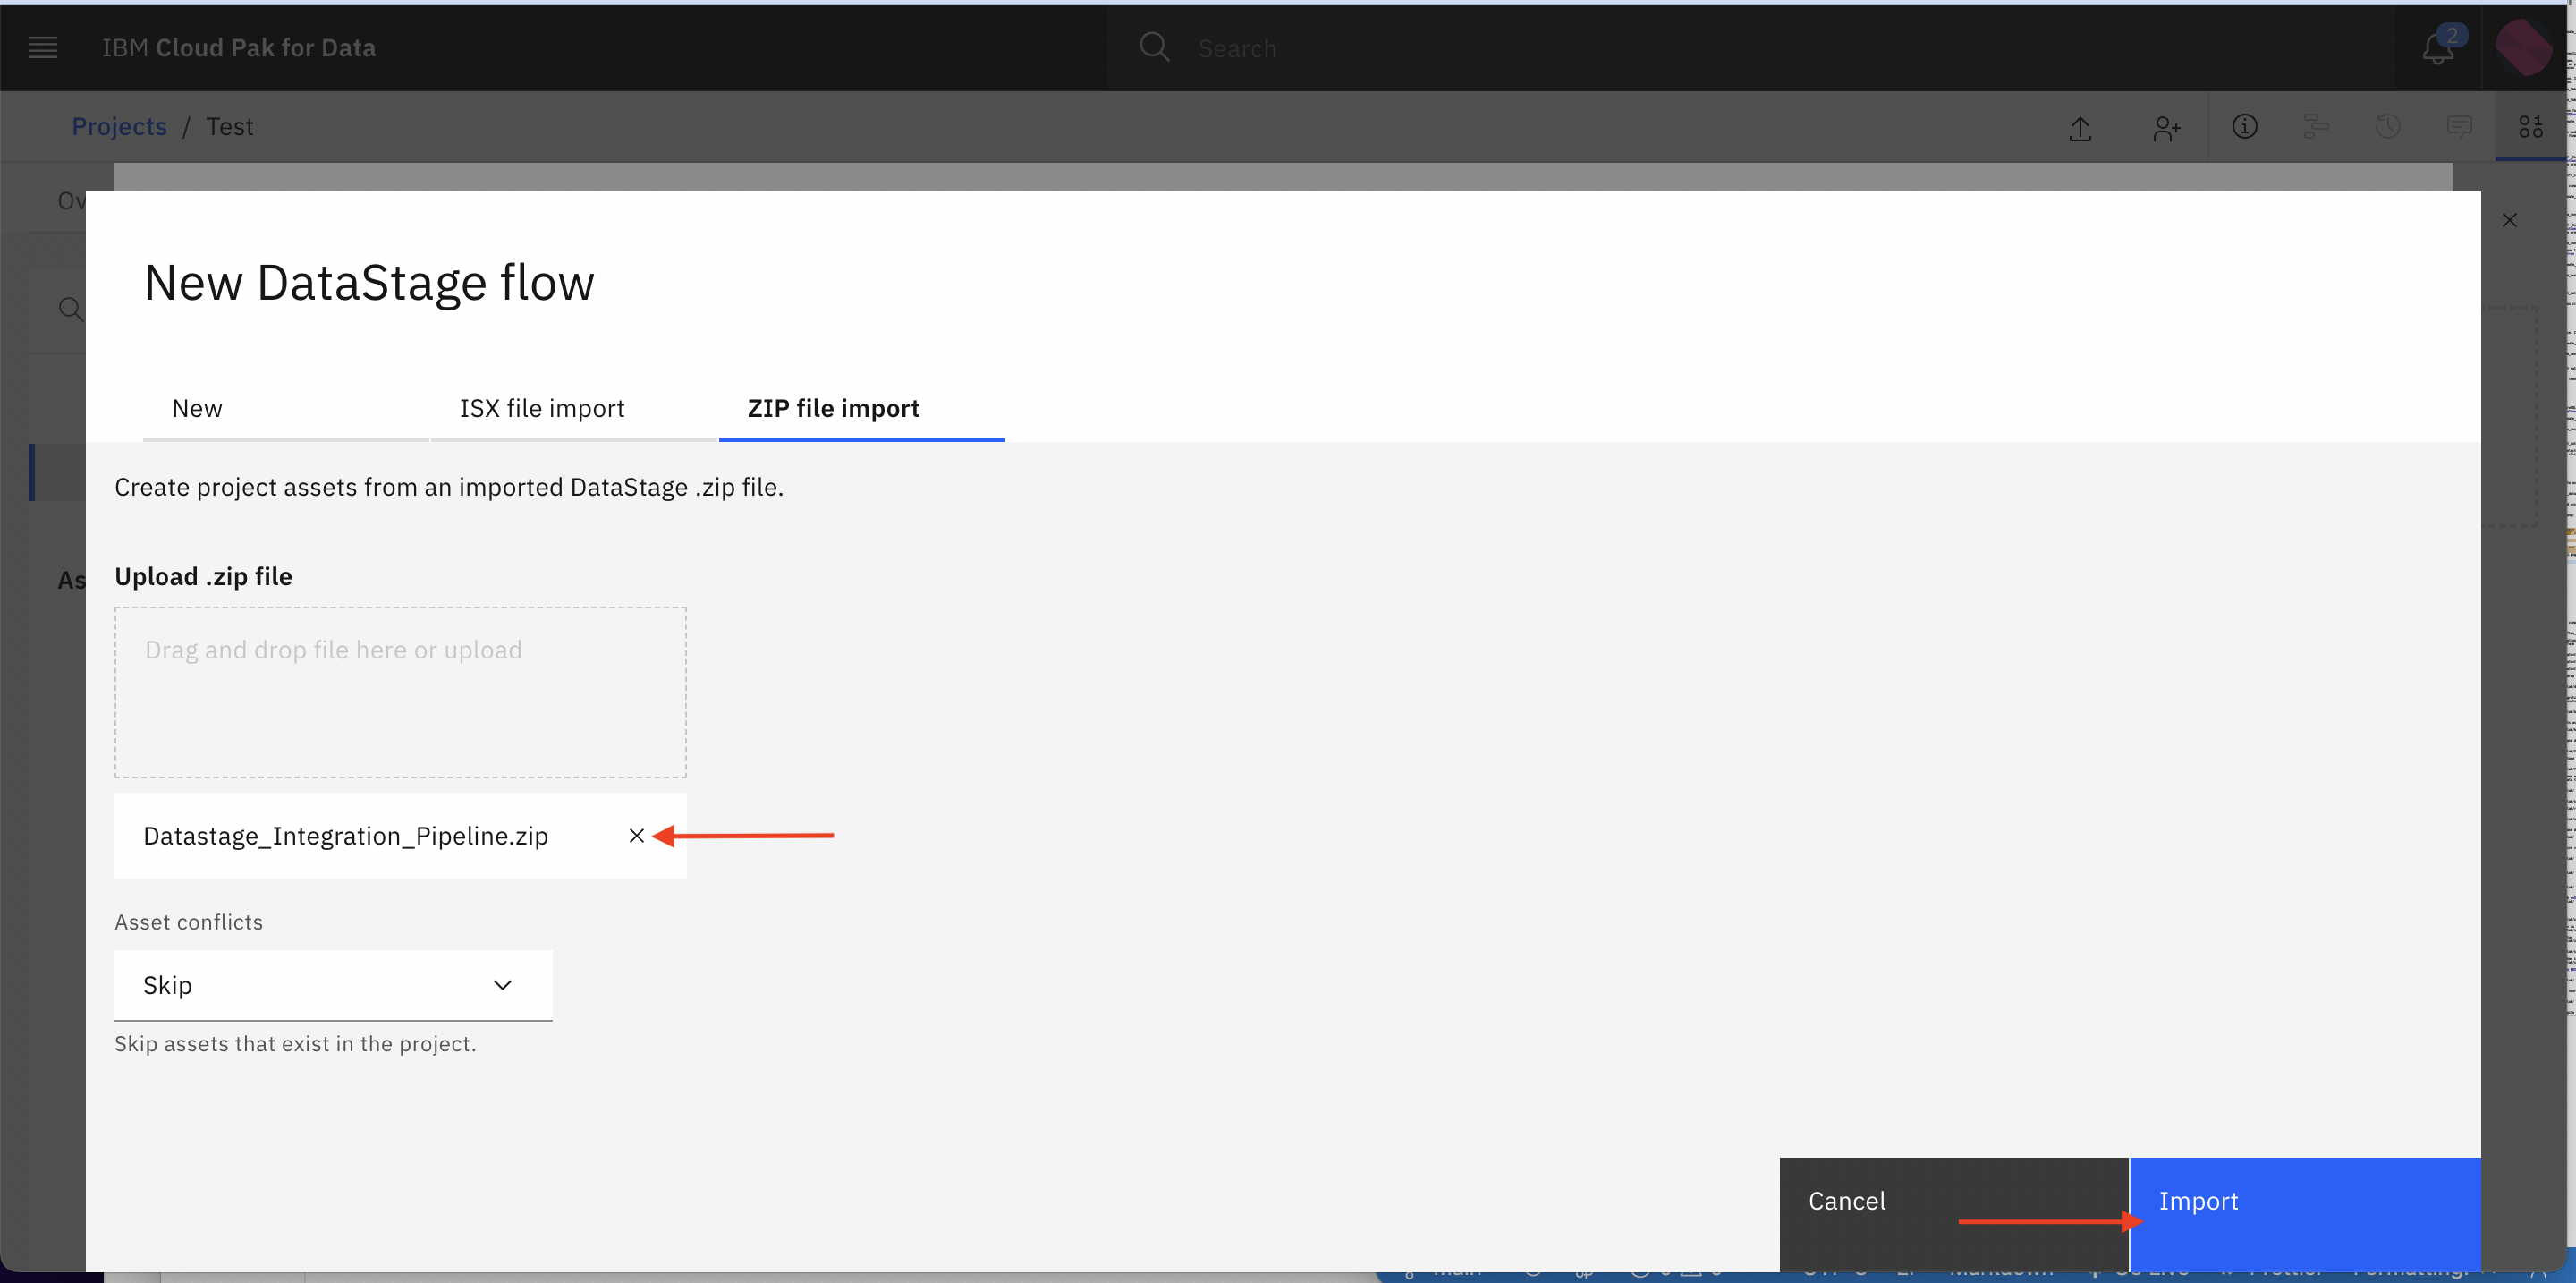
-
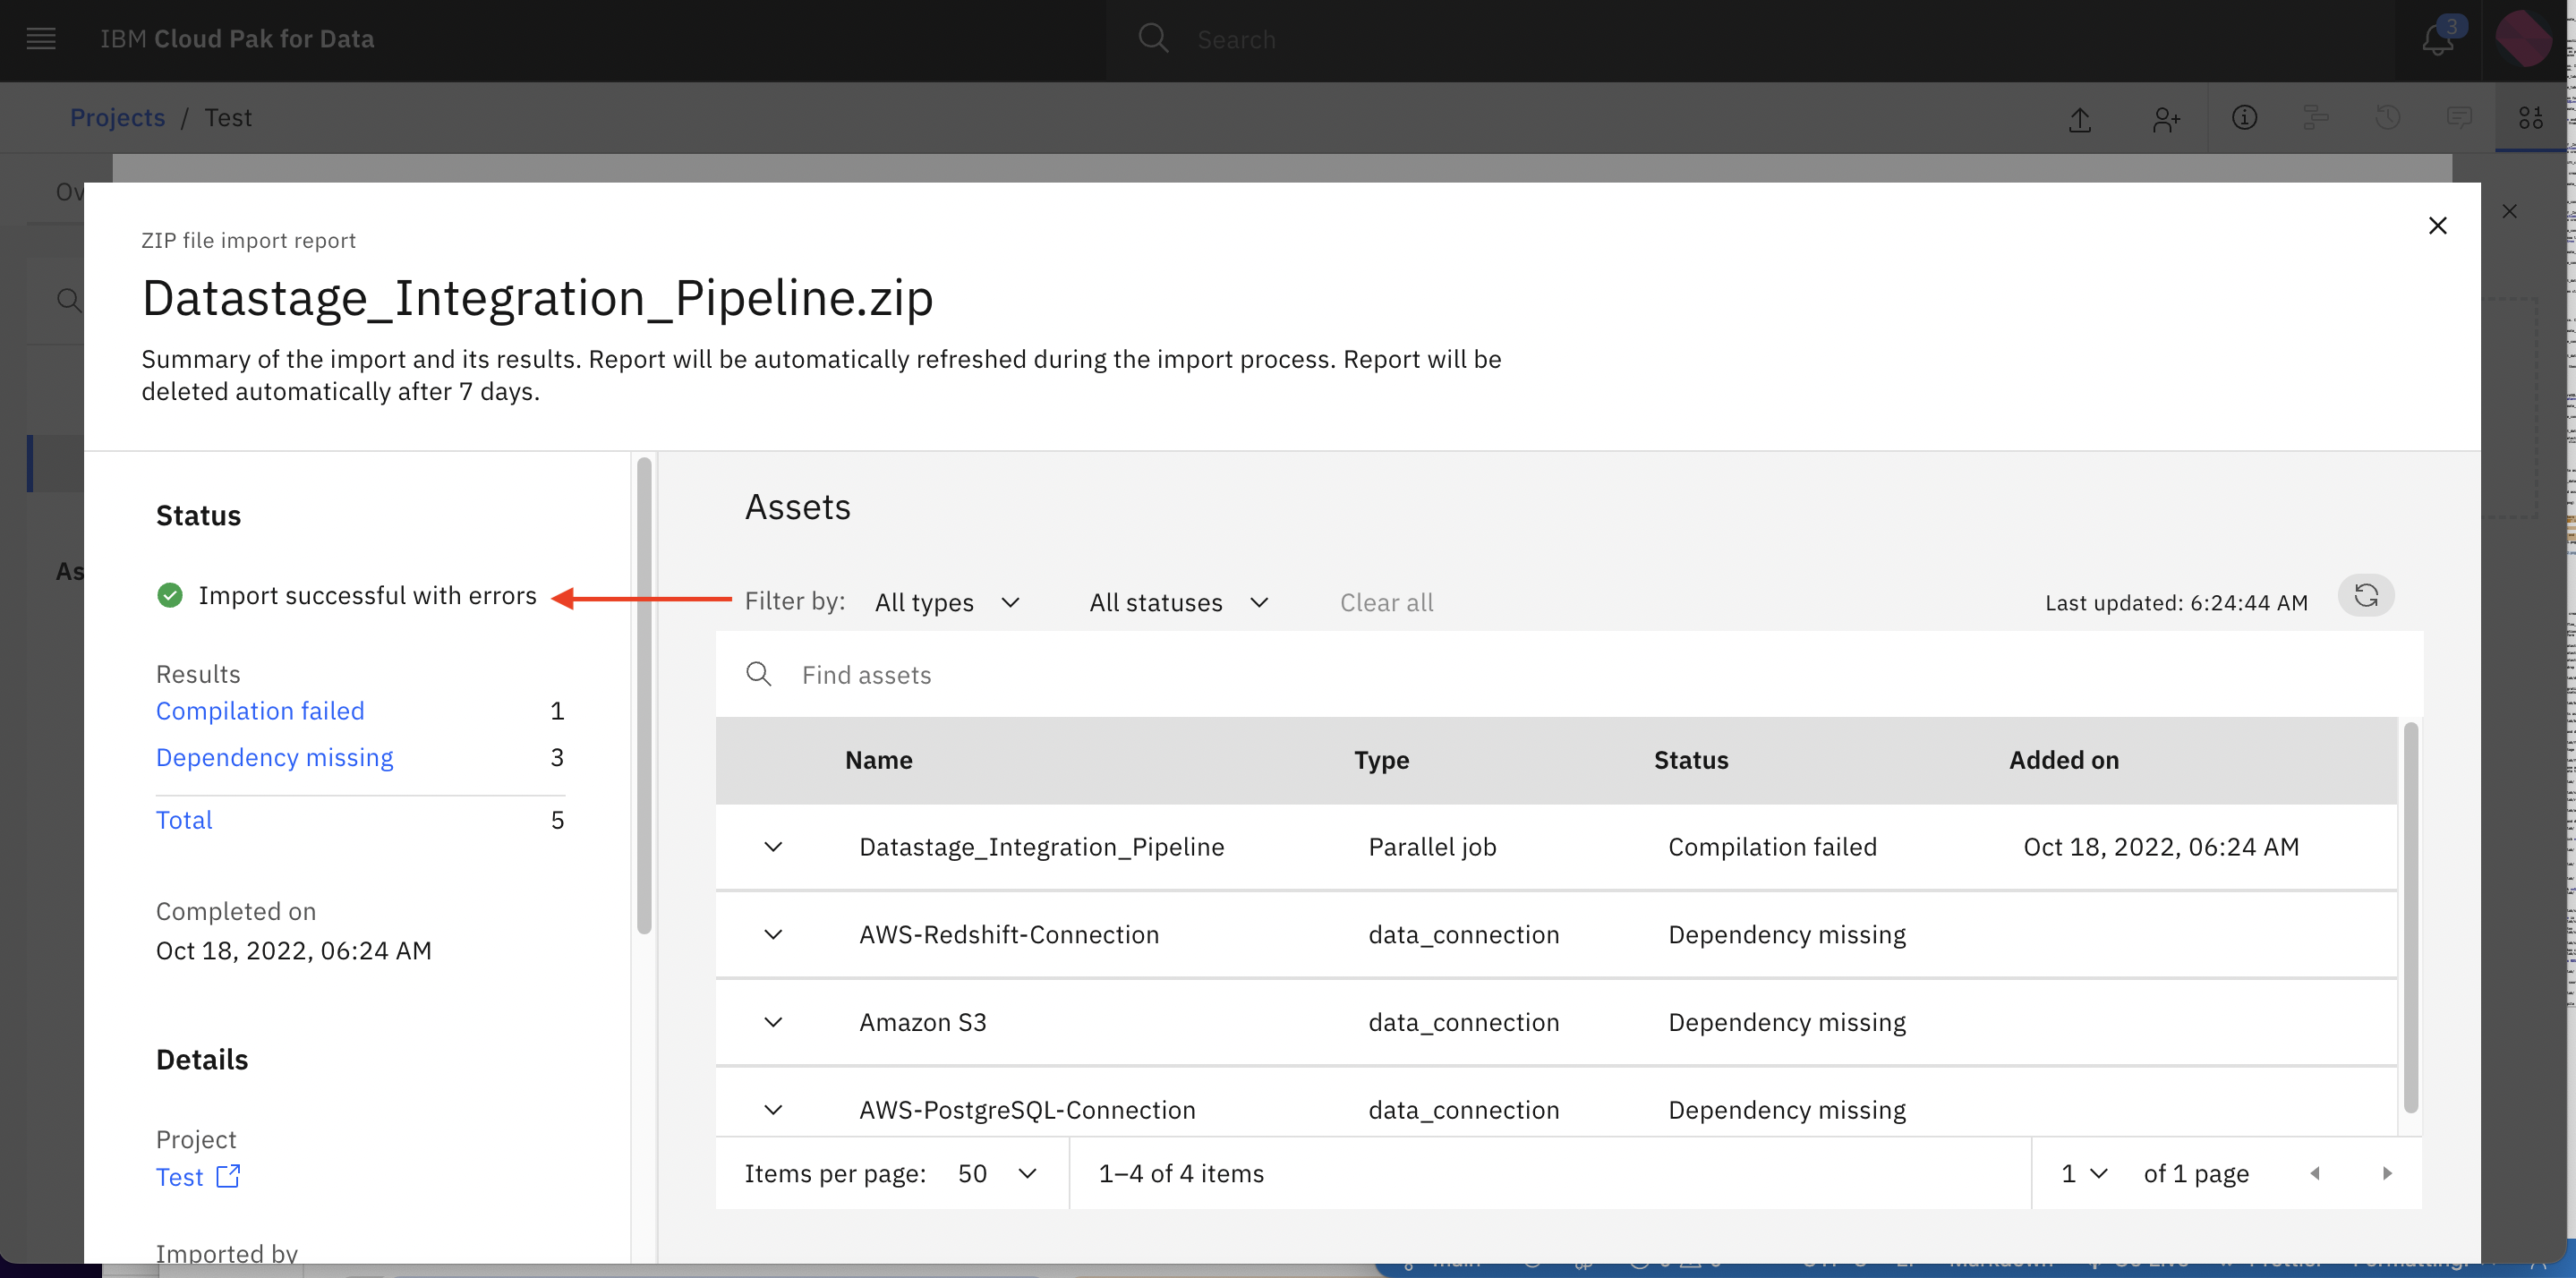
You will see the screen with Import successful with error. ignore the errors for the moment and close the dialog/popup.
-
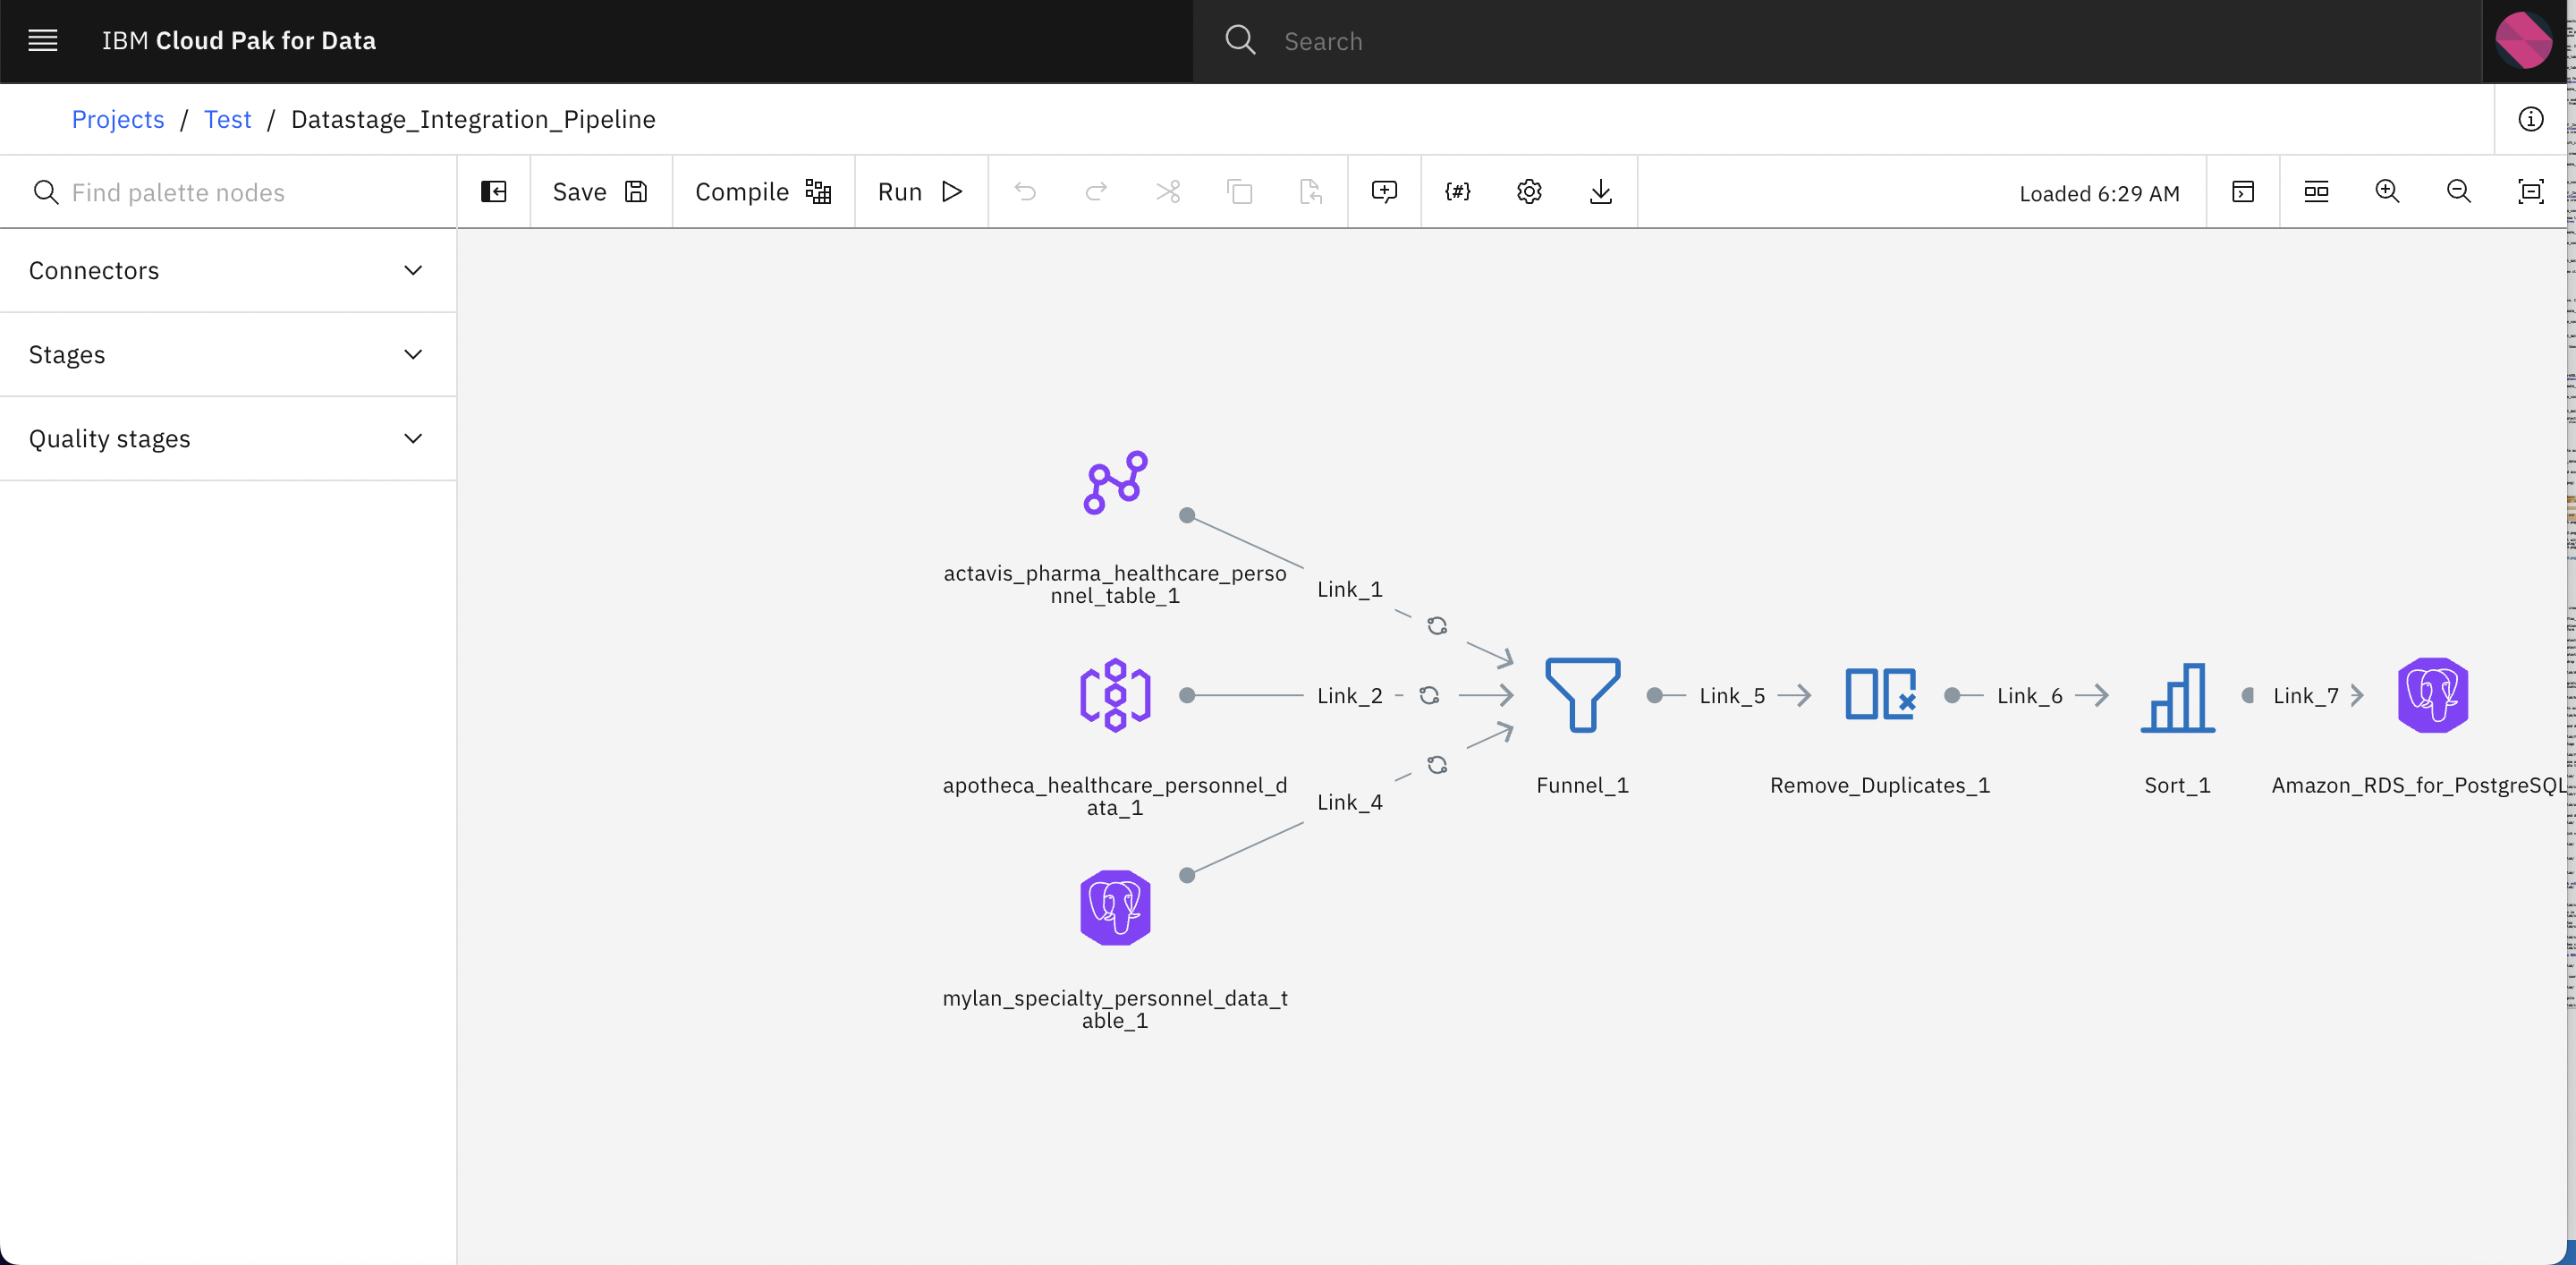
Click on the datastage asset icon

-
You will see a datastage pipeline where data is ingested from 3 different sources and there are different stages (to perform ETL operation on incoming data) such as Funnel to merge/integrate data, Remove_Duplicates stage to filter out duplicates from integrated data, Sort stage to sort the data and finally we are storing the data in Amazon RDS database.
-
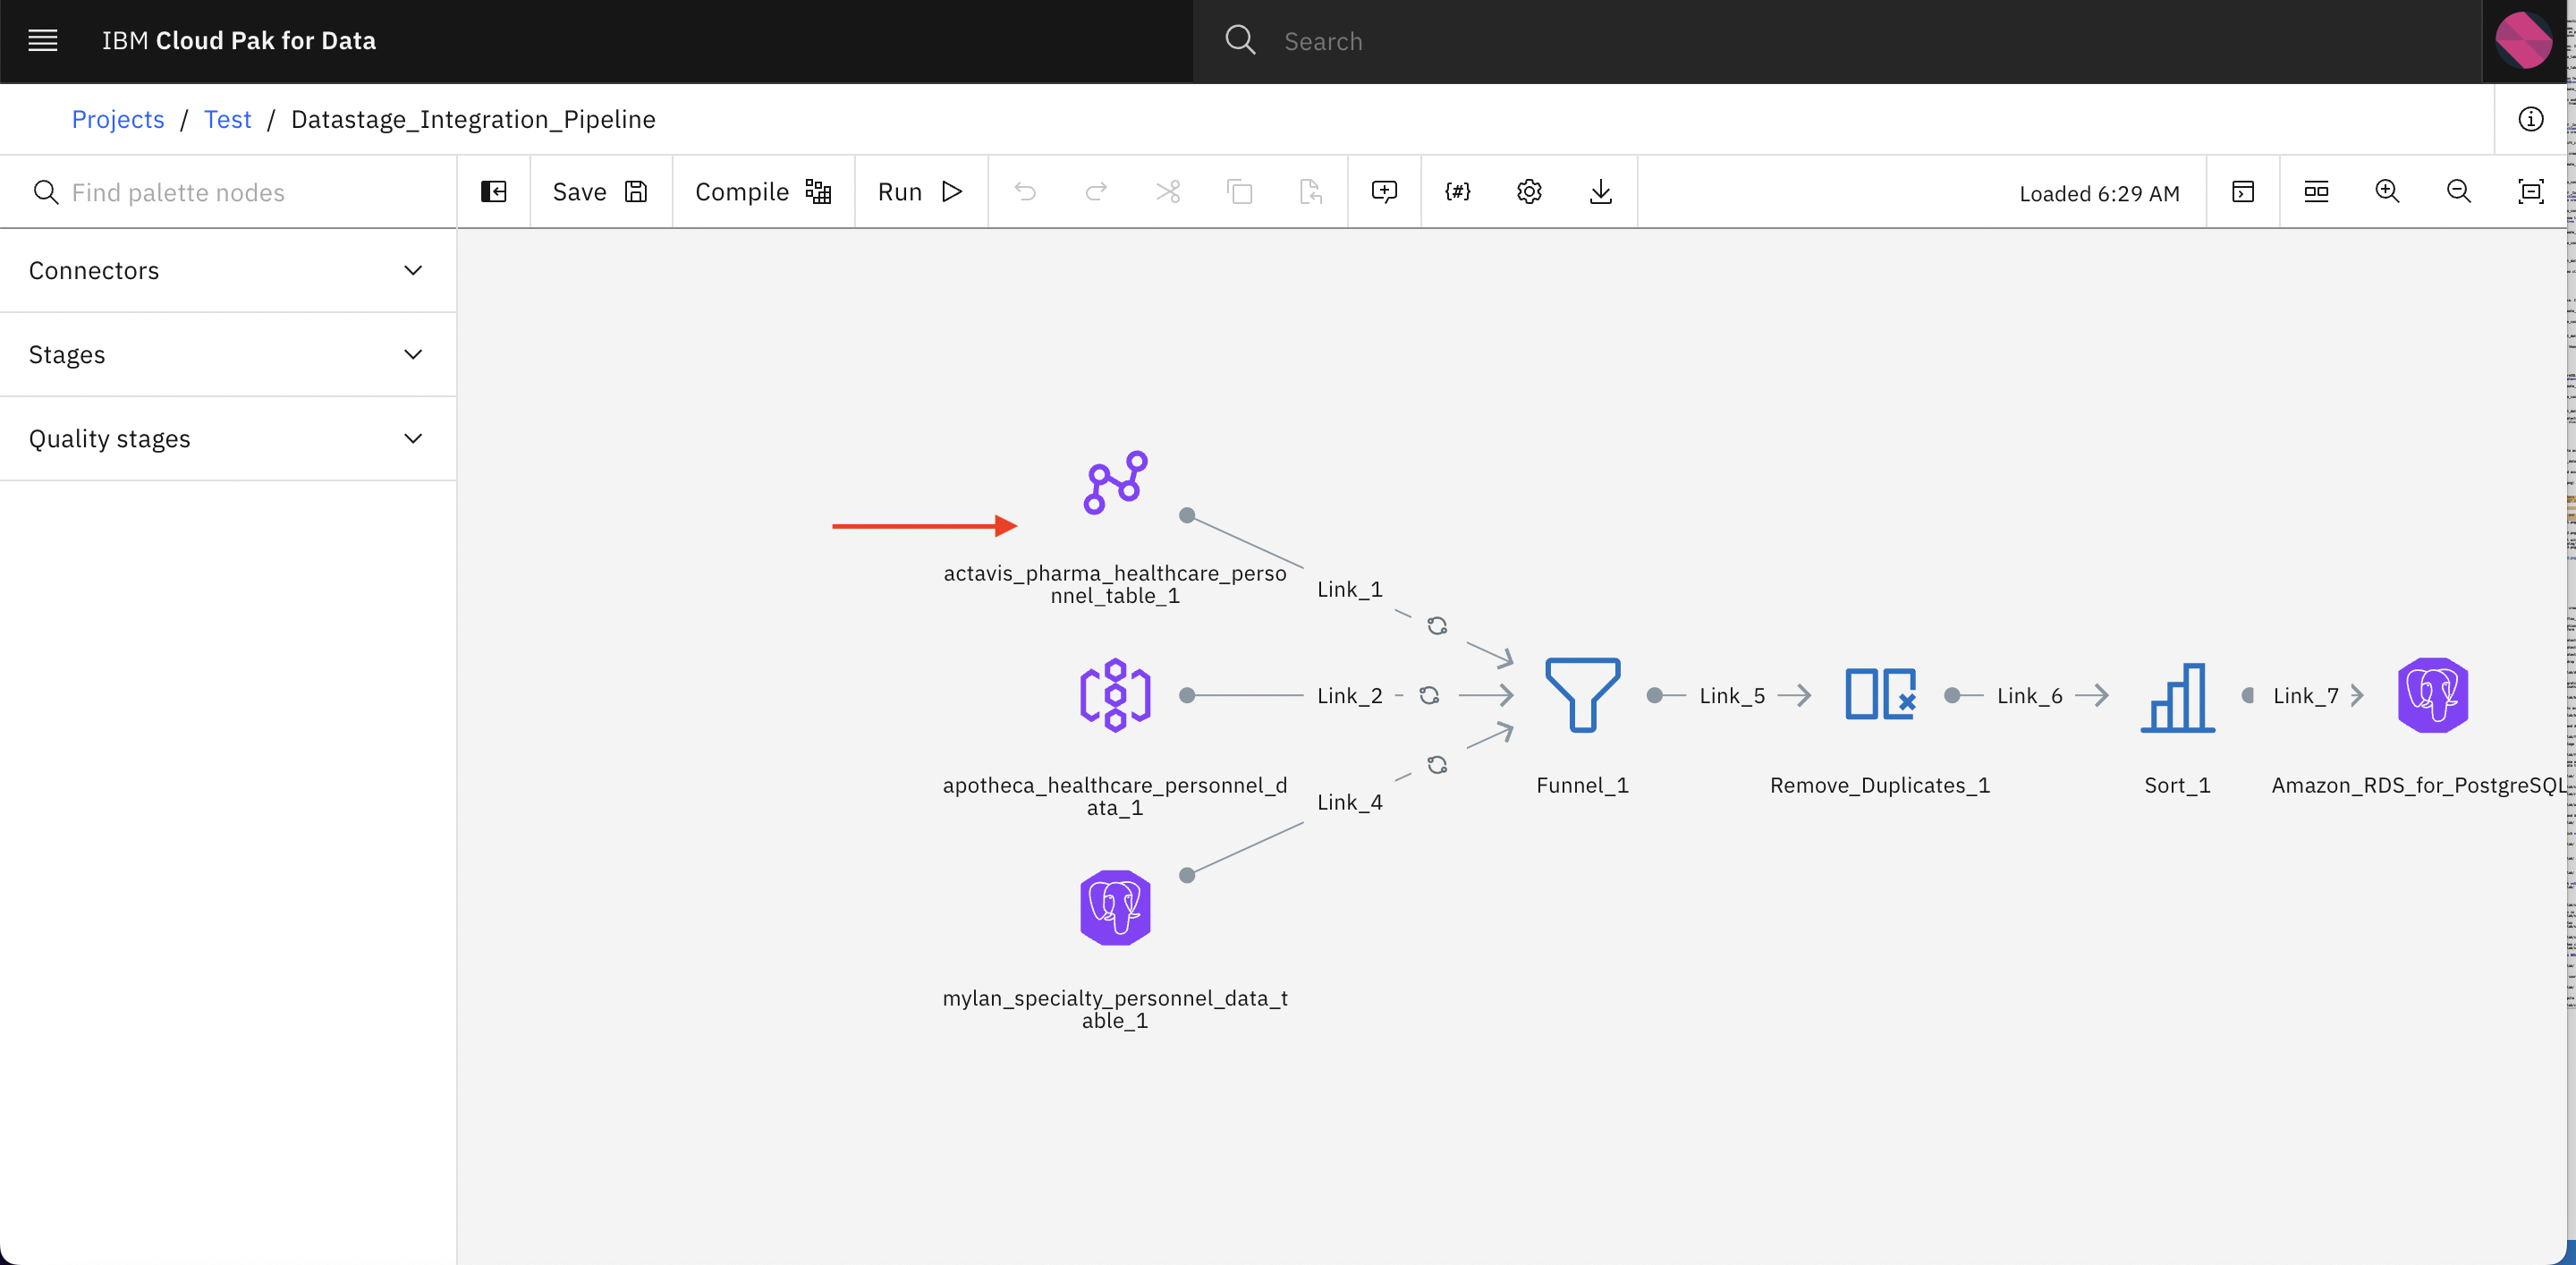
Now lets link the data assets in this pipeline.
-
Double click on actavis_pharma_healthcare_personnel_table_1
-
Ignore the error and Close the error popup. This is because we have not yet link the data assets with the datastage pipeline.

-
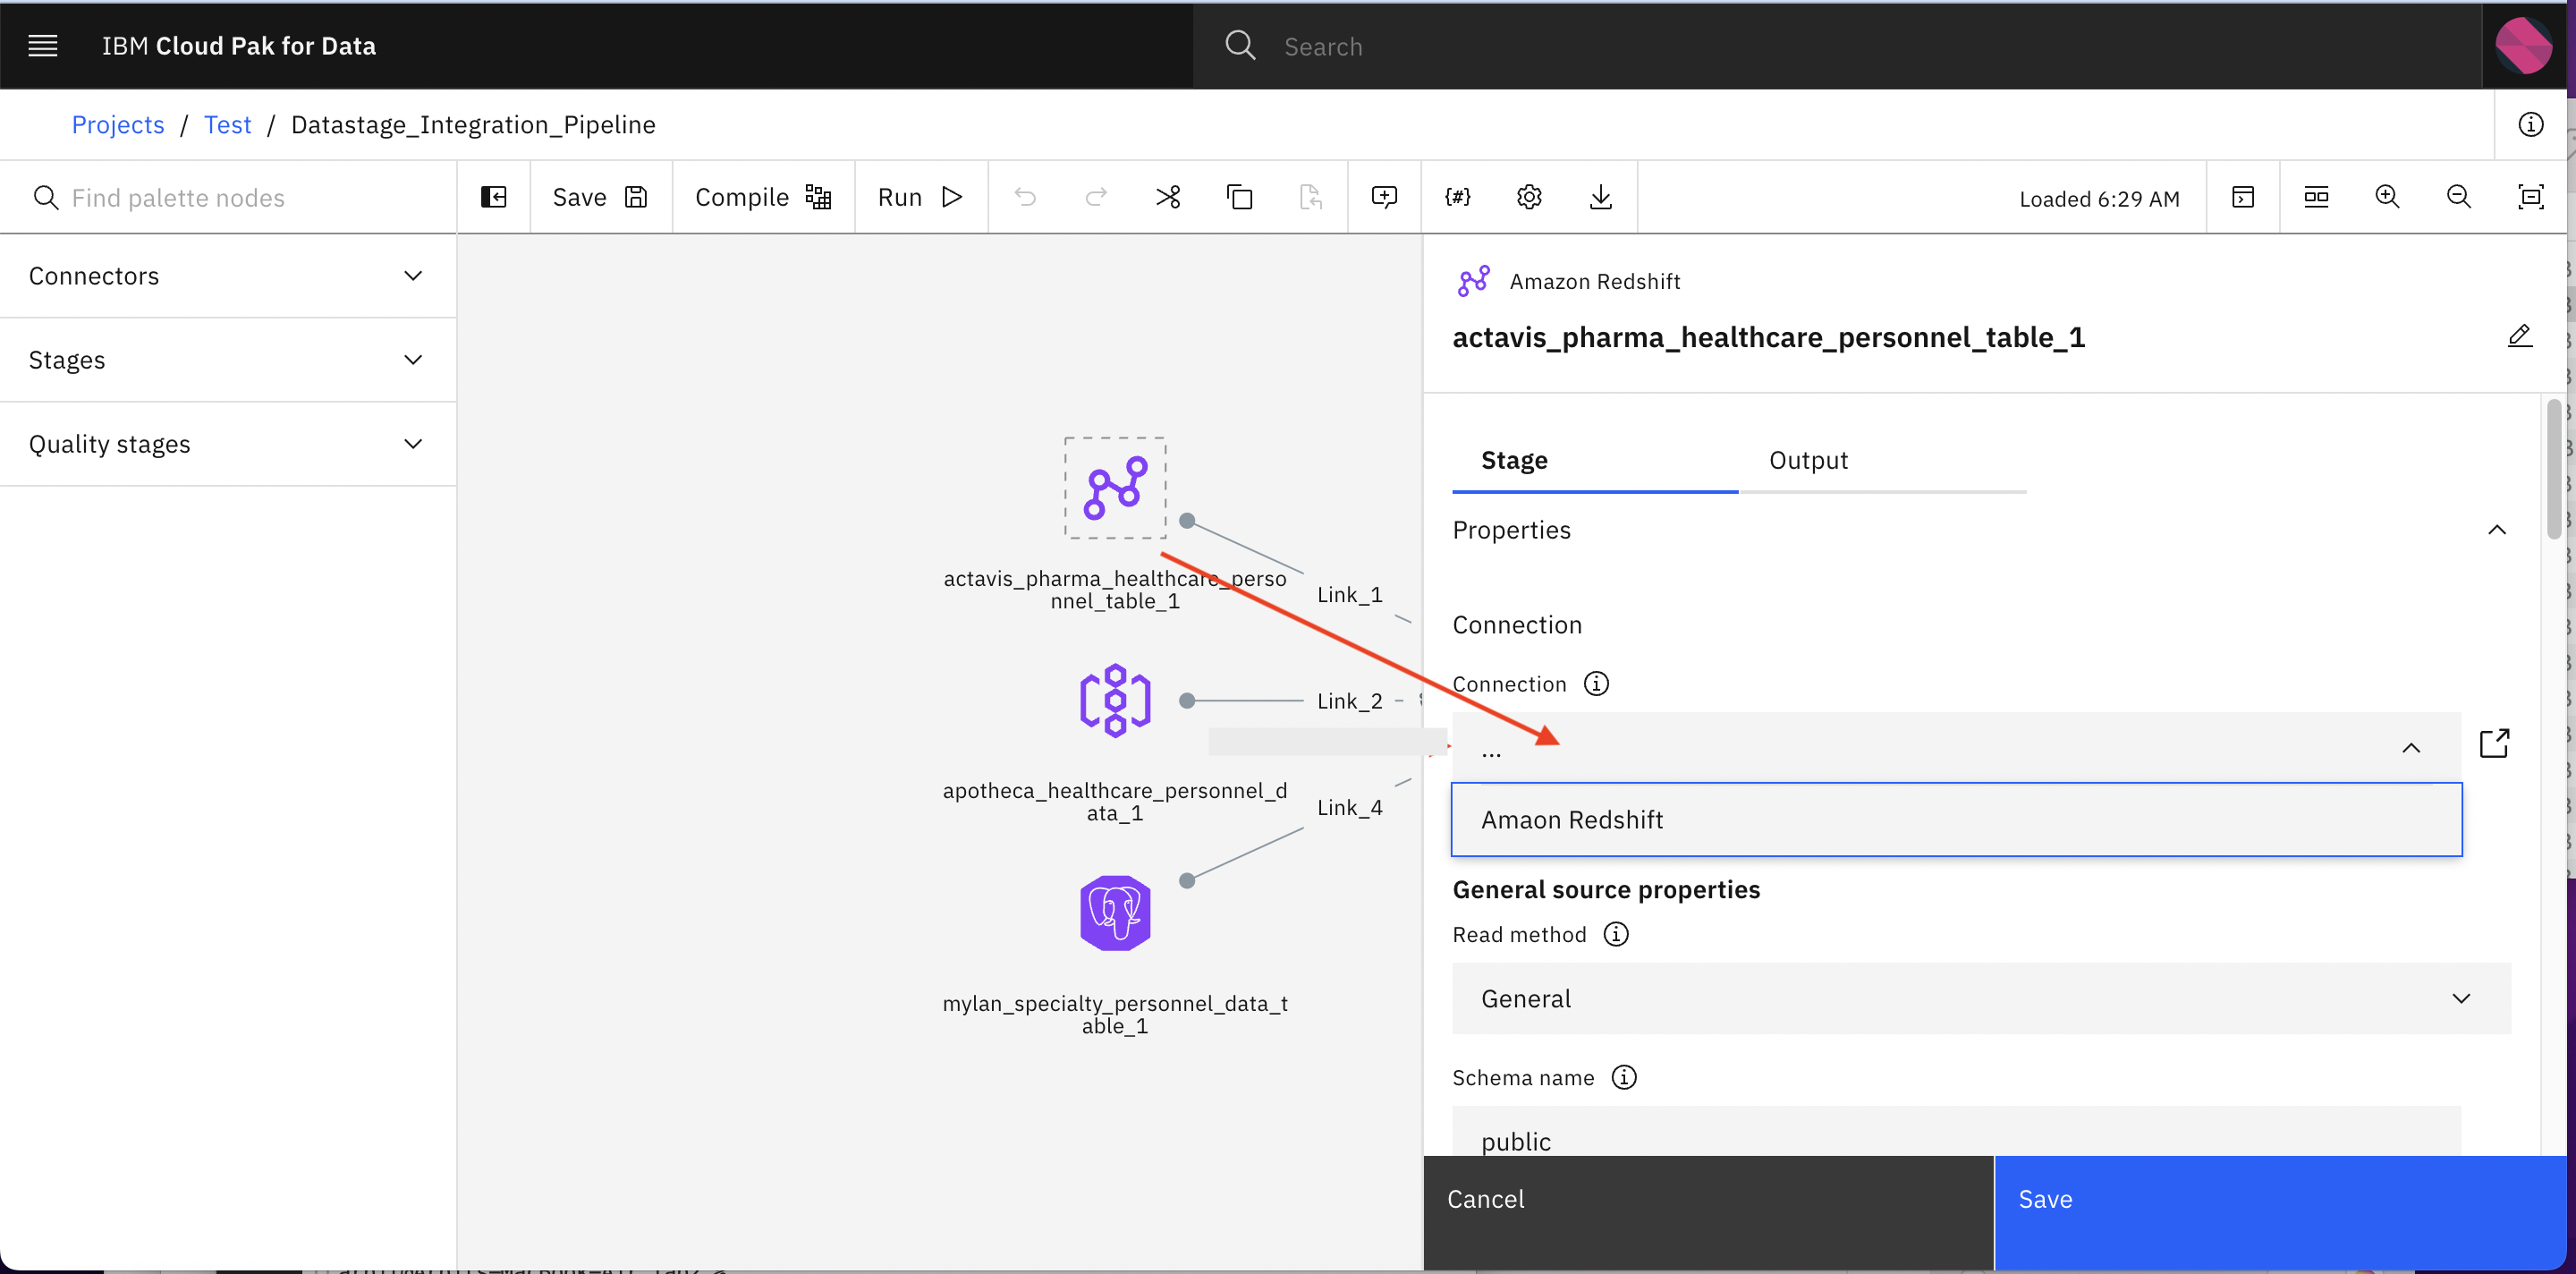
Expand Properties option

-
Click Connection. here you will see connection which you have created earlier in this lab. Select the connection and click Save
-
Repeat the same steps for mylan_specialty_personnel_data_table_1 connection.
-
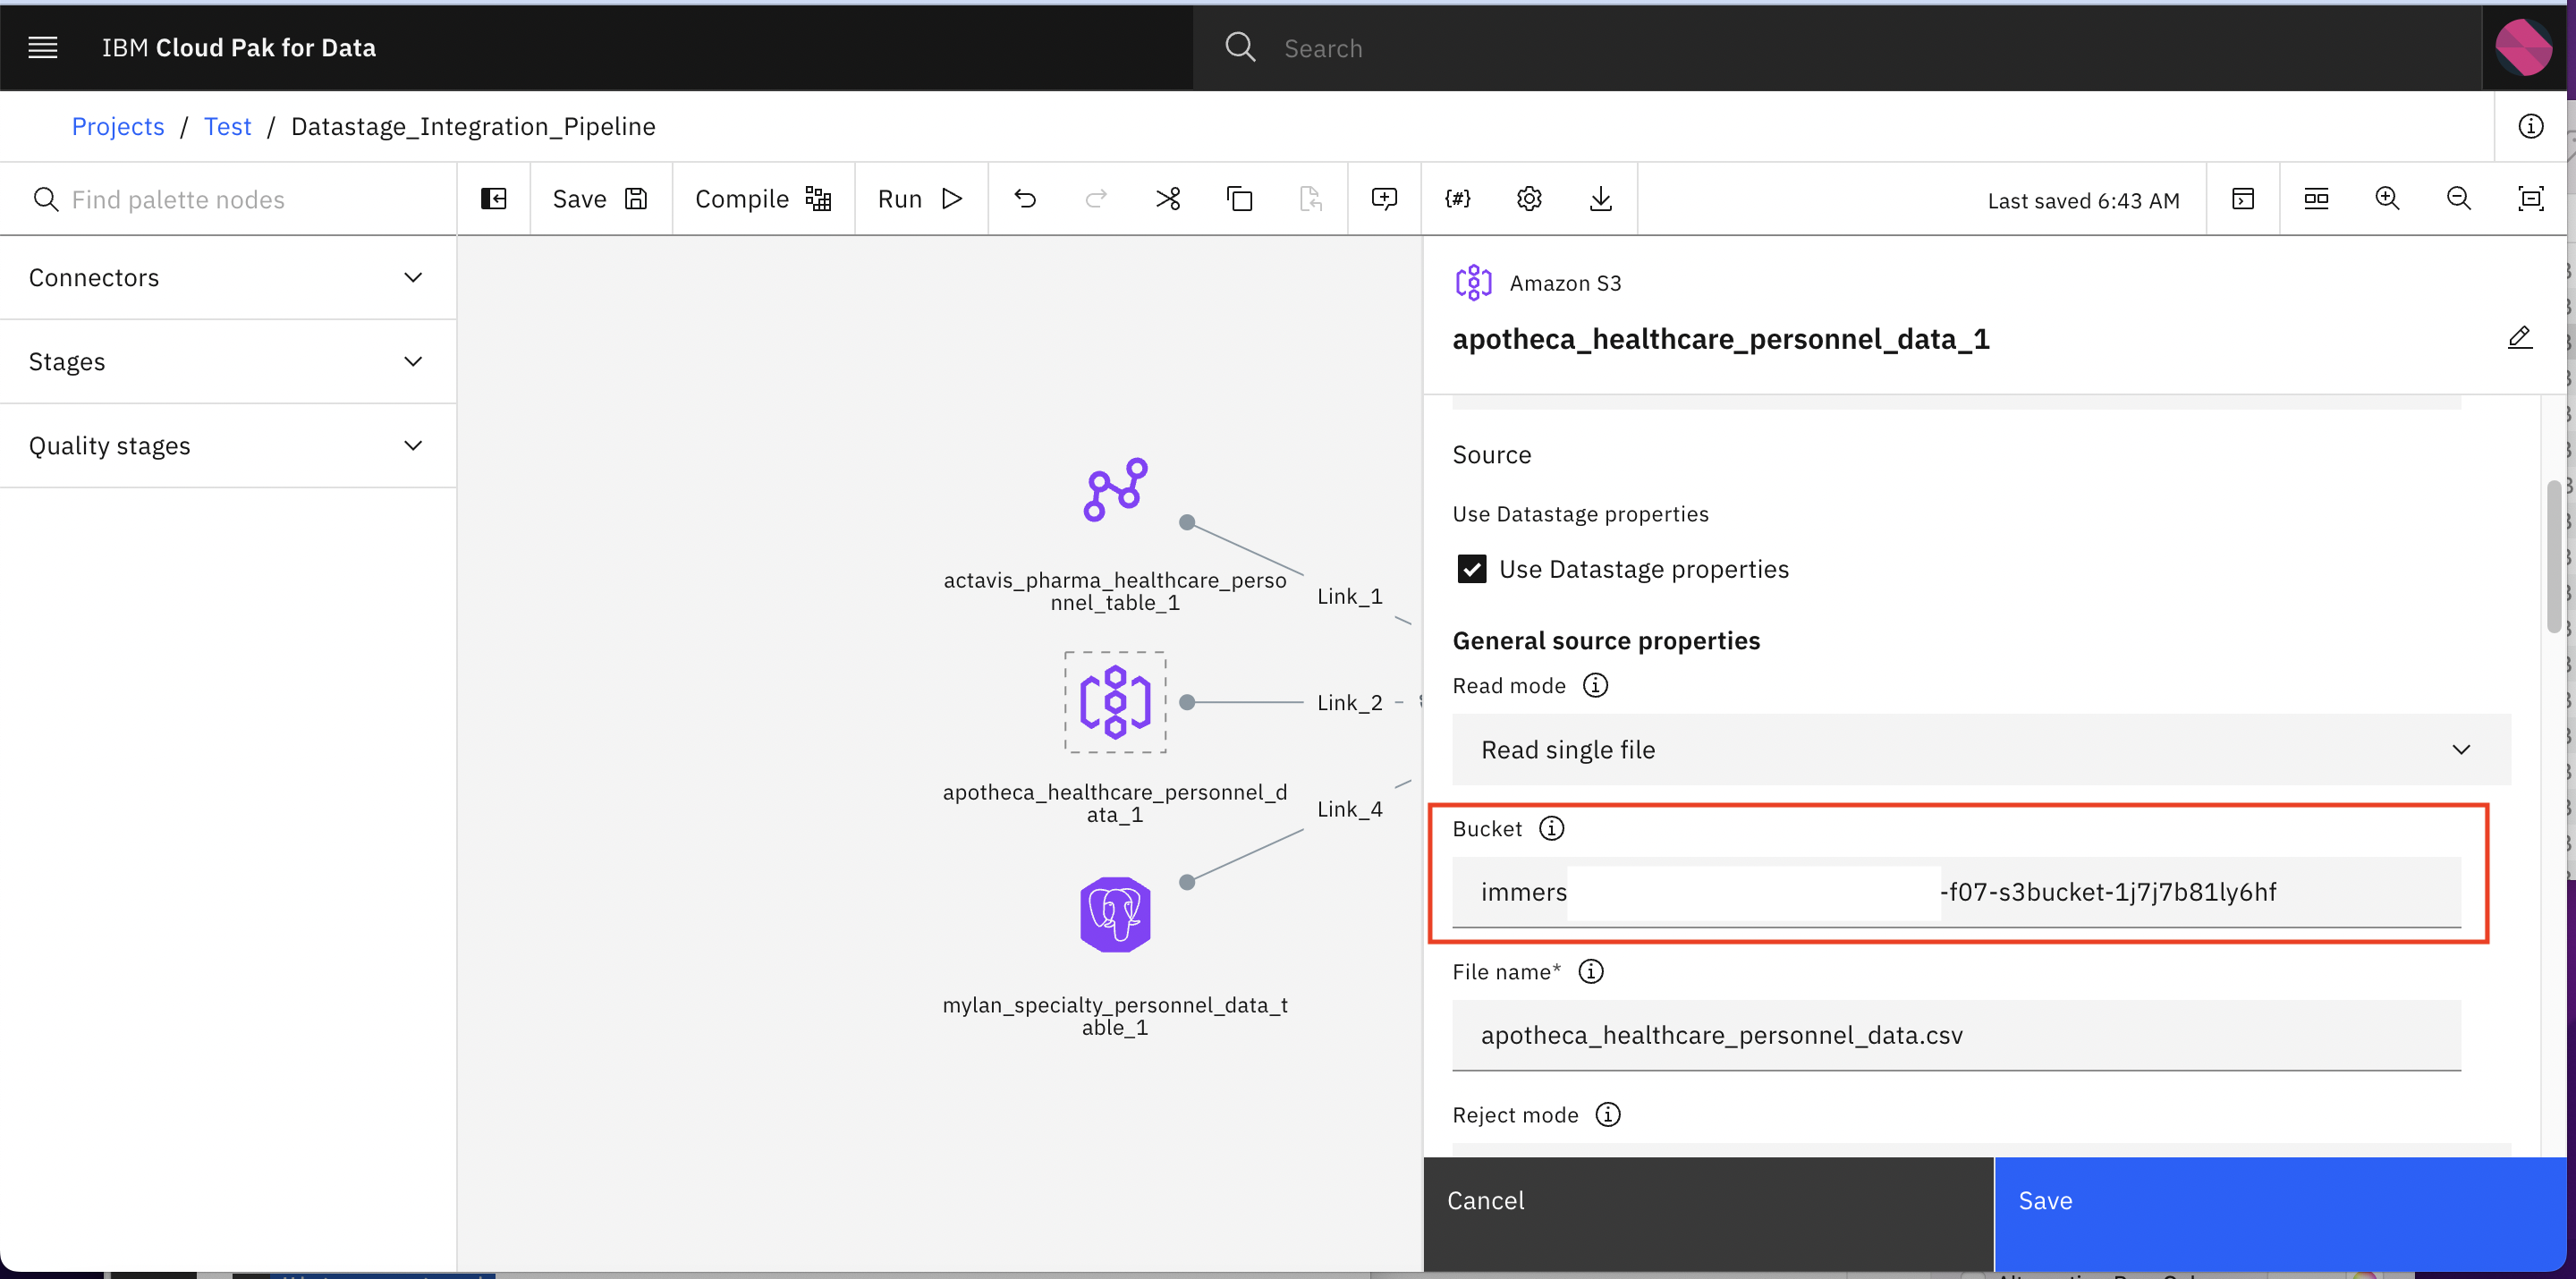
Now click on apotheca_healthcare_personnel_data_1 and choose the S3 connection under Connection option similar what we did in the last steps. But here you also need to specify the S3 Bucket name which you should receive as the output of infra provisioning lab.
-
Click Save
-
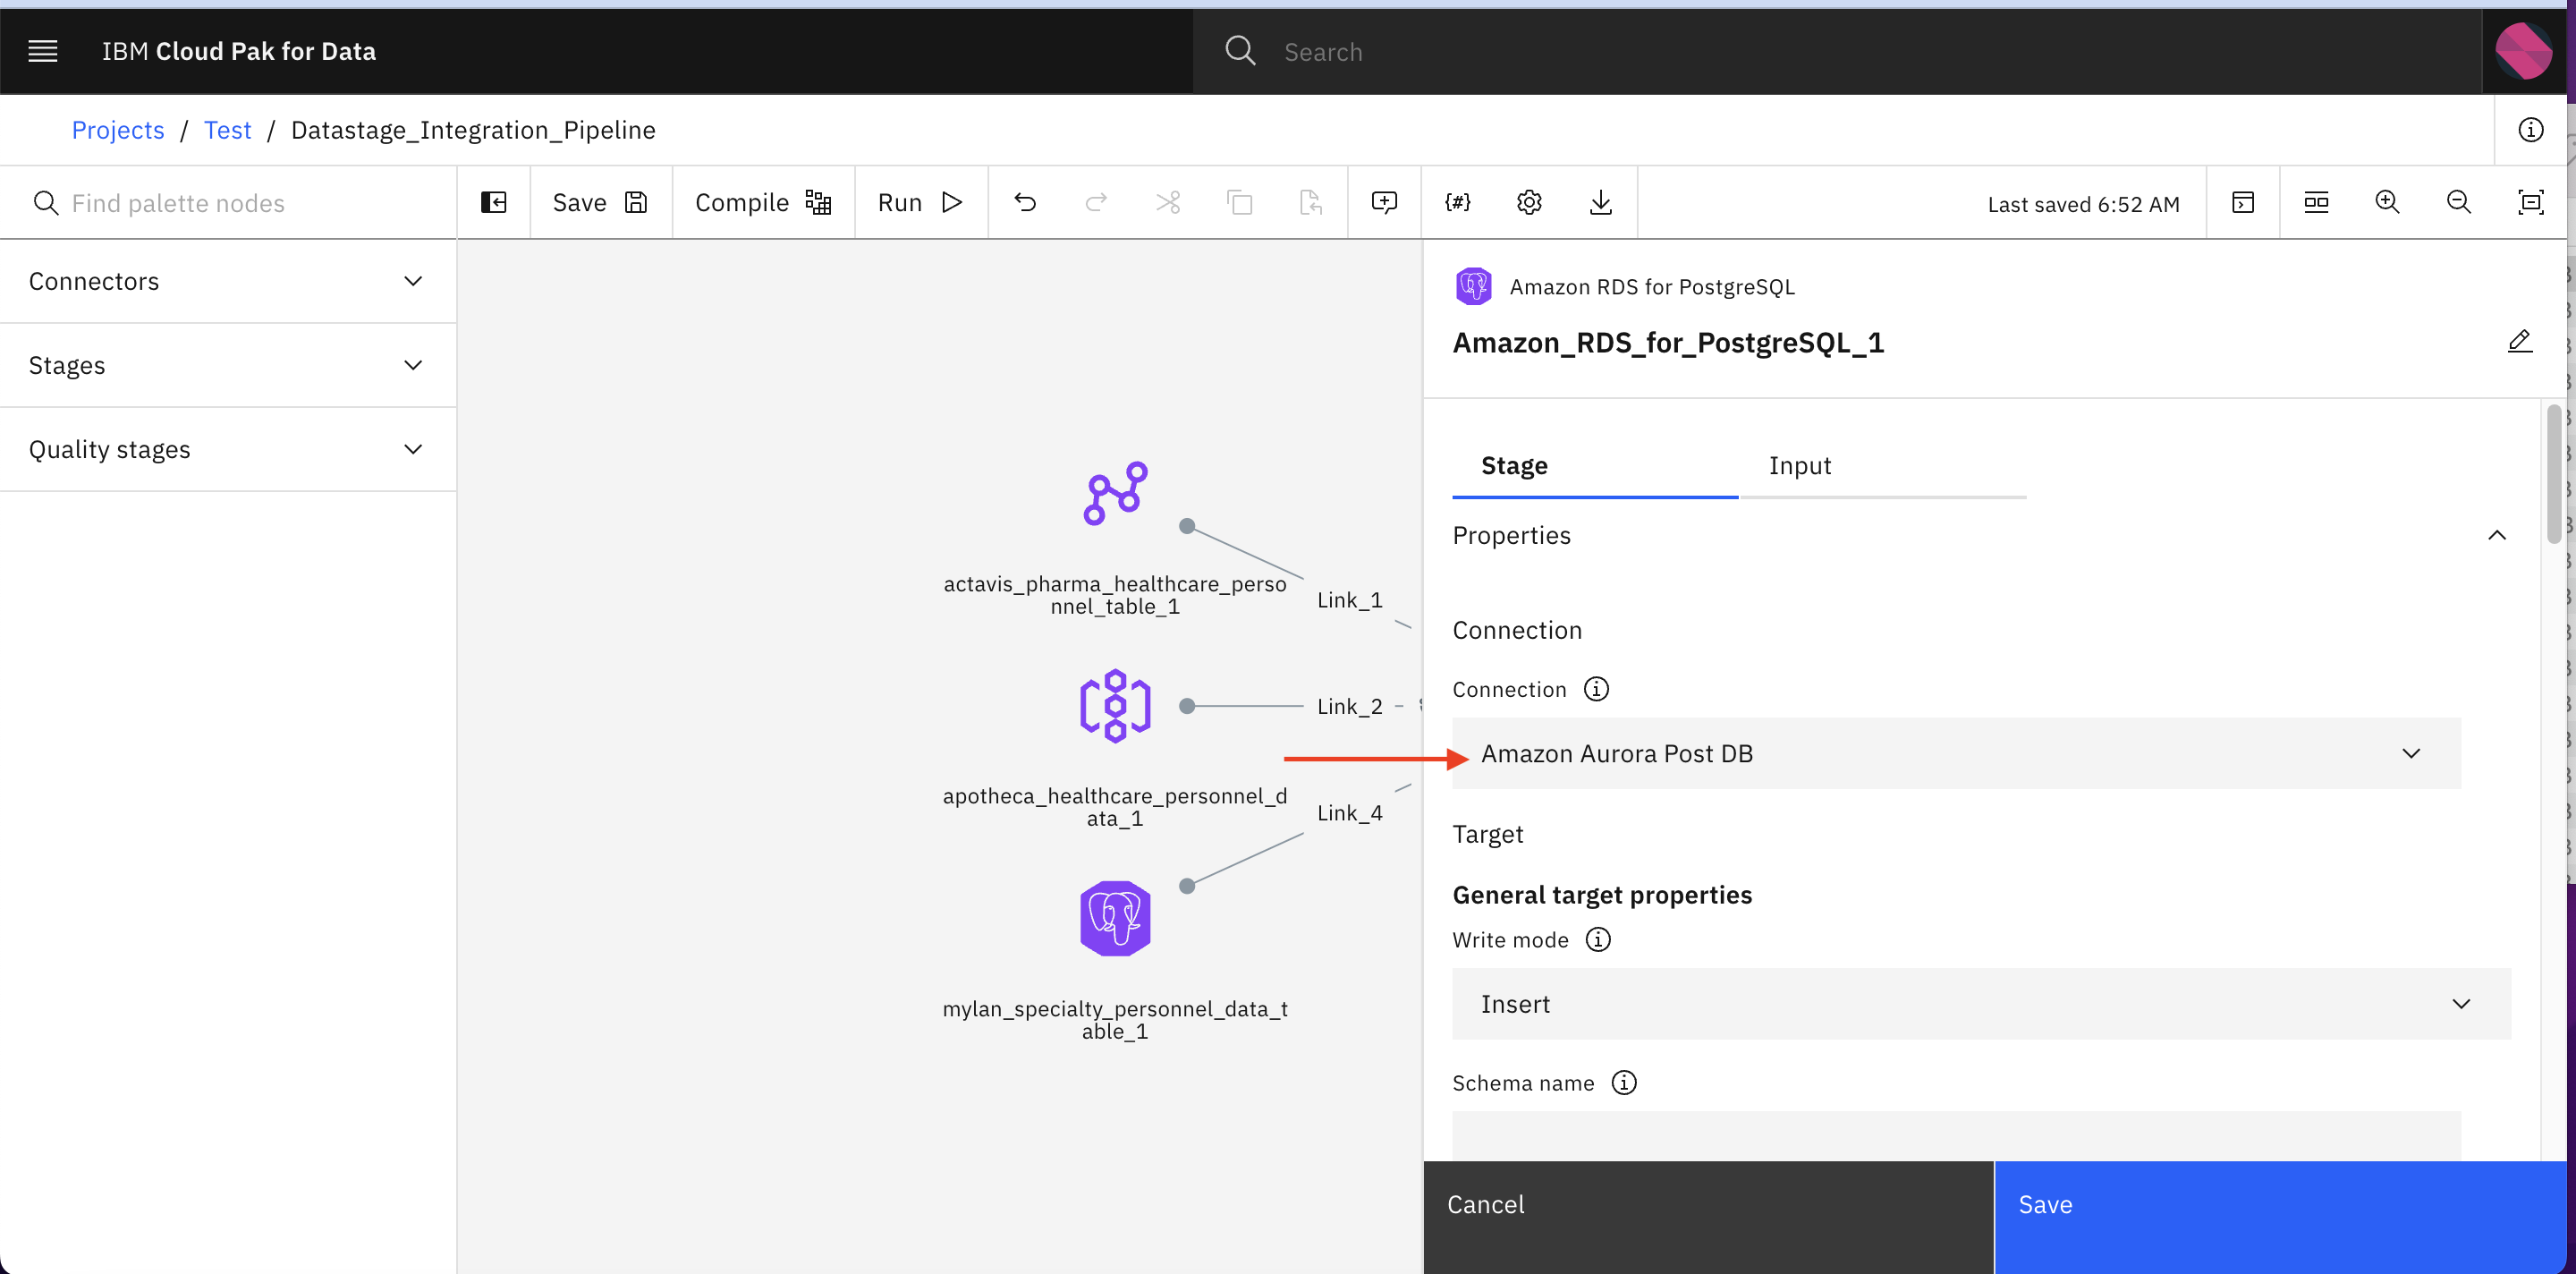
Double Click Amazon_RDS_for_PostgreSQL_1

-
Update Connection as shown below. Don’t click save.
-
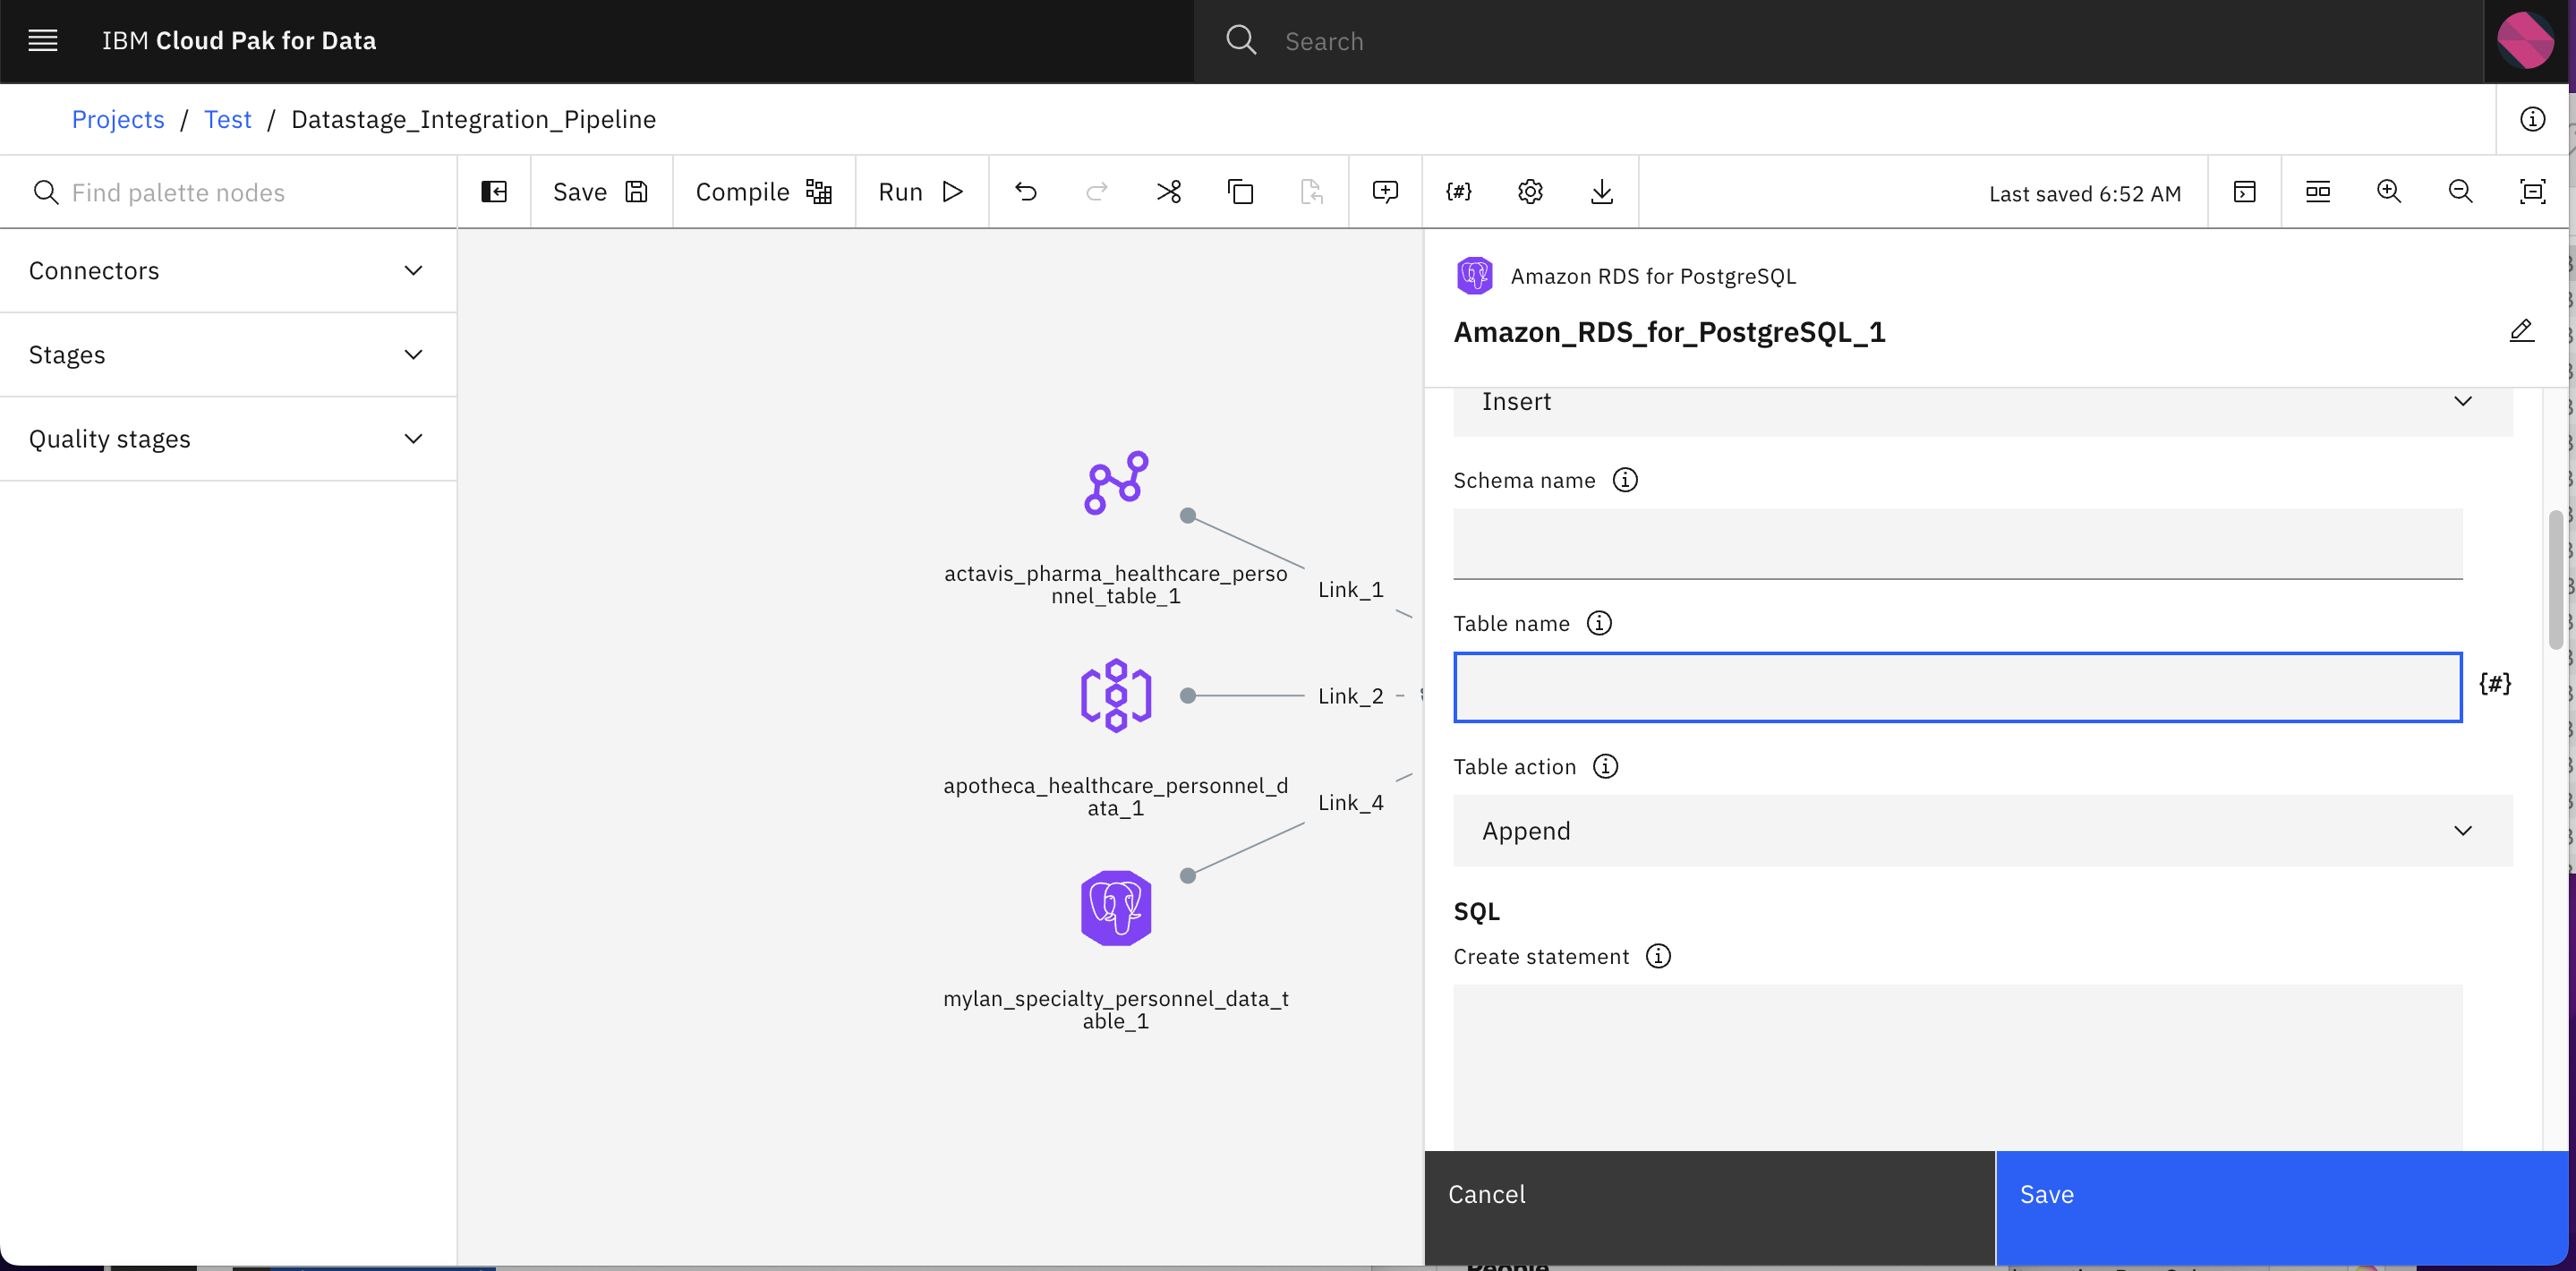
Specify the name to output table name. eg Datastage_Output_Table_v1 and then click Save
-
Click Compile to validate if everything is file. Within a few seconds you should get Compile successful. message.

-
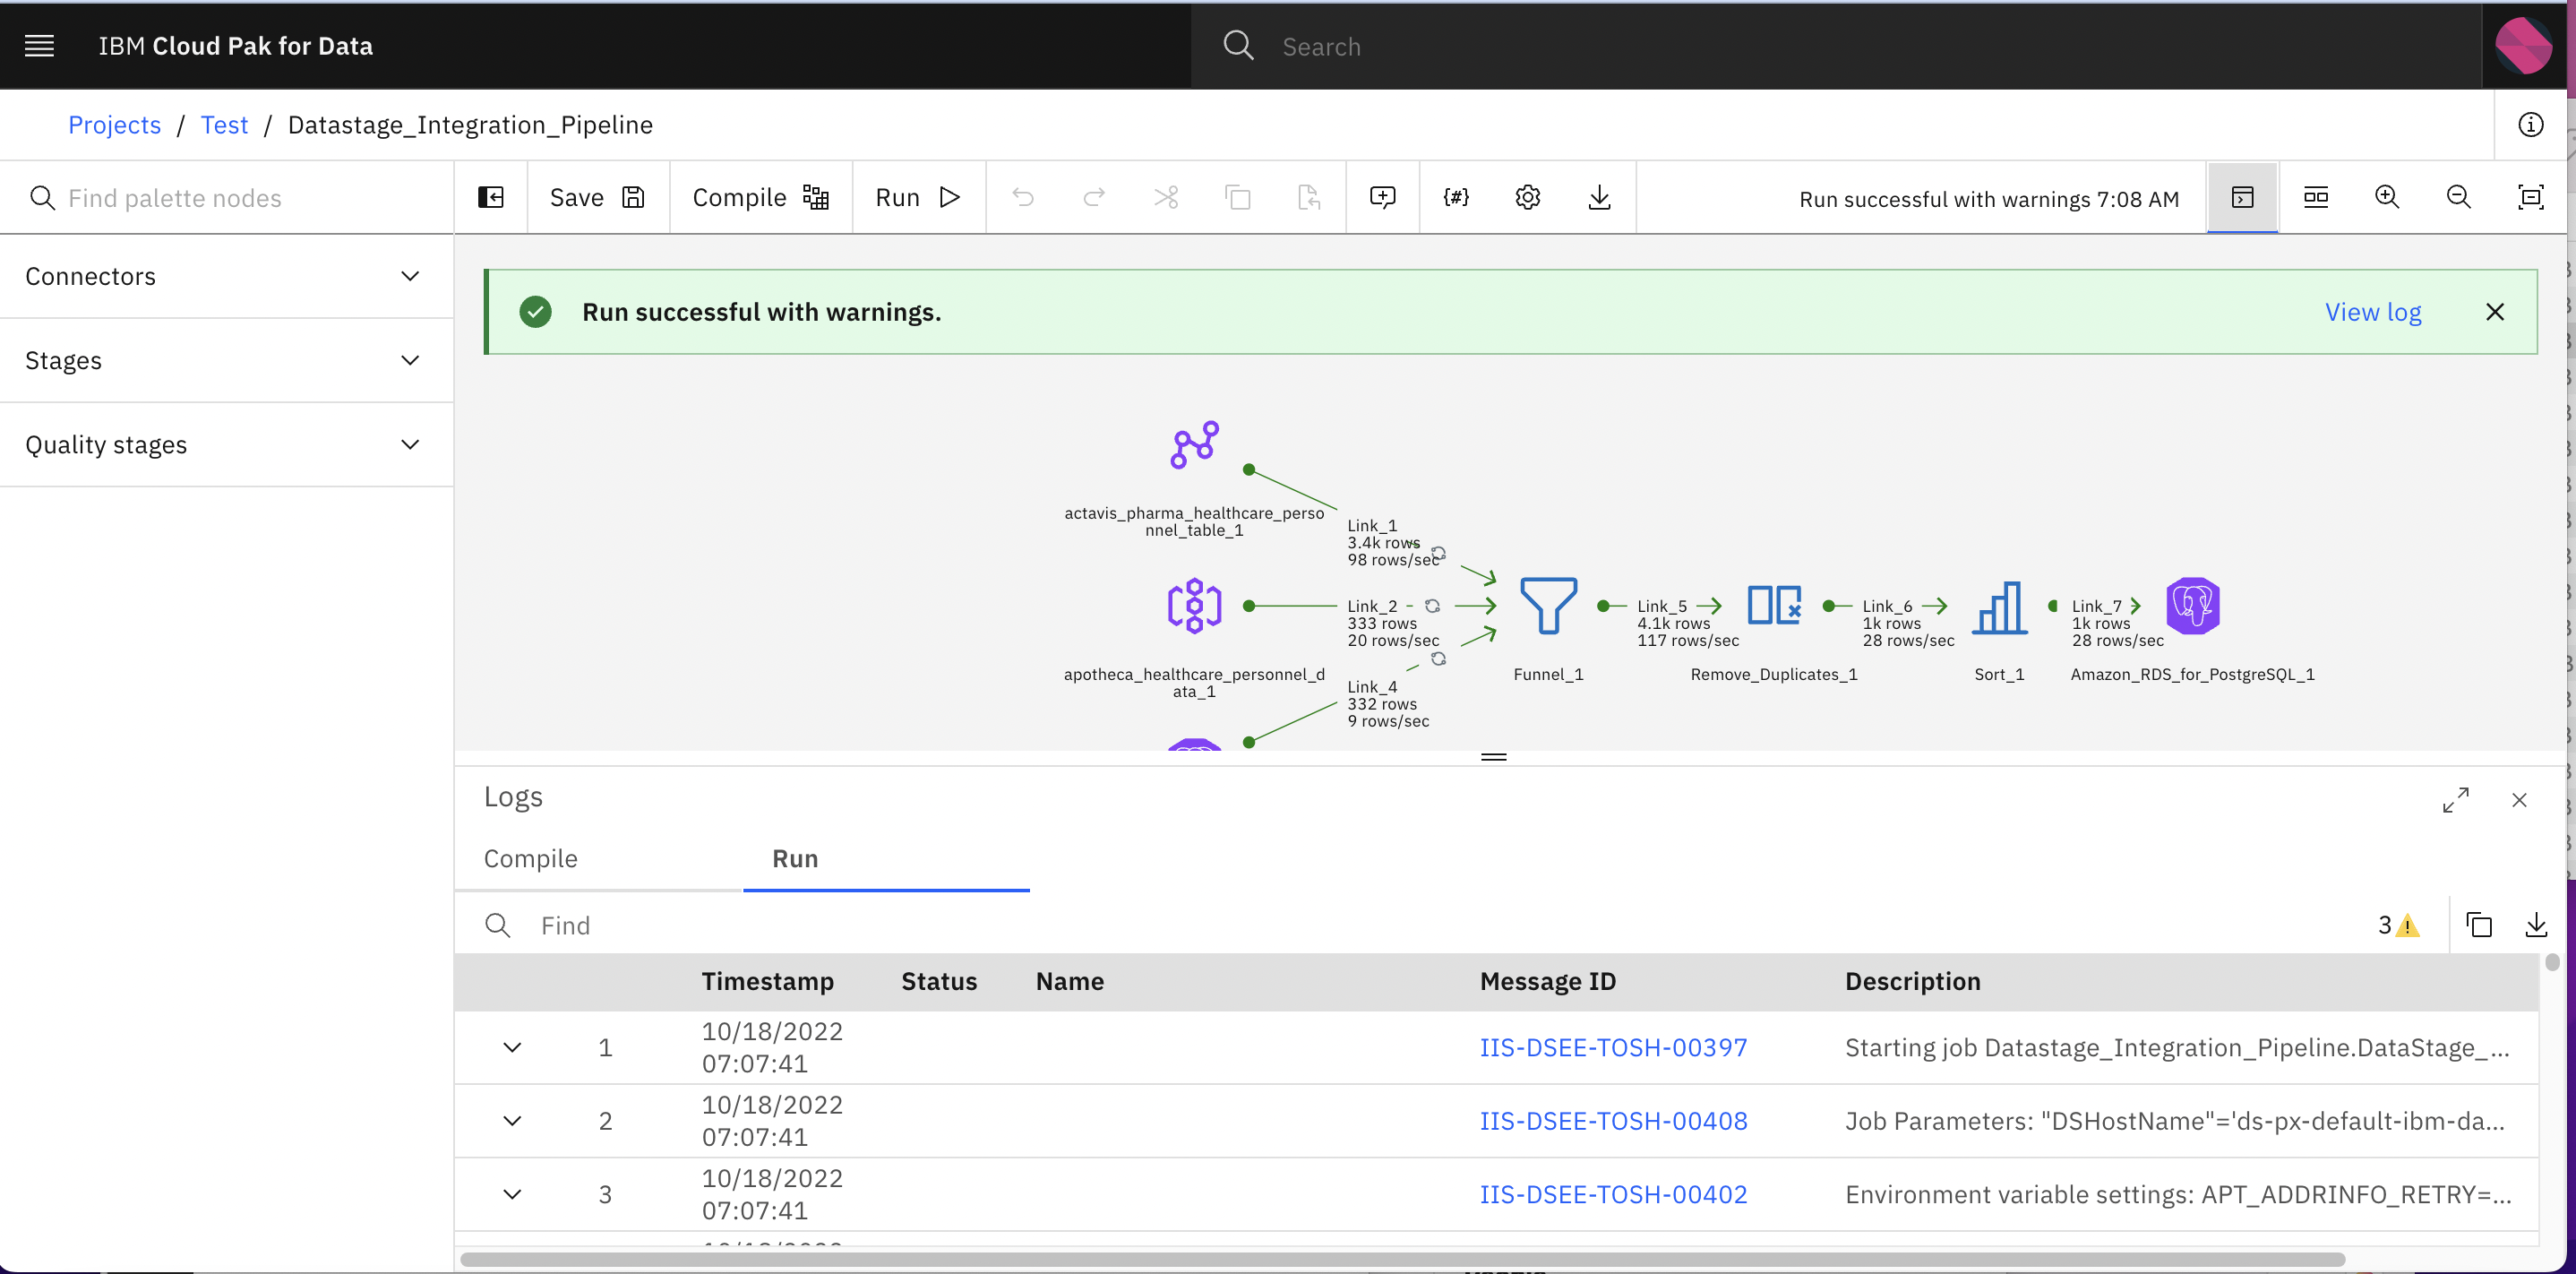
Click Run to run the pipeline. After a few couple of seconds you should see Run successful message.
Step 4: Ingest the integrated data into the project
- Now we have integrated data available in Amazon RDS for PostgreSQL. Let’s ingest the data from the data source
-
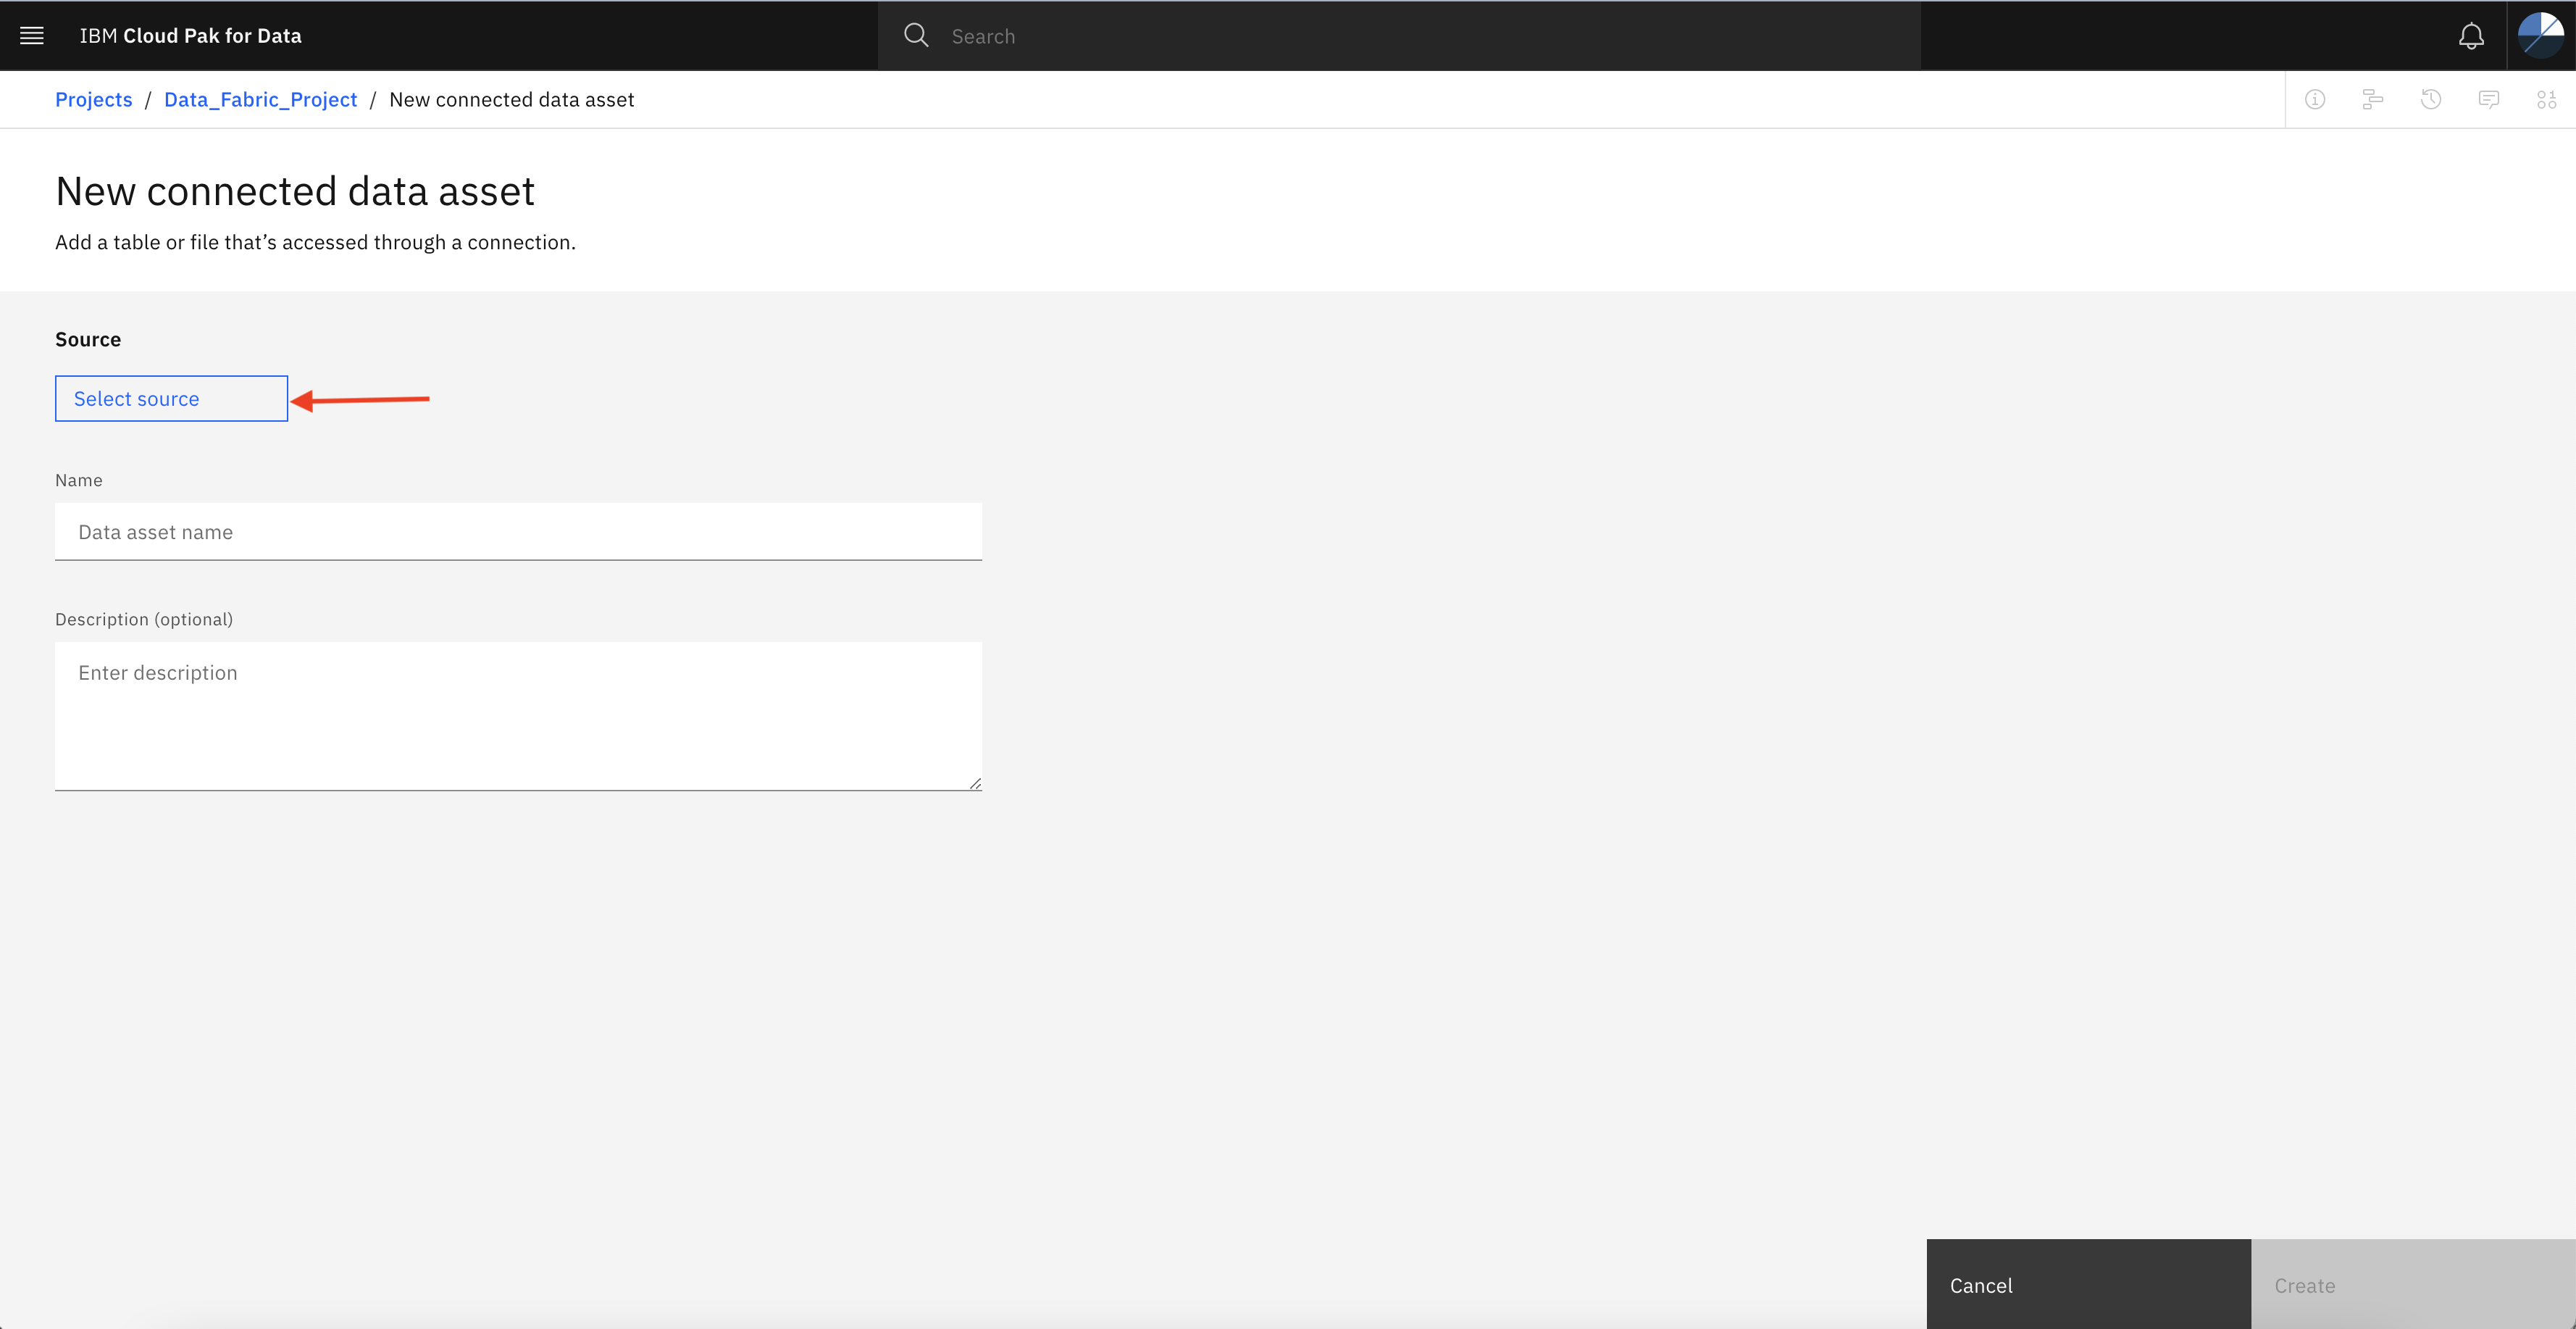
Click Select source
-
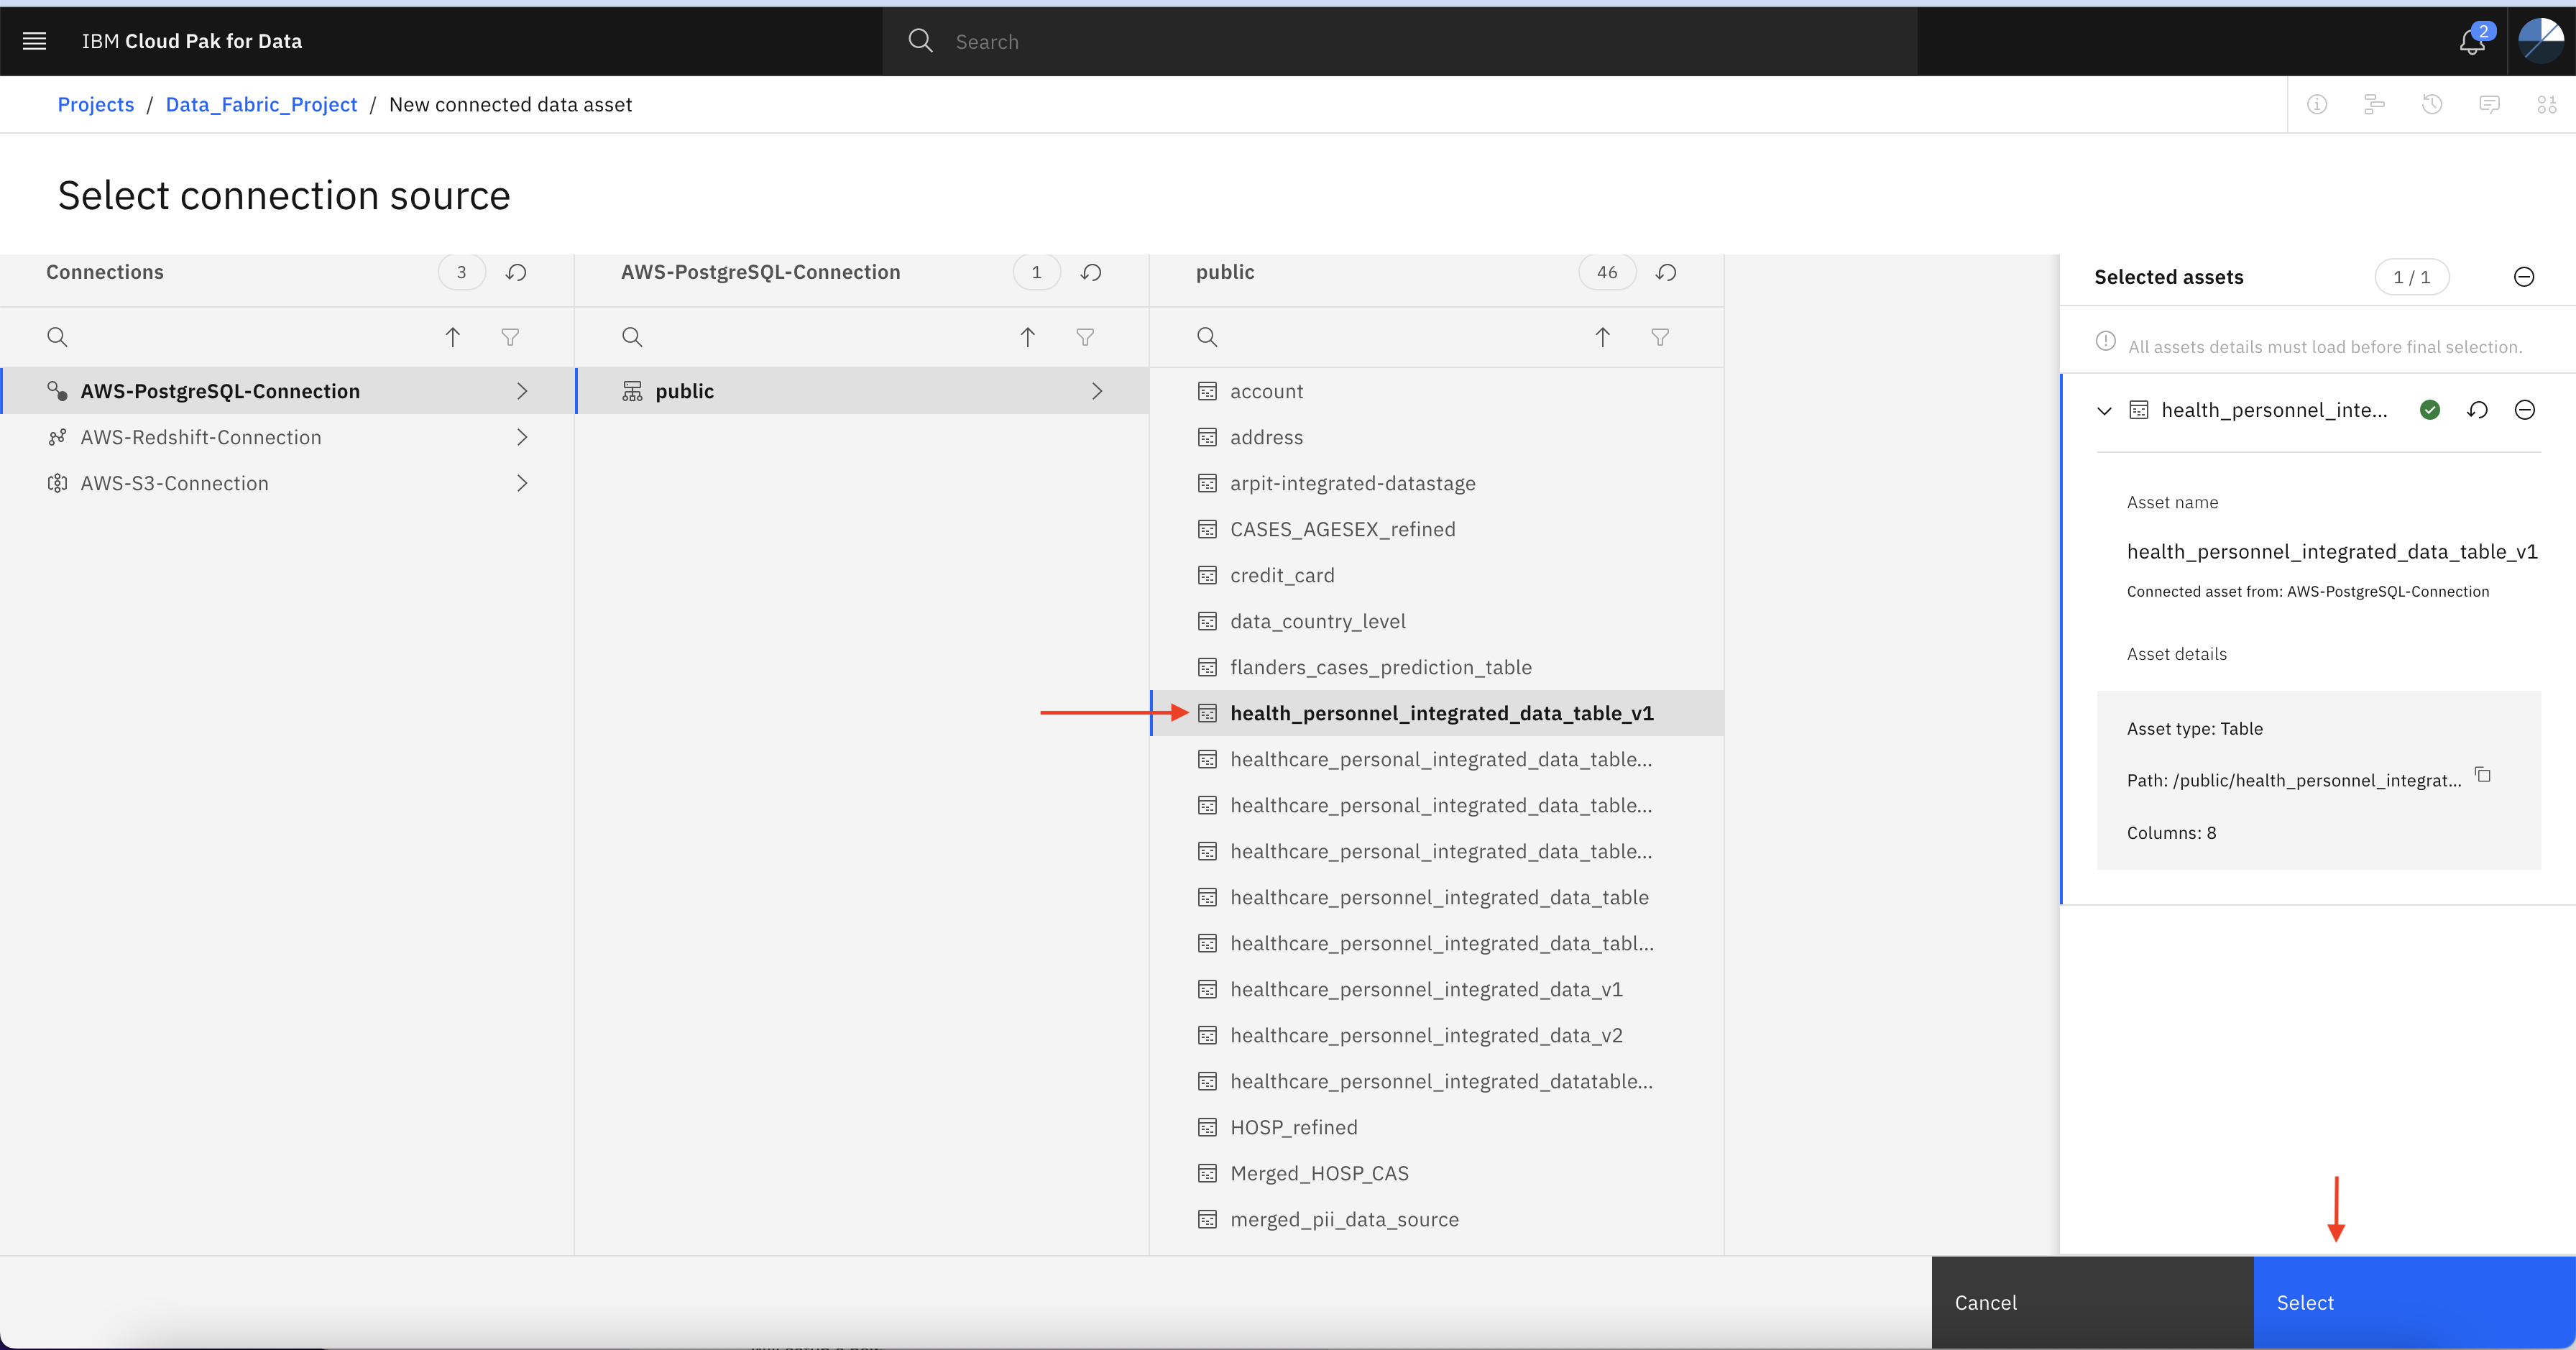
Search the integrated table and click Select
The file name should be same what you have specified as the output. eg. Datastage_Output_Table_v1
-
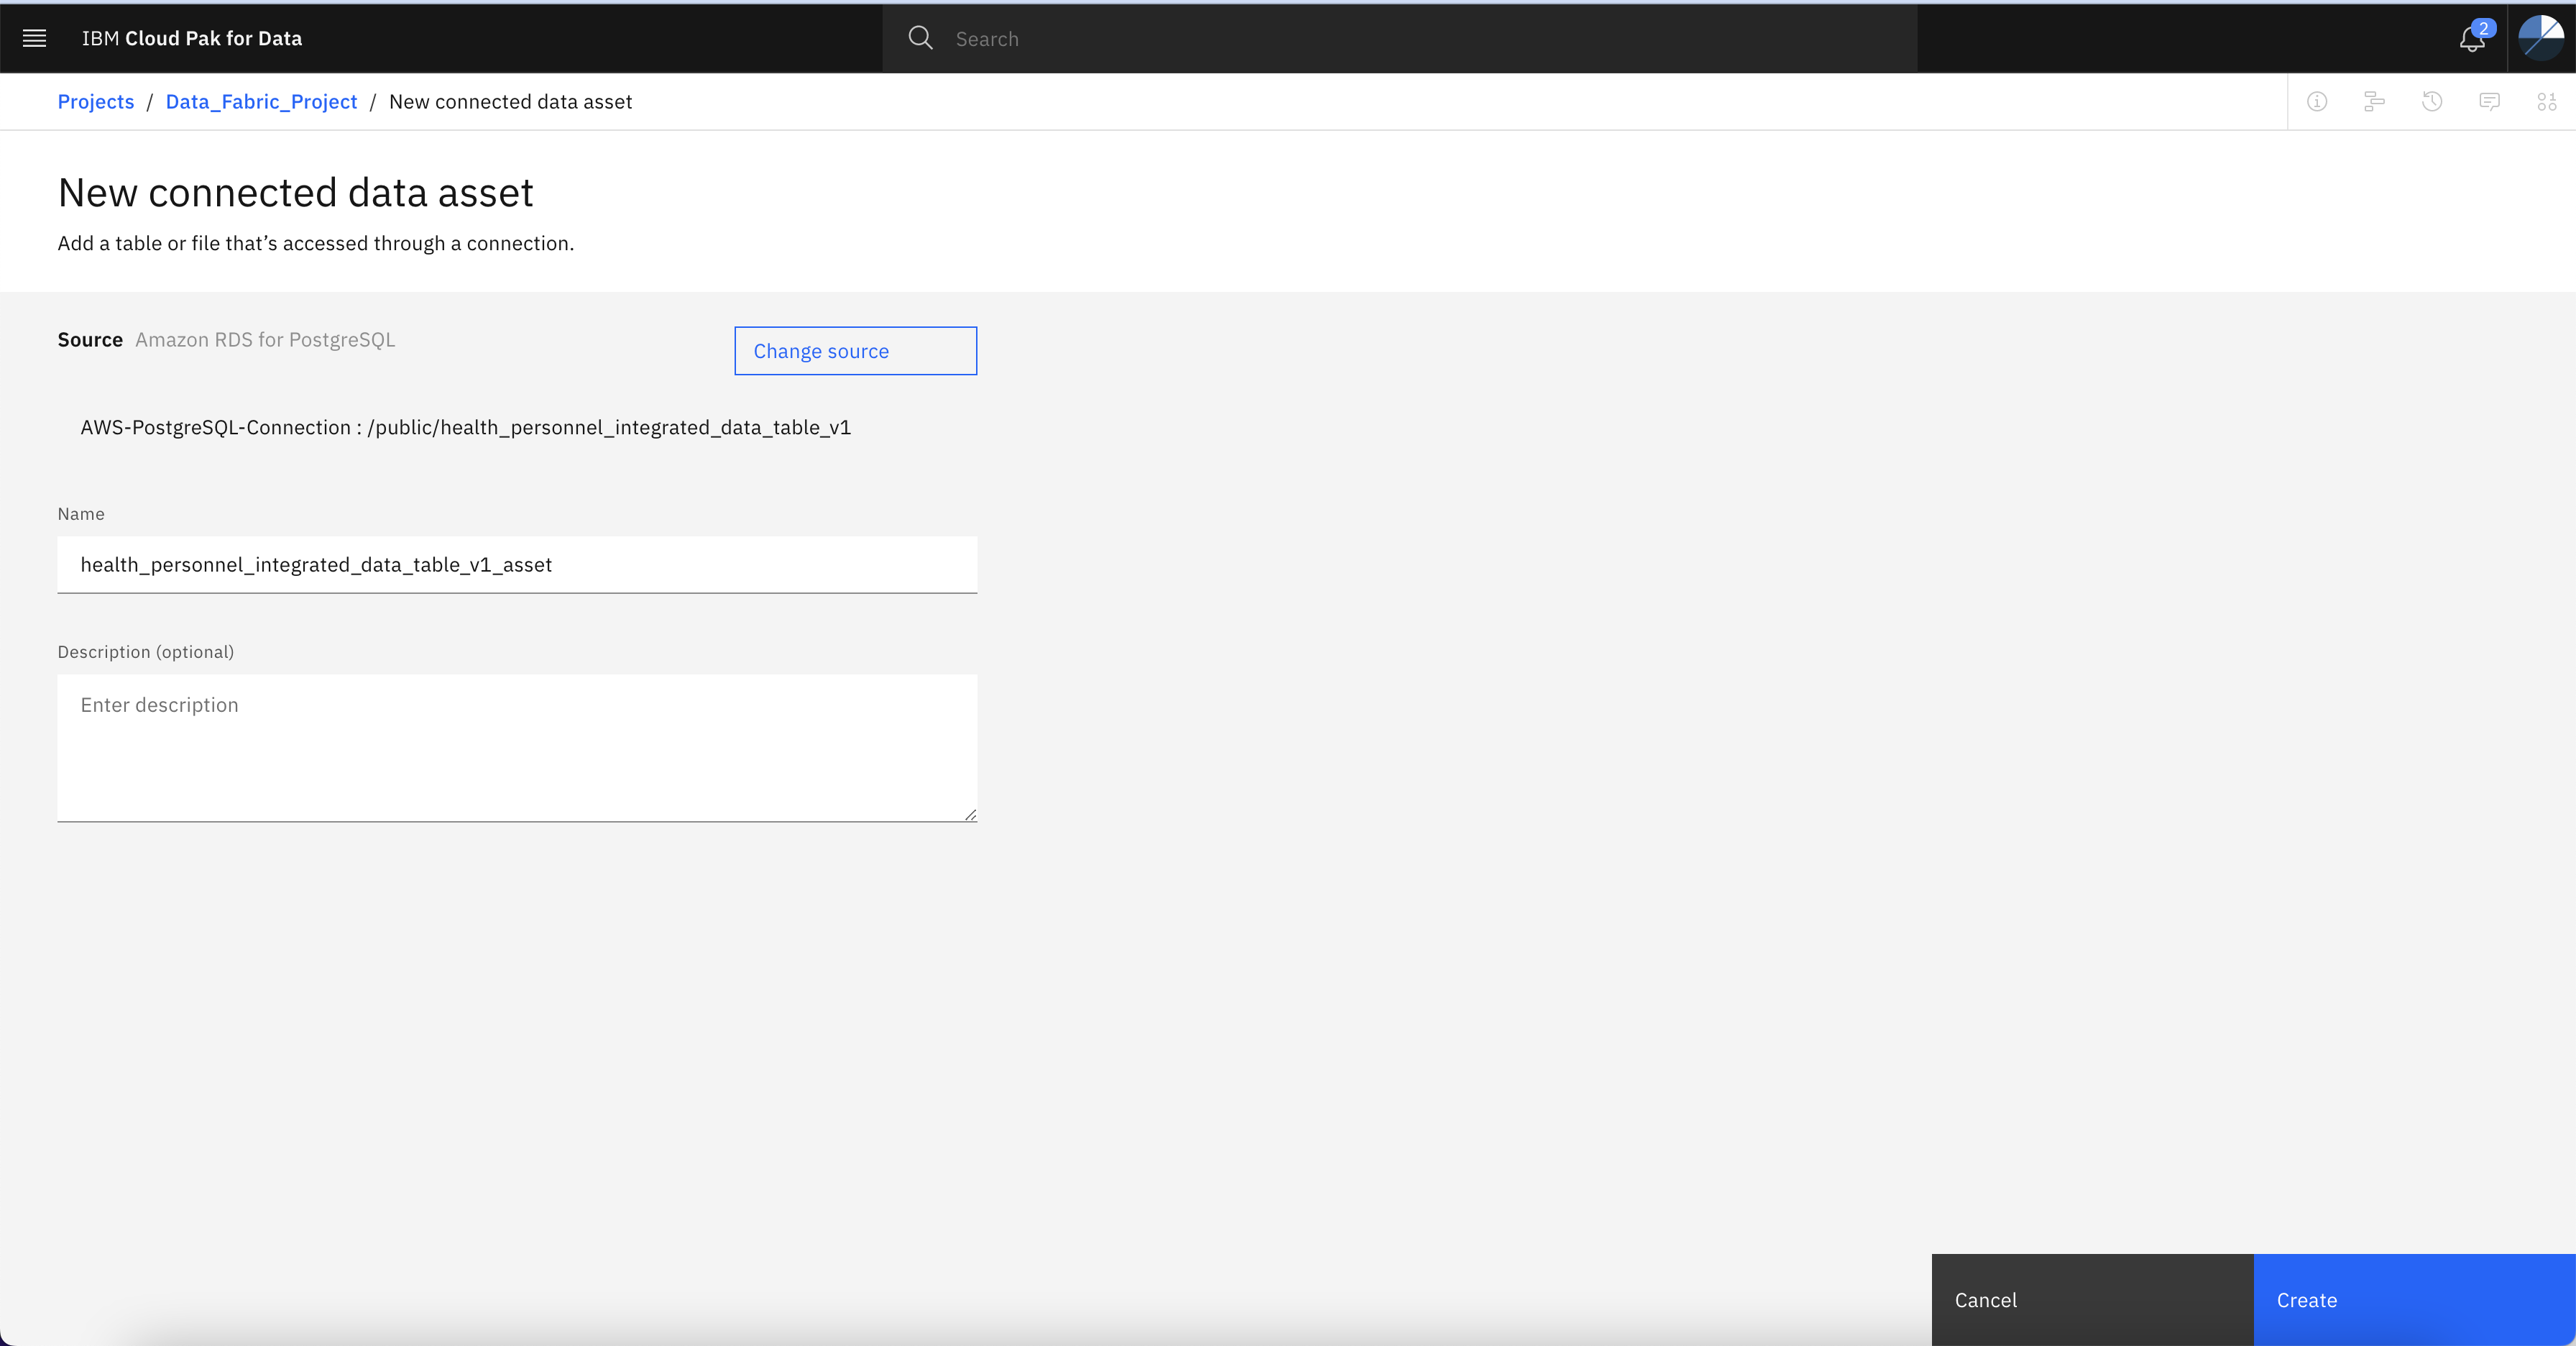
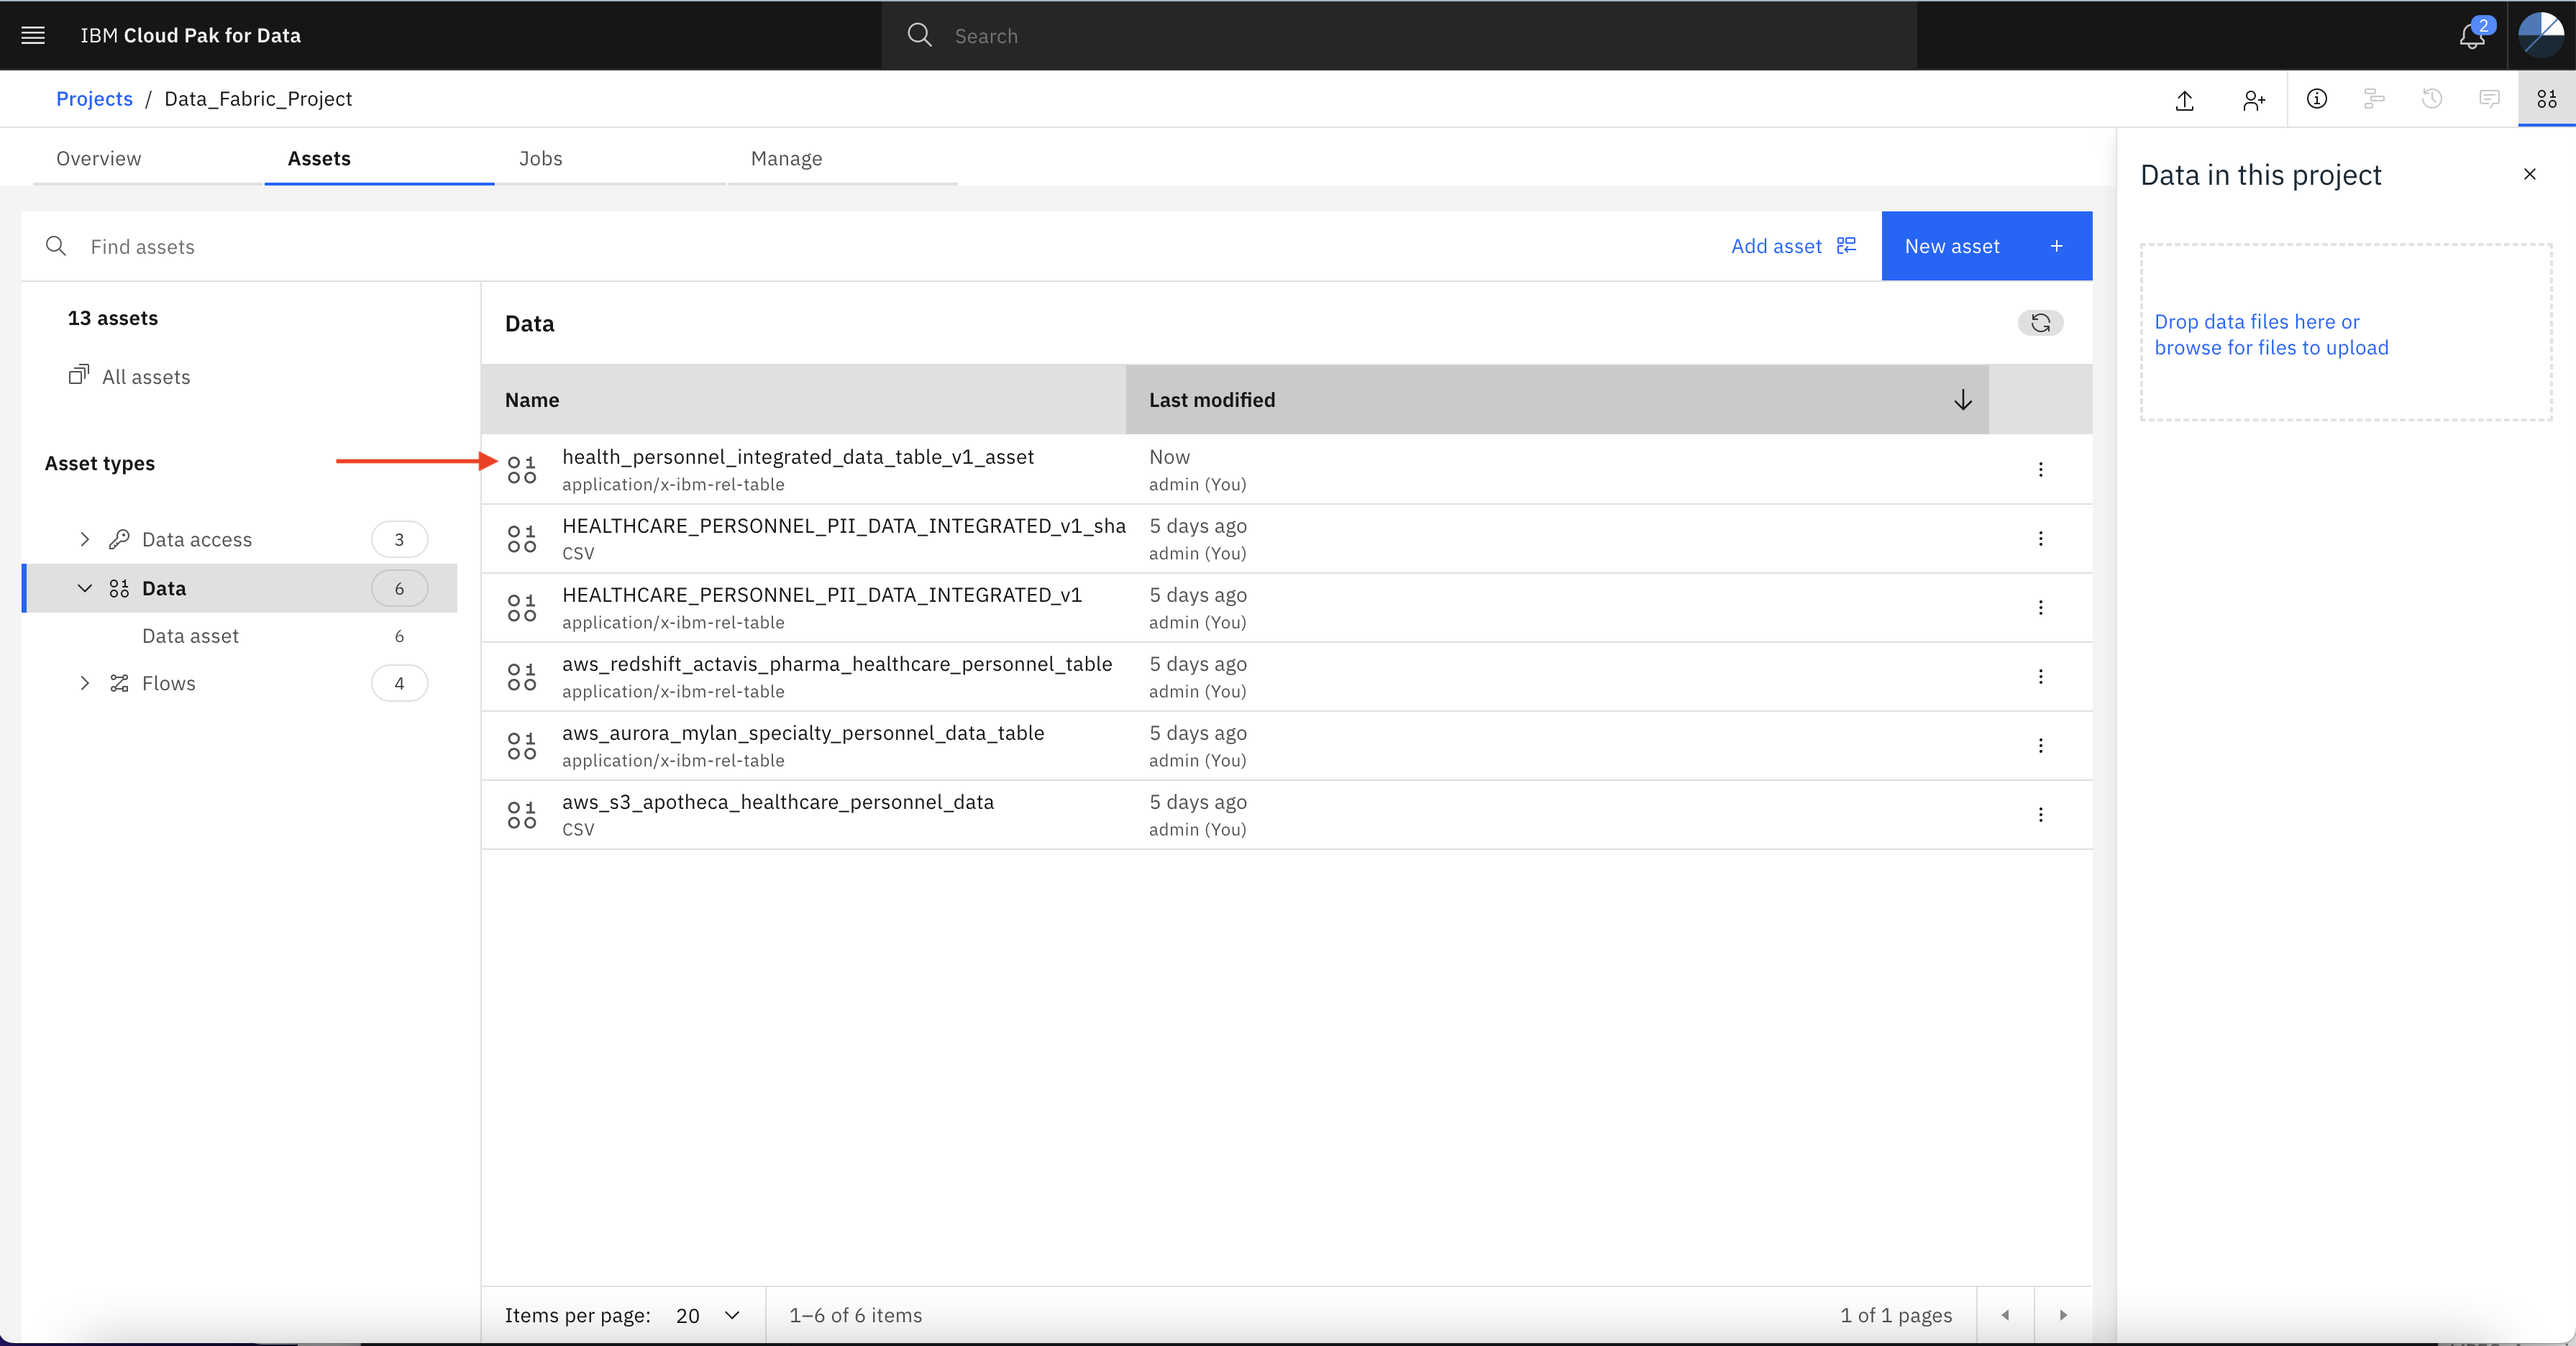
Specify the name of the asset
-
Verify the data asset is there in project. This asset will be used later in the next lab.
Summary
This lab you have learned how to create connection with Amazon S3, RDS, and Redshift and how to collect data from these data sources. Also we learned that how to create ETL pipeline using IBM DataStage.