Service Instances Provisioning
Learning Objectives
In this Lab we will configure and launch service instances required in IBM Cloud pak for Data. This lab required below services to be configured additionally:
- Data Virtualization
- Cognos Analytics
Prerequisites
- IBM Cloud Pak for Data
- Data Virtualization
- Cognos Analytics
Lab Steps:
Step 1: Login to IBM Cloud Pak for Data
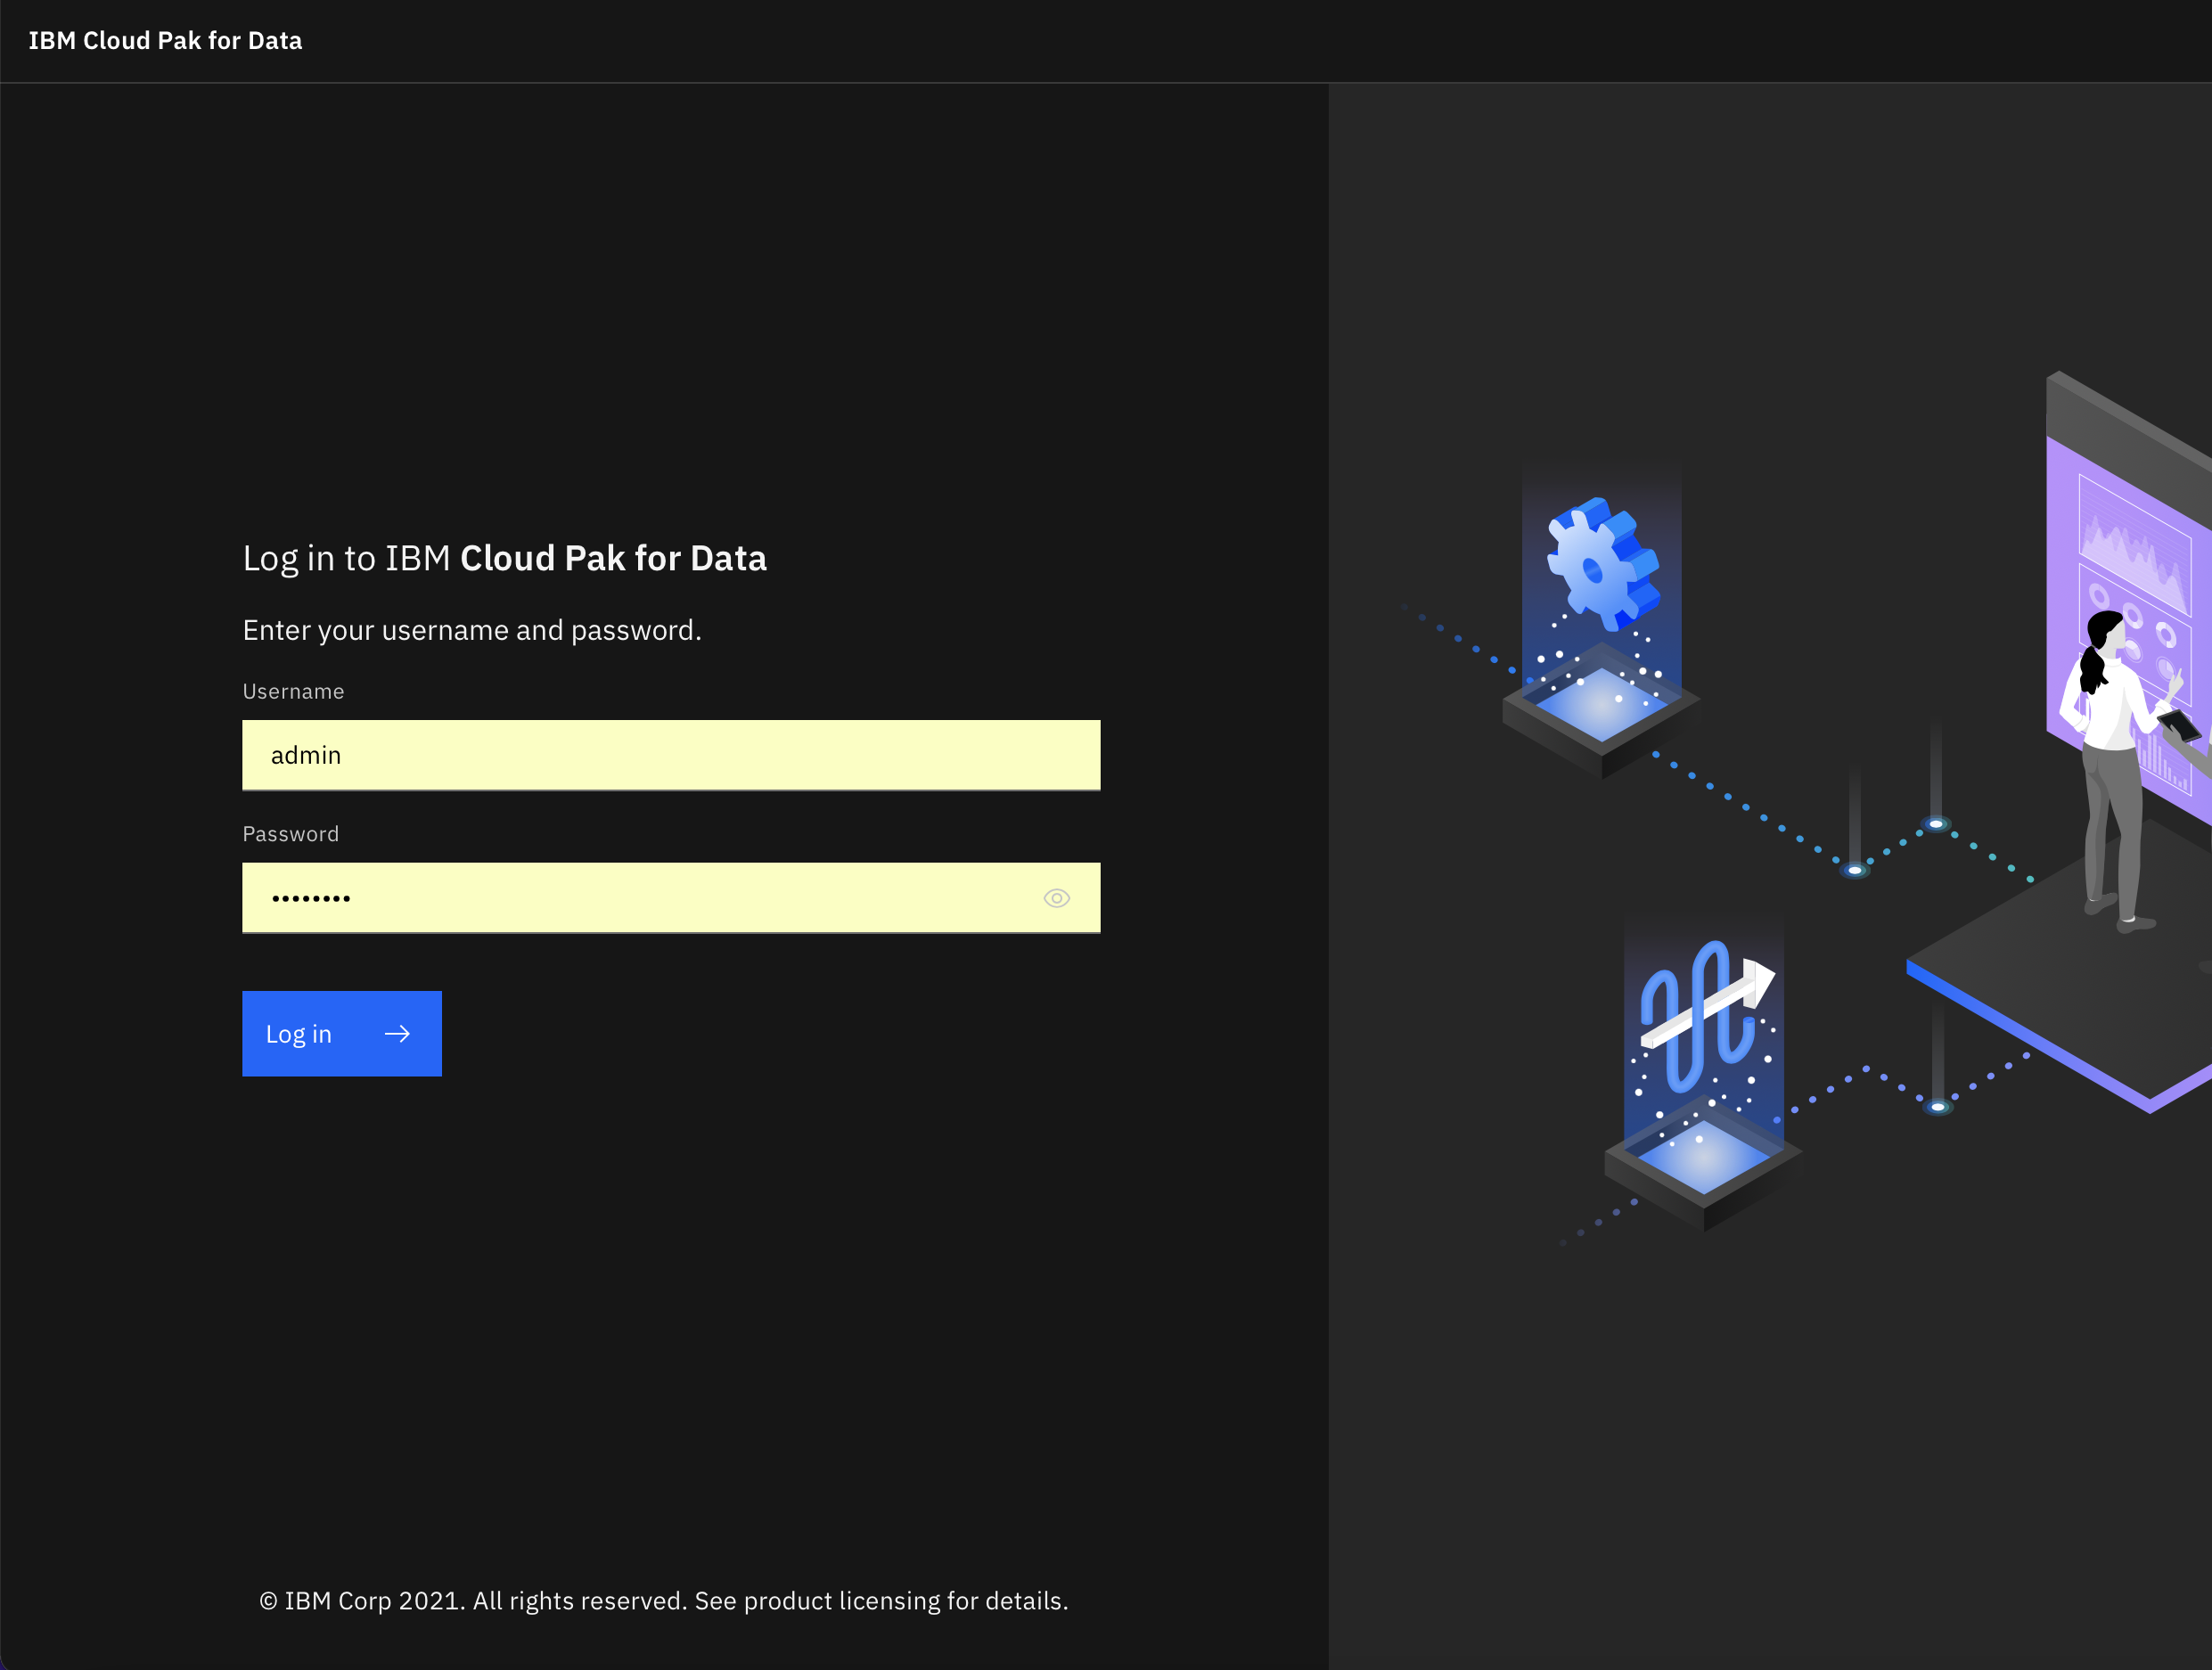
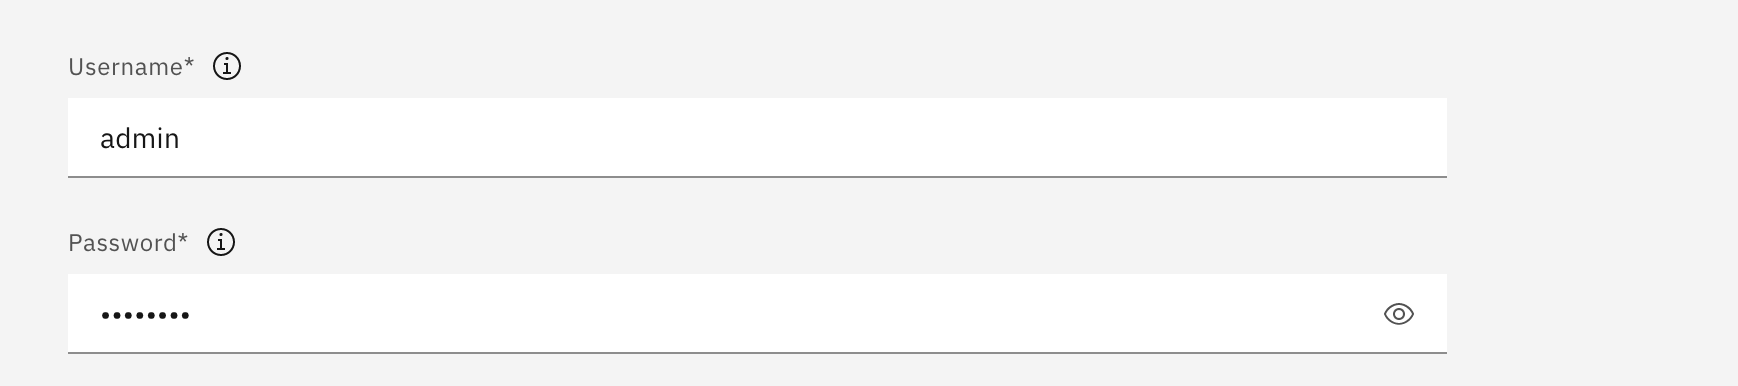
- Login to IBM Cloud Pak for Data with valid credentials
To perform this lab you need IBM Cloud Pak for Data’s credential which include both username and password. If you do not have the credentials then refer previous lab exercise to get the credentials.
- Check if IBM Data Virtualization service is installed and provisioned
Follow the below steps to make sure IBM Data Virtualization service service is installed and provisioned in the provided IBM Cloud Pak for Data instance.
Steps:
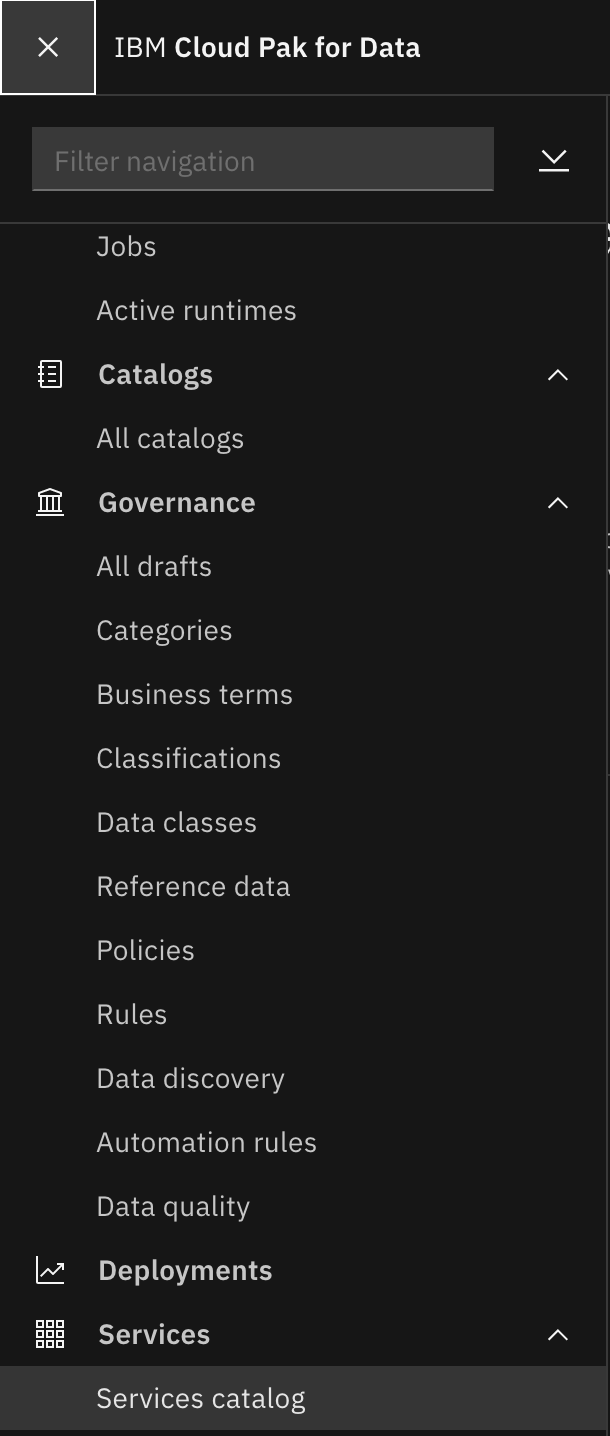
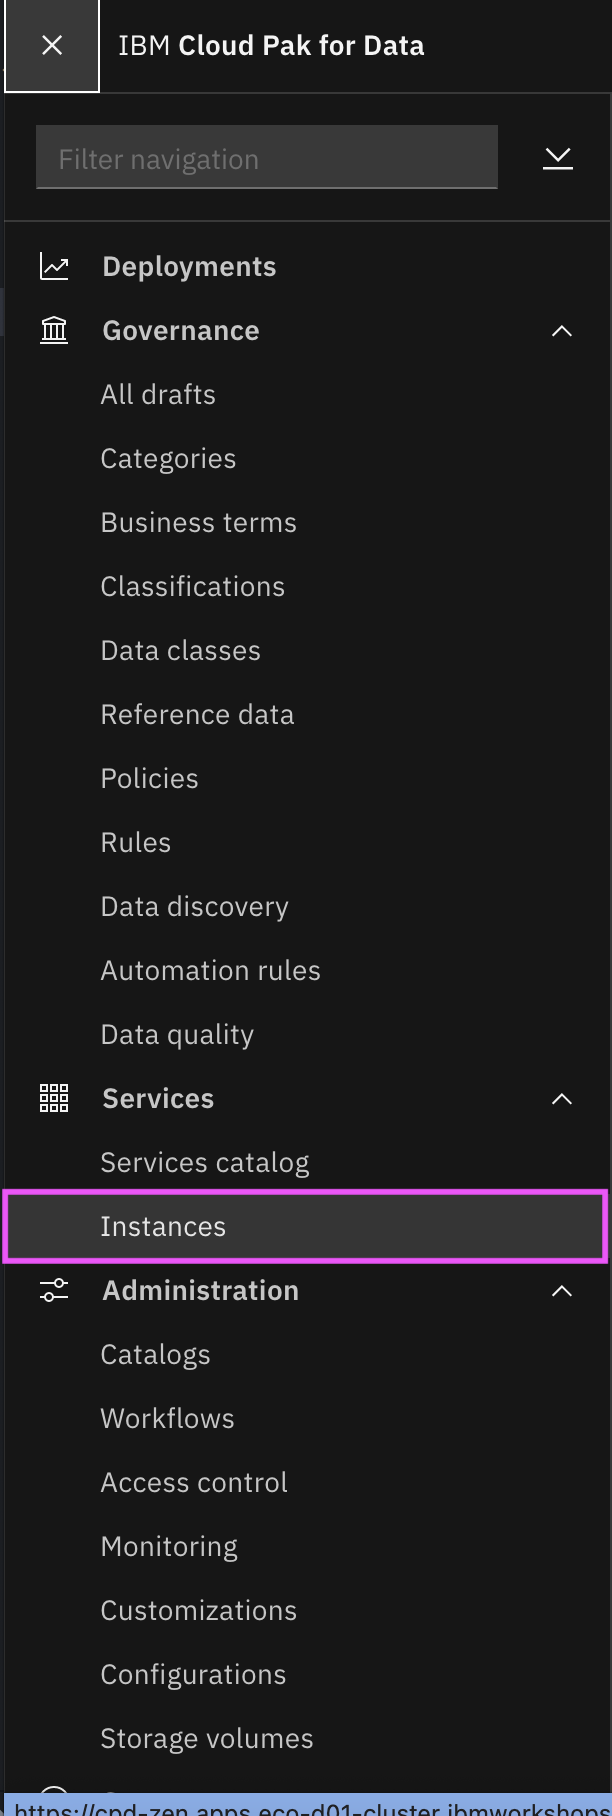
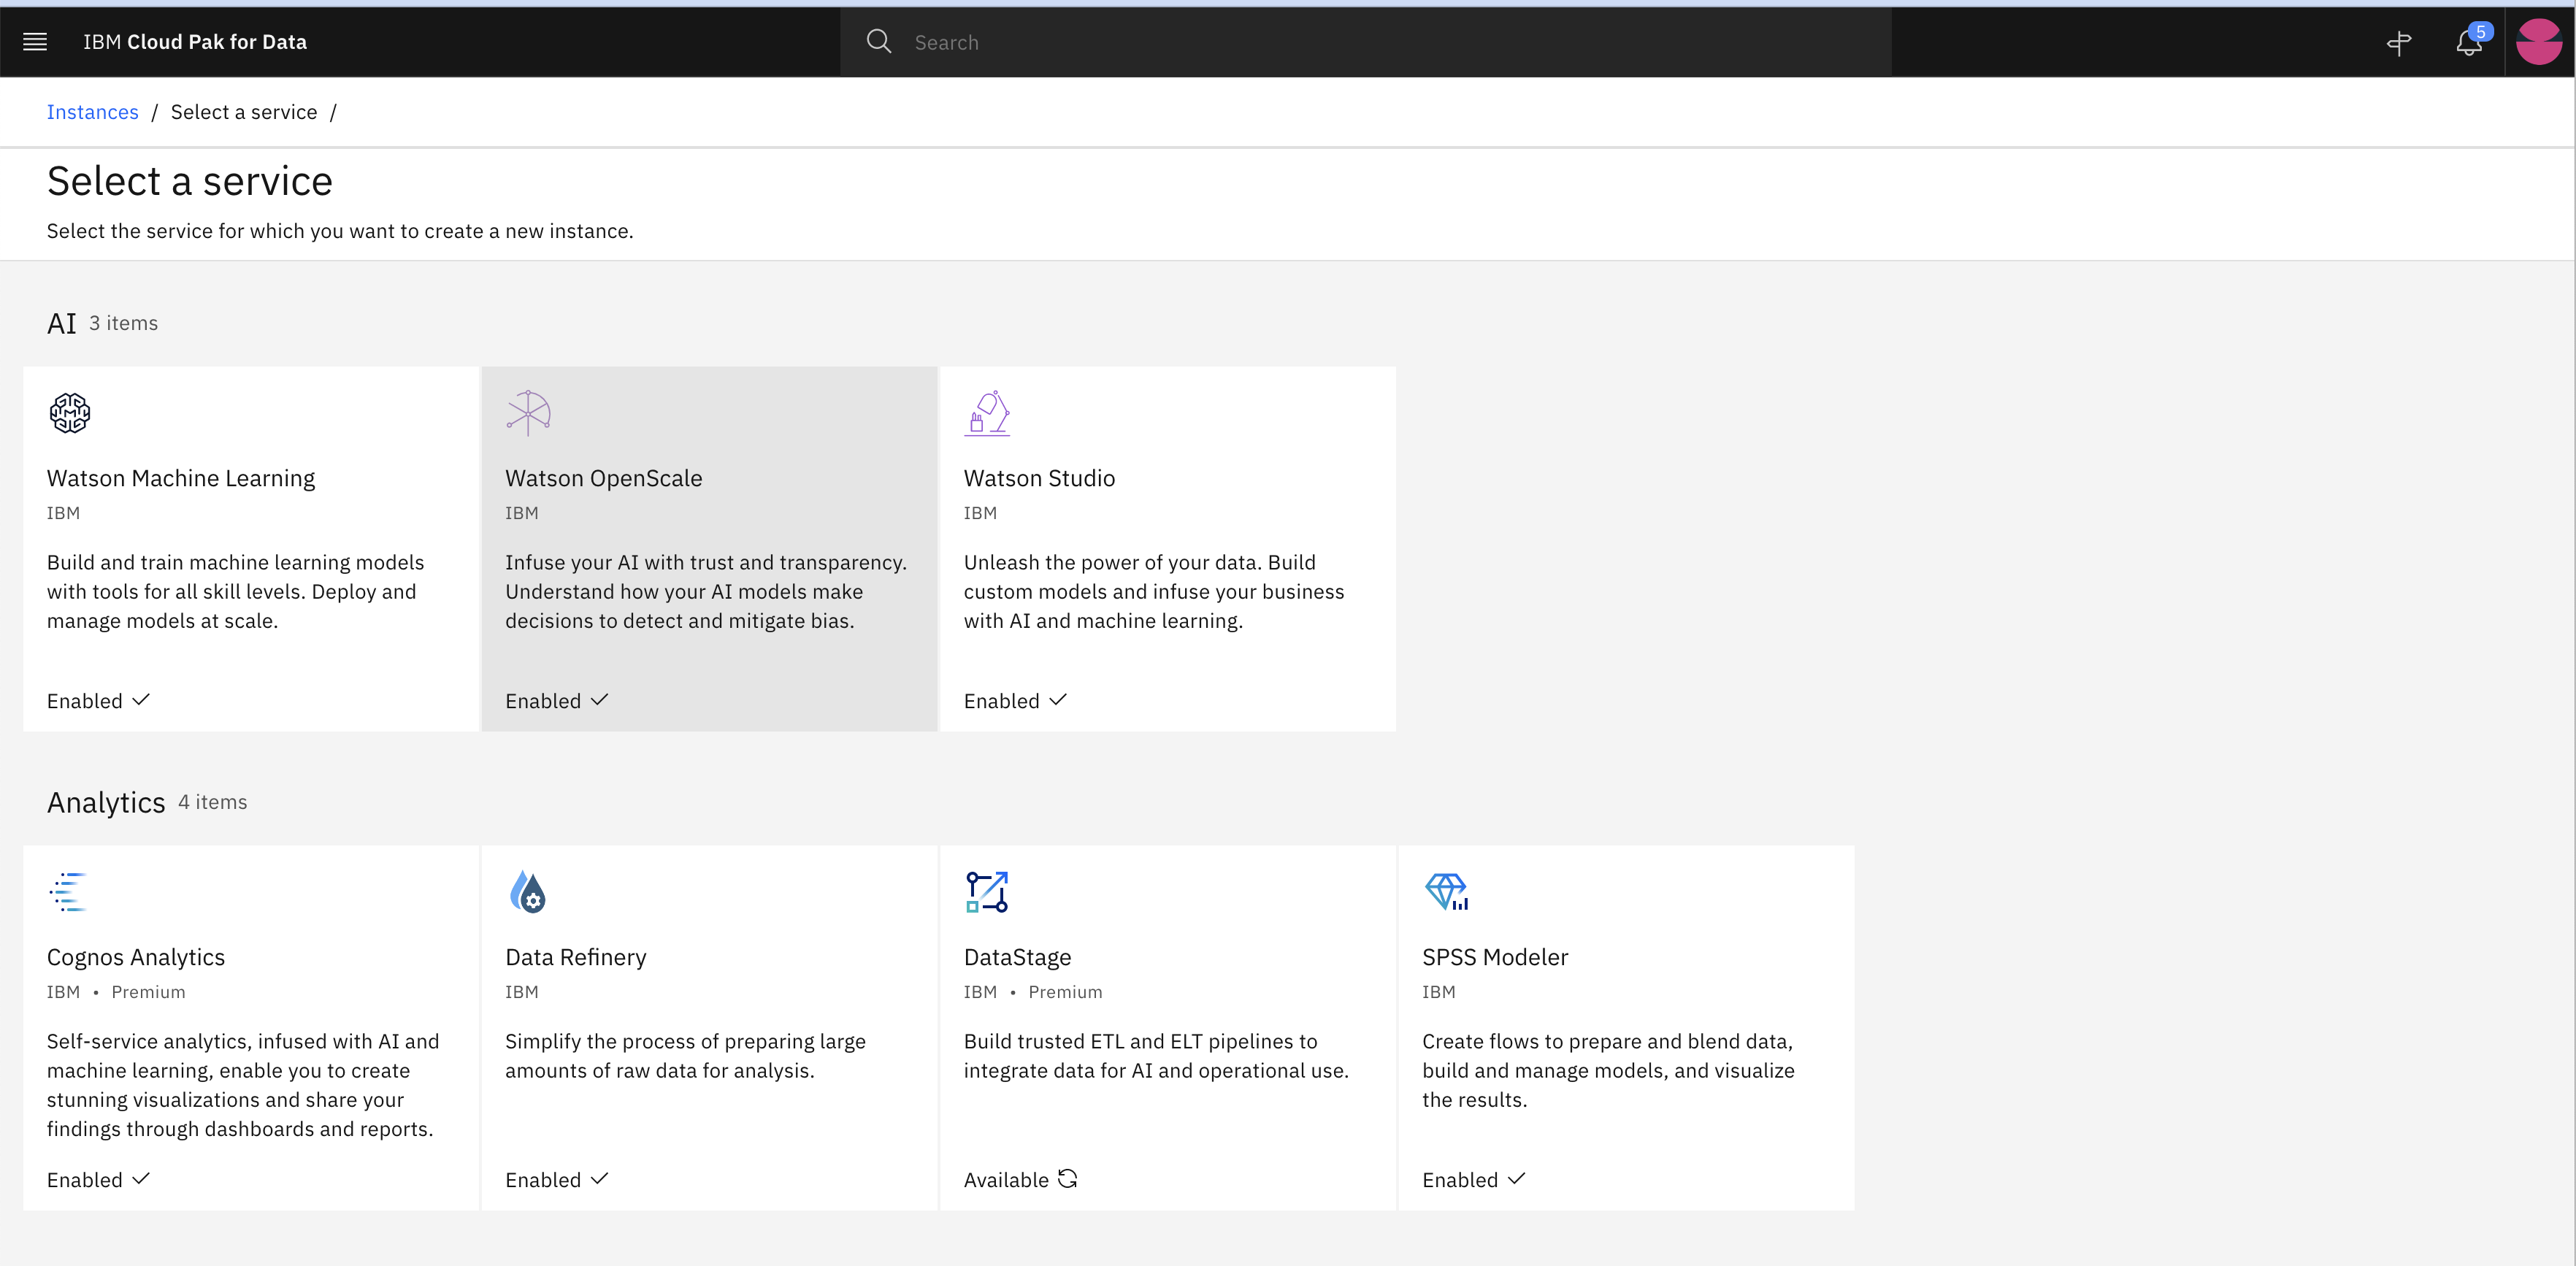
- Go to hamburger navigation menu and click on services and then click on services catalog to see all available services for this instance
-
Now in the search box type Data Virtualization to search Data Virtualization (DV) service and click on it.

-
Inside DV service you should be able to see that the service is enabled as shown in above picture. If it is not, ask the lab instructor and get data virtualisation service enabled.

-
Now click on Instances to verify if Data Virtualization service is already running.

If in step 3 & 4 you could see Data Virtualization service is up and running then you DON’T have to follow below steps and you can skip to STEP-11.
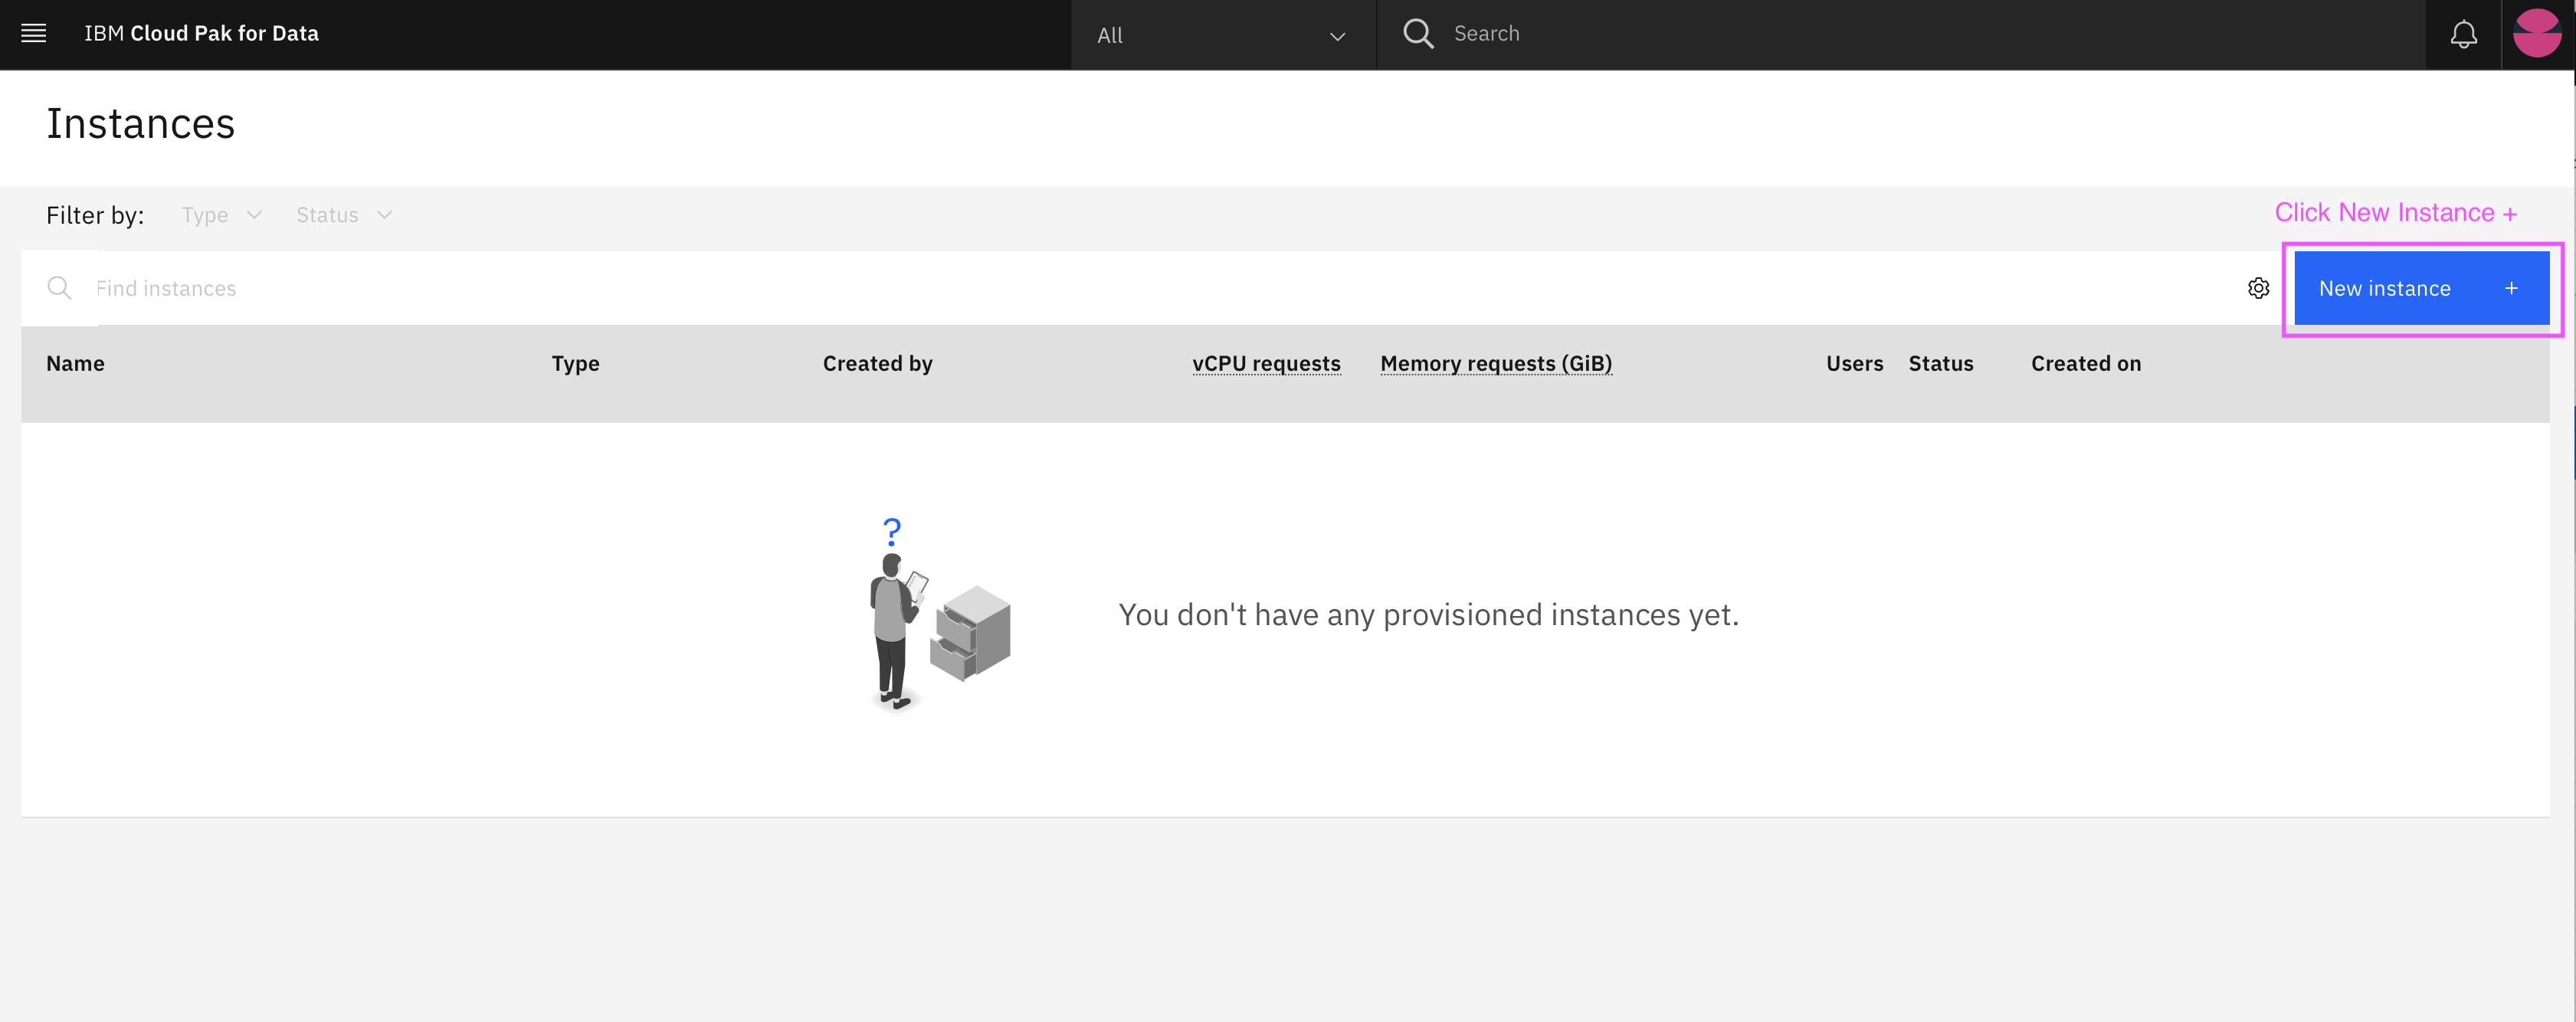
- Follow only step 3 and 4 are failed. Go to hamburger navigation menu and click Services then Instances

-
In the Instances page click New Instance + to configure and launch new service instance.
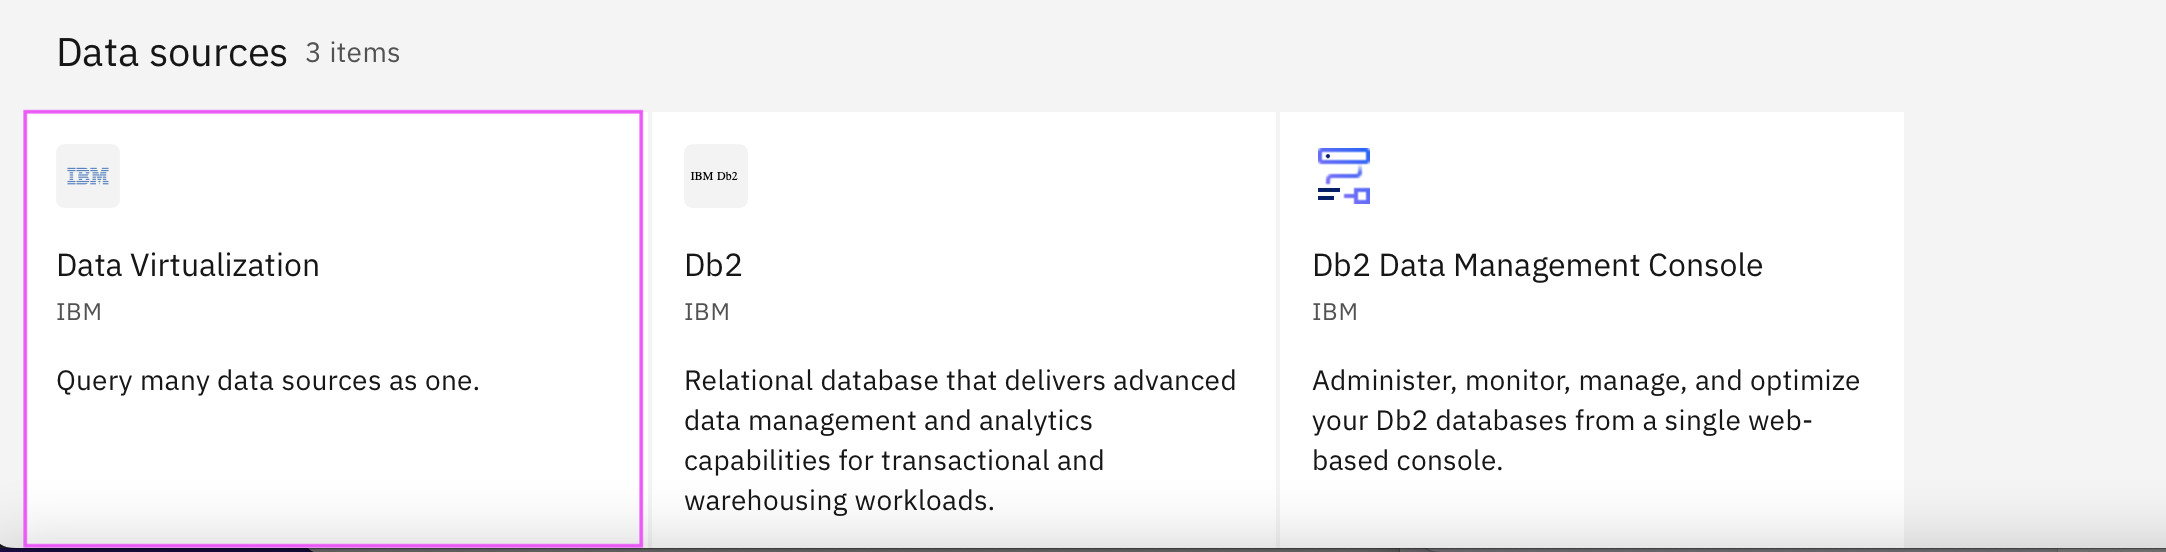
-
Select Data Virtualization from list of services option
-
Click New Instance + in the Data Virtualization page

-
Click Next, Continue, and then Next in Configure service option.


-
In the Node storage select ocs-storage-cluster-ceph-rbd storage class for both Node and Caching storage. and click Next and then Configure DV service.


Data Virtualization configuration may take upto 10-15 minutes, so you can start other lab exercise.
-
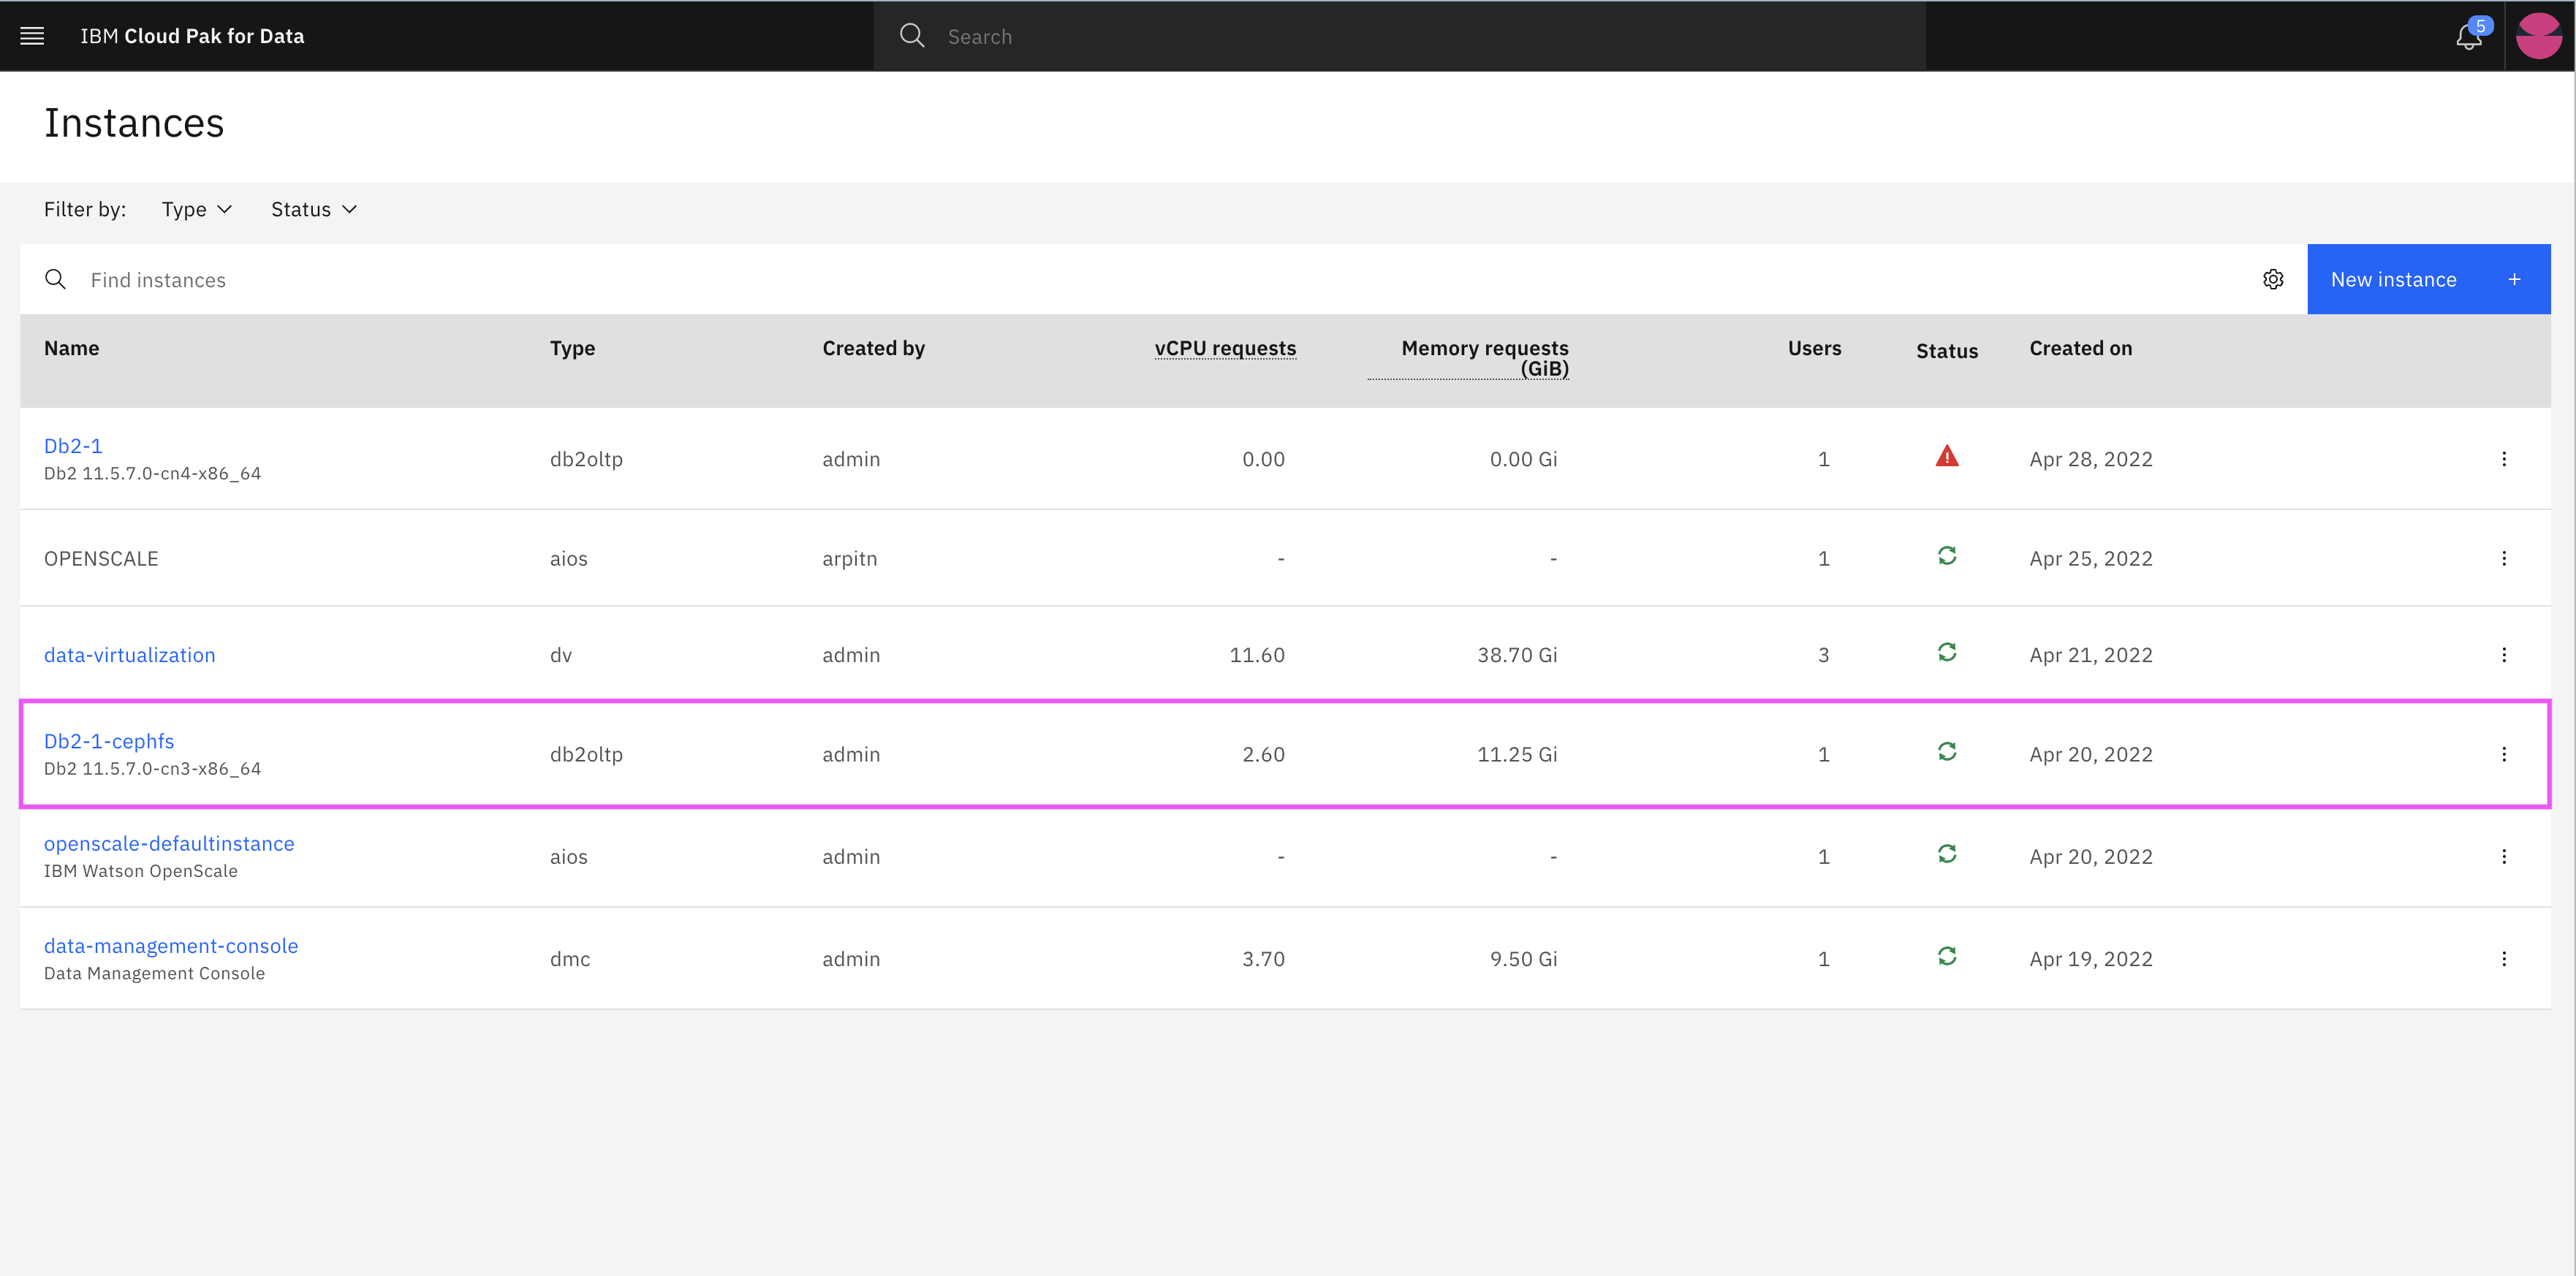
Click hamburger navigation menu and click on Services -> Instances to view all available instances.
-
Click on instance with type db2oltp and status running.
-
Note down the details such as hostname (ip address might varies in different installation), database name, port etc.
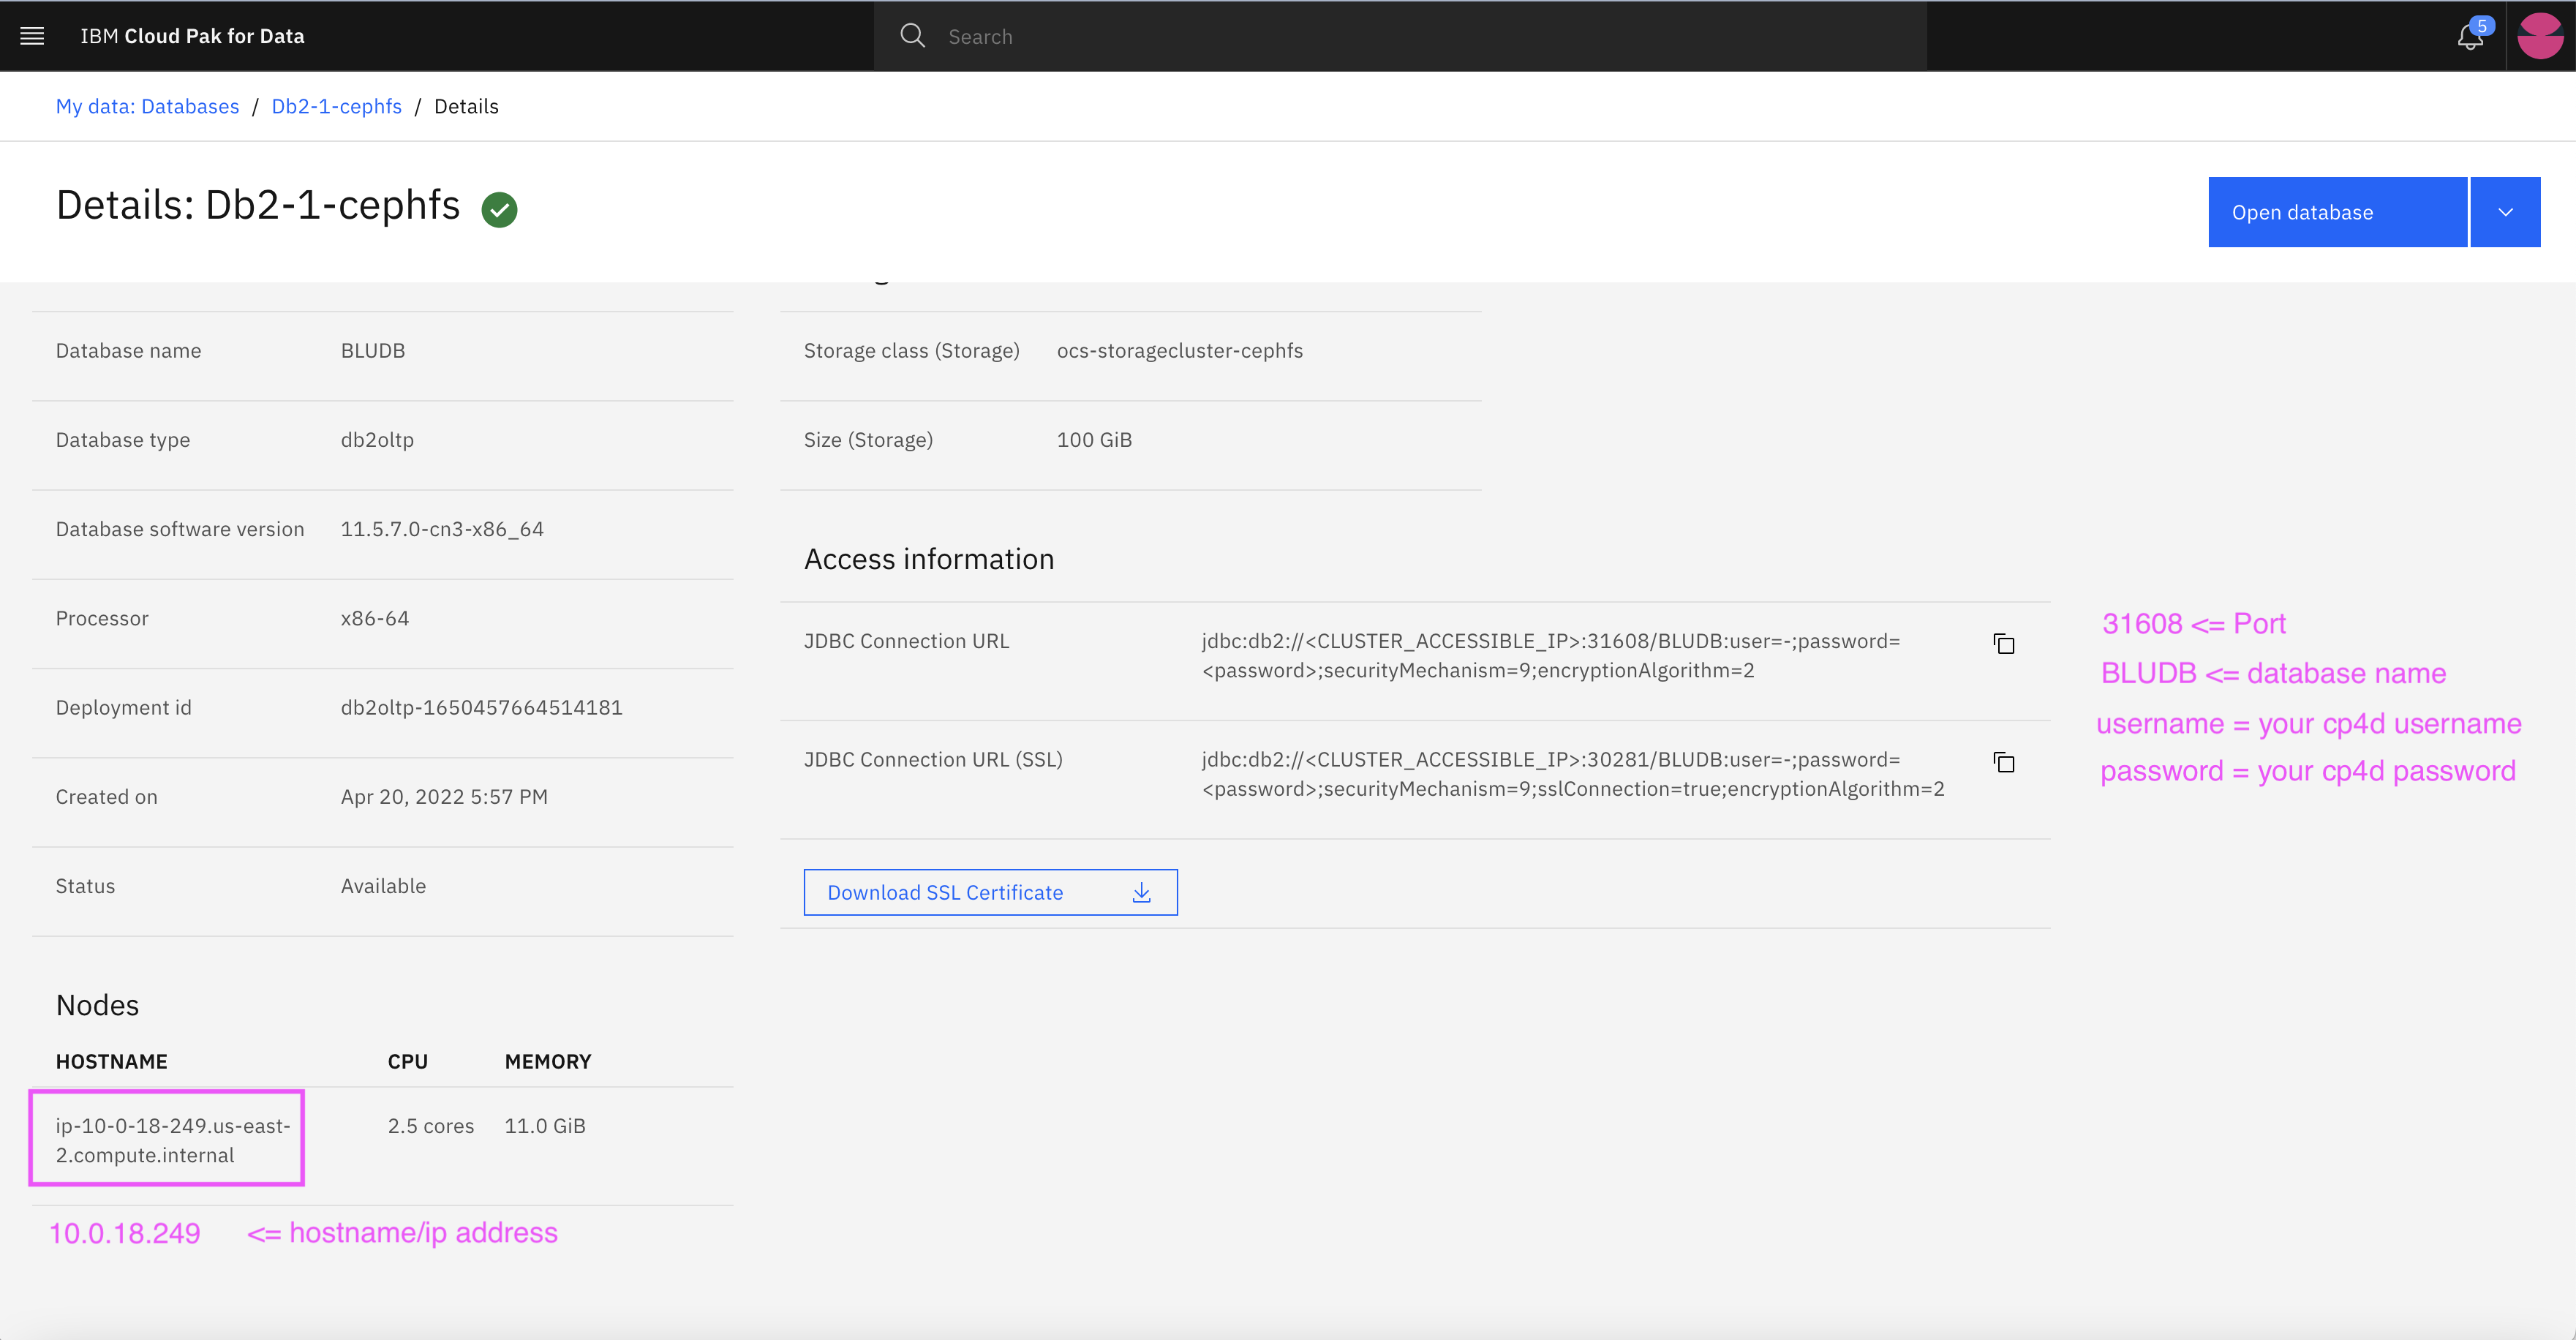
-
Click hamburger navigation menu and click Data -> Platform connection
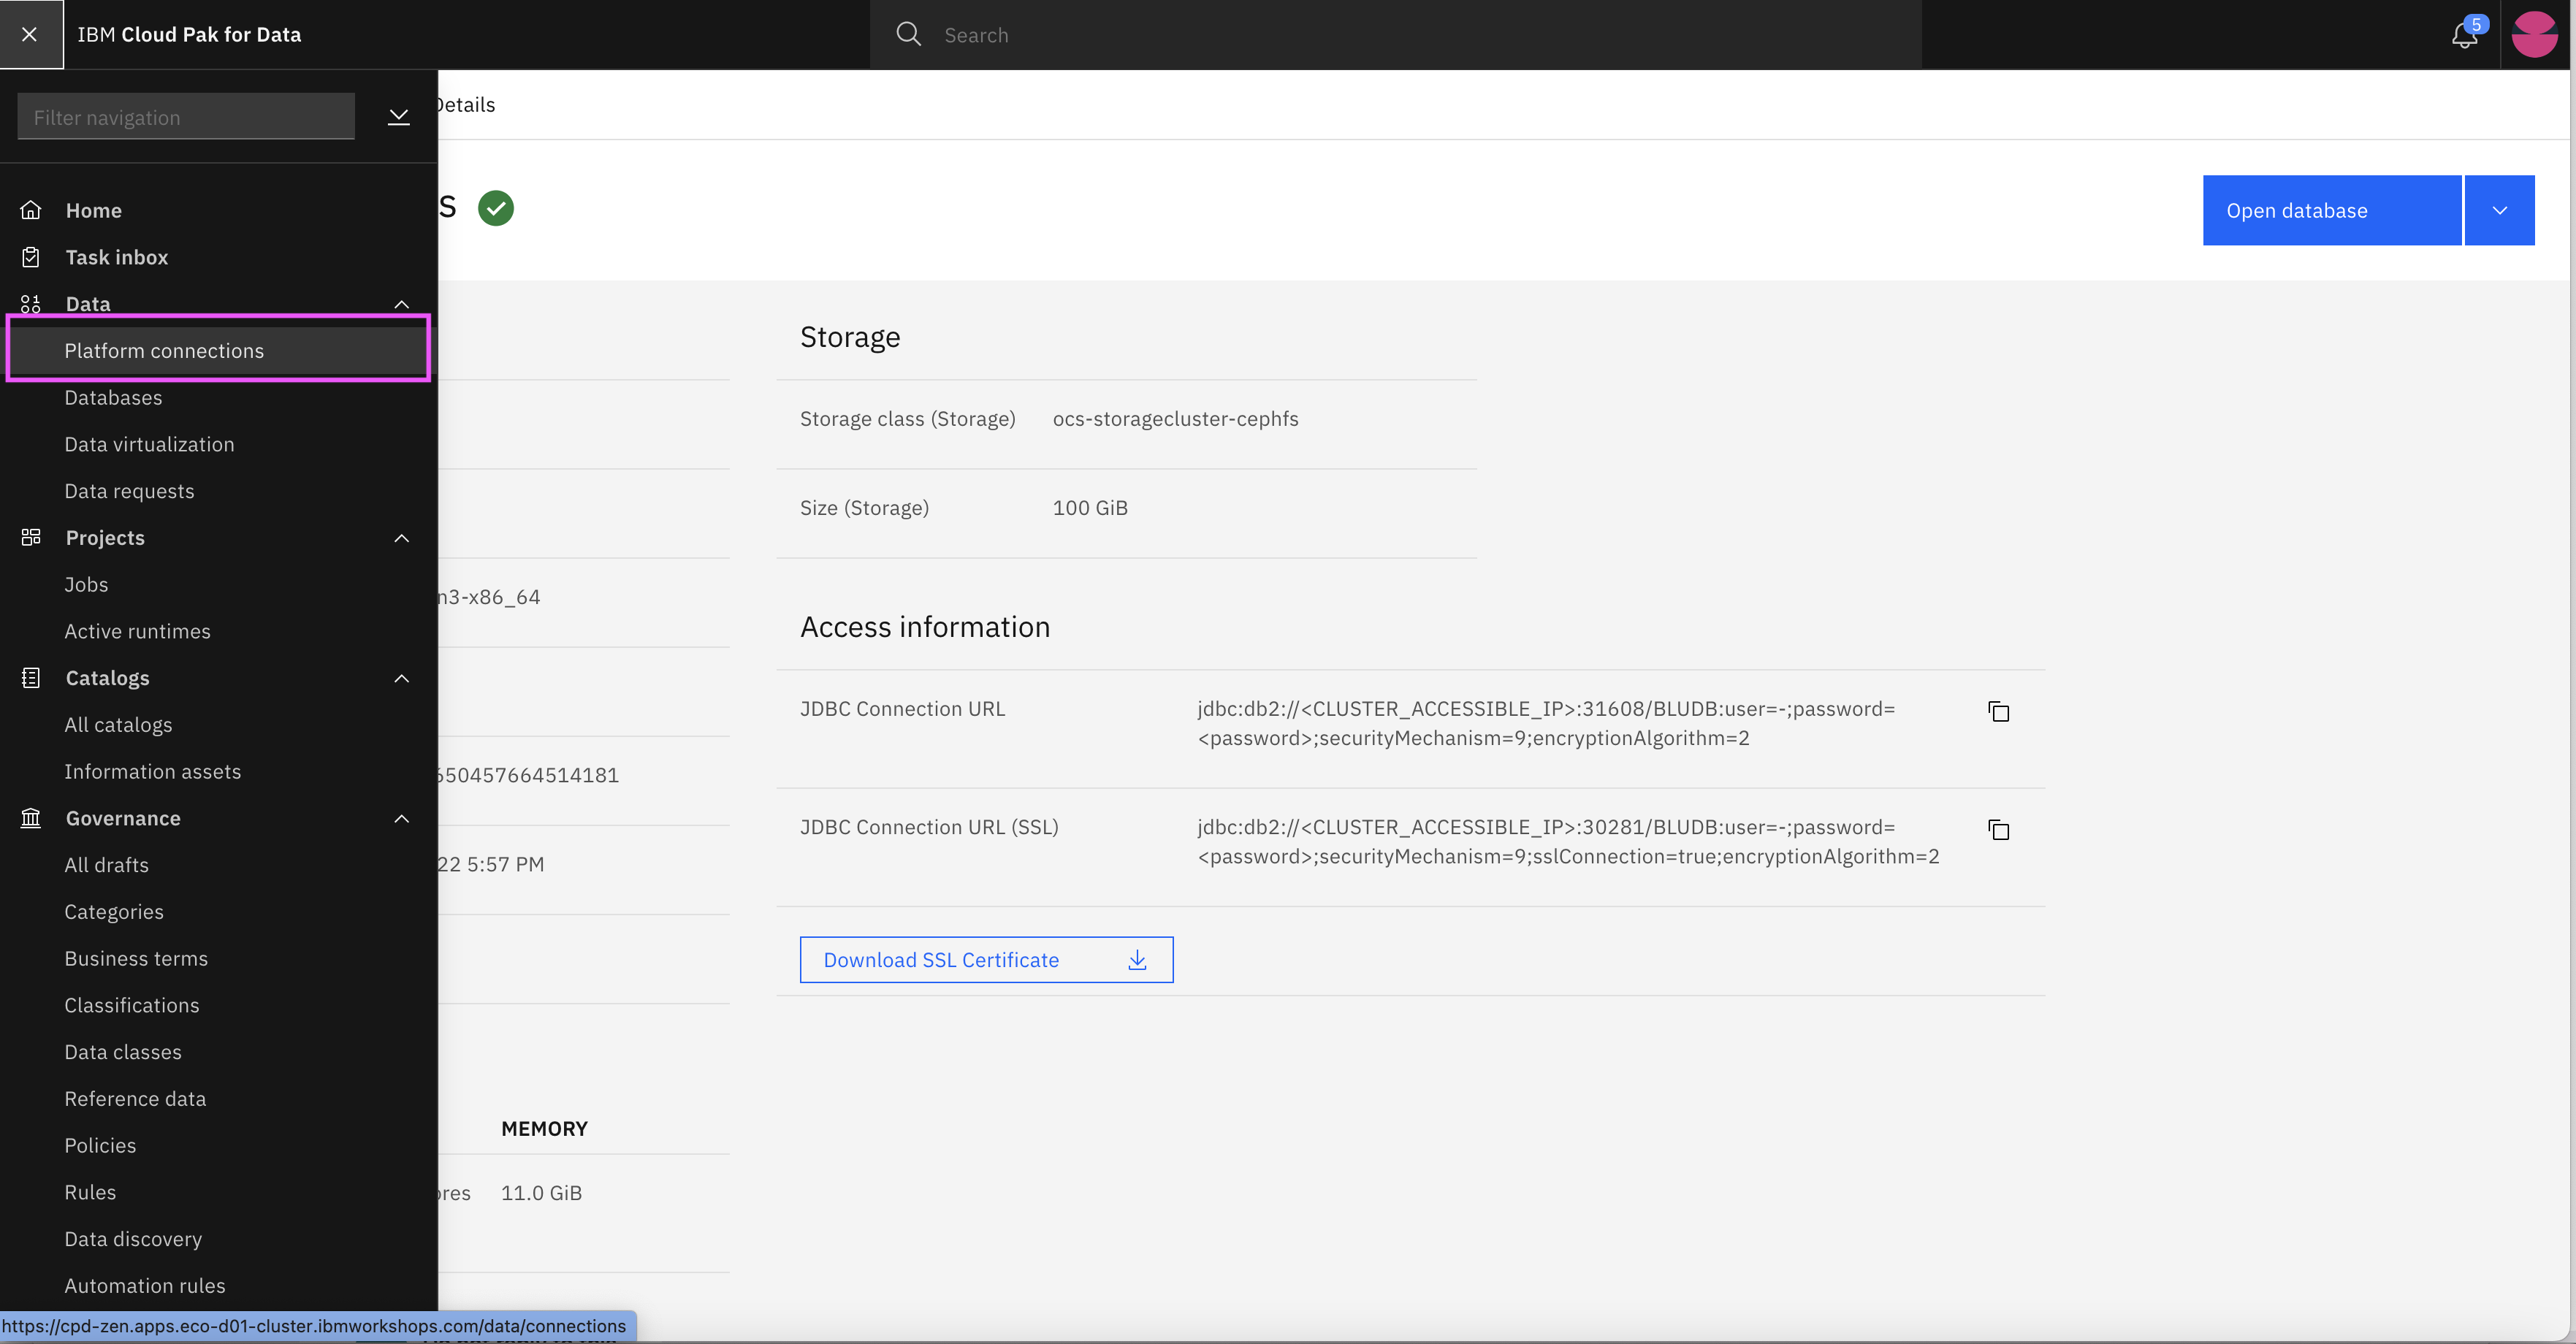
-
Click New connection + and choose DB2 as connection type
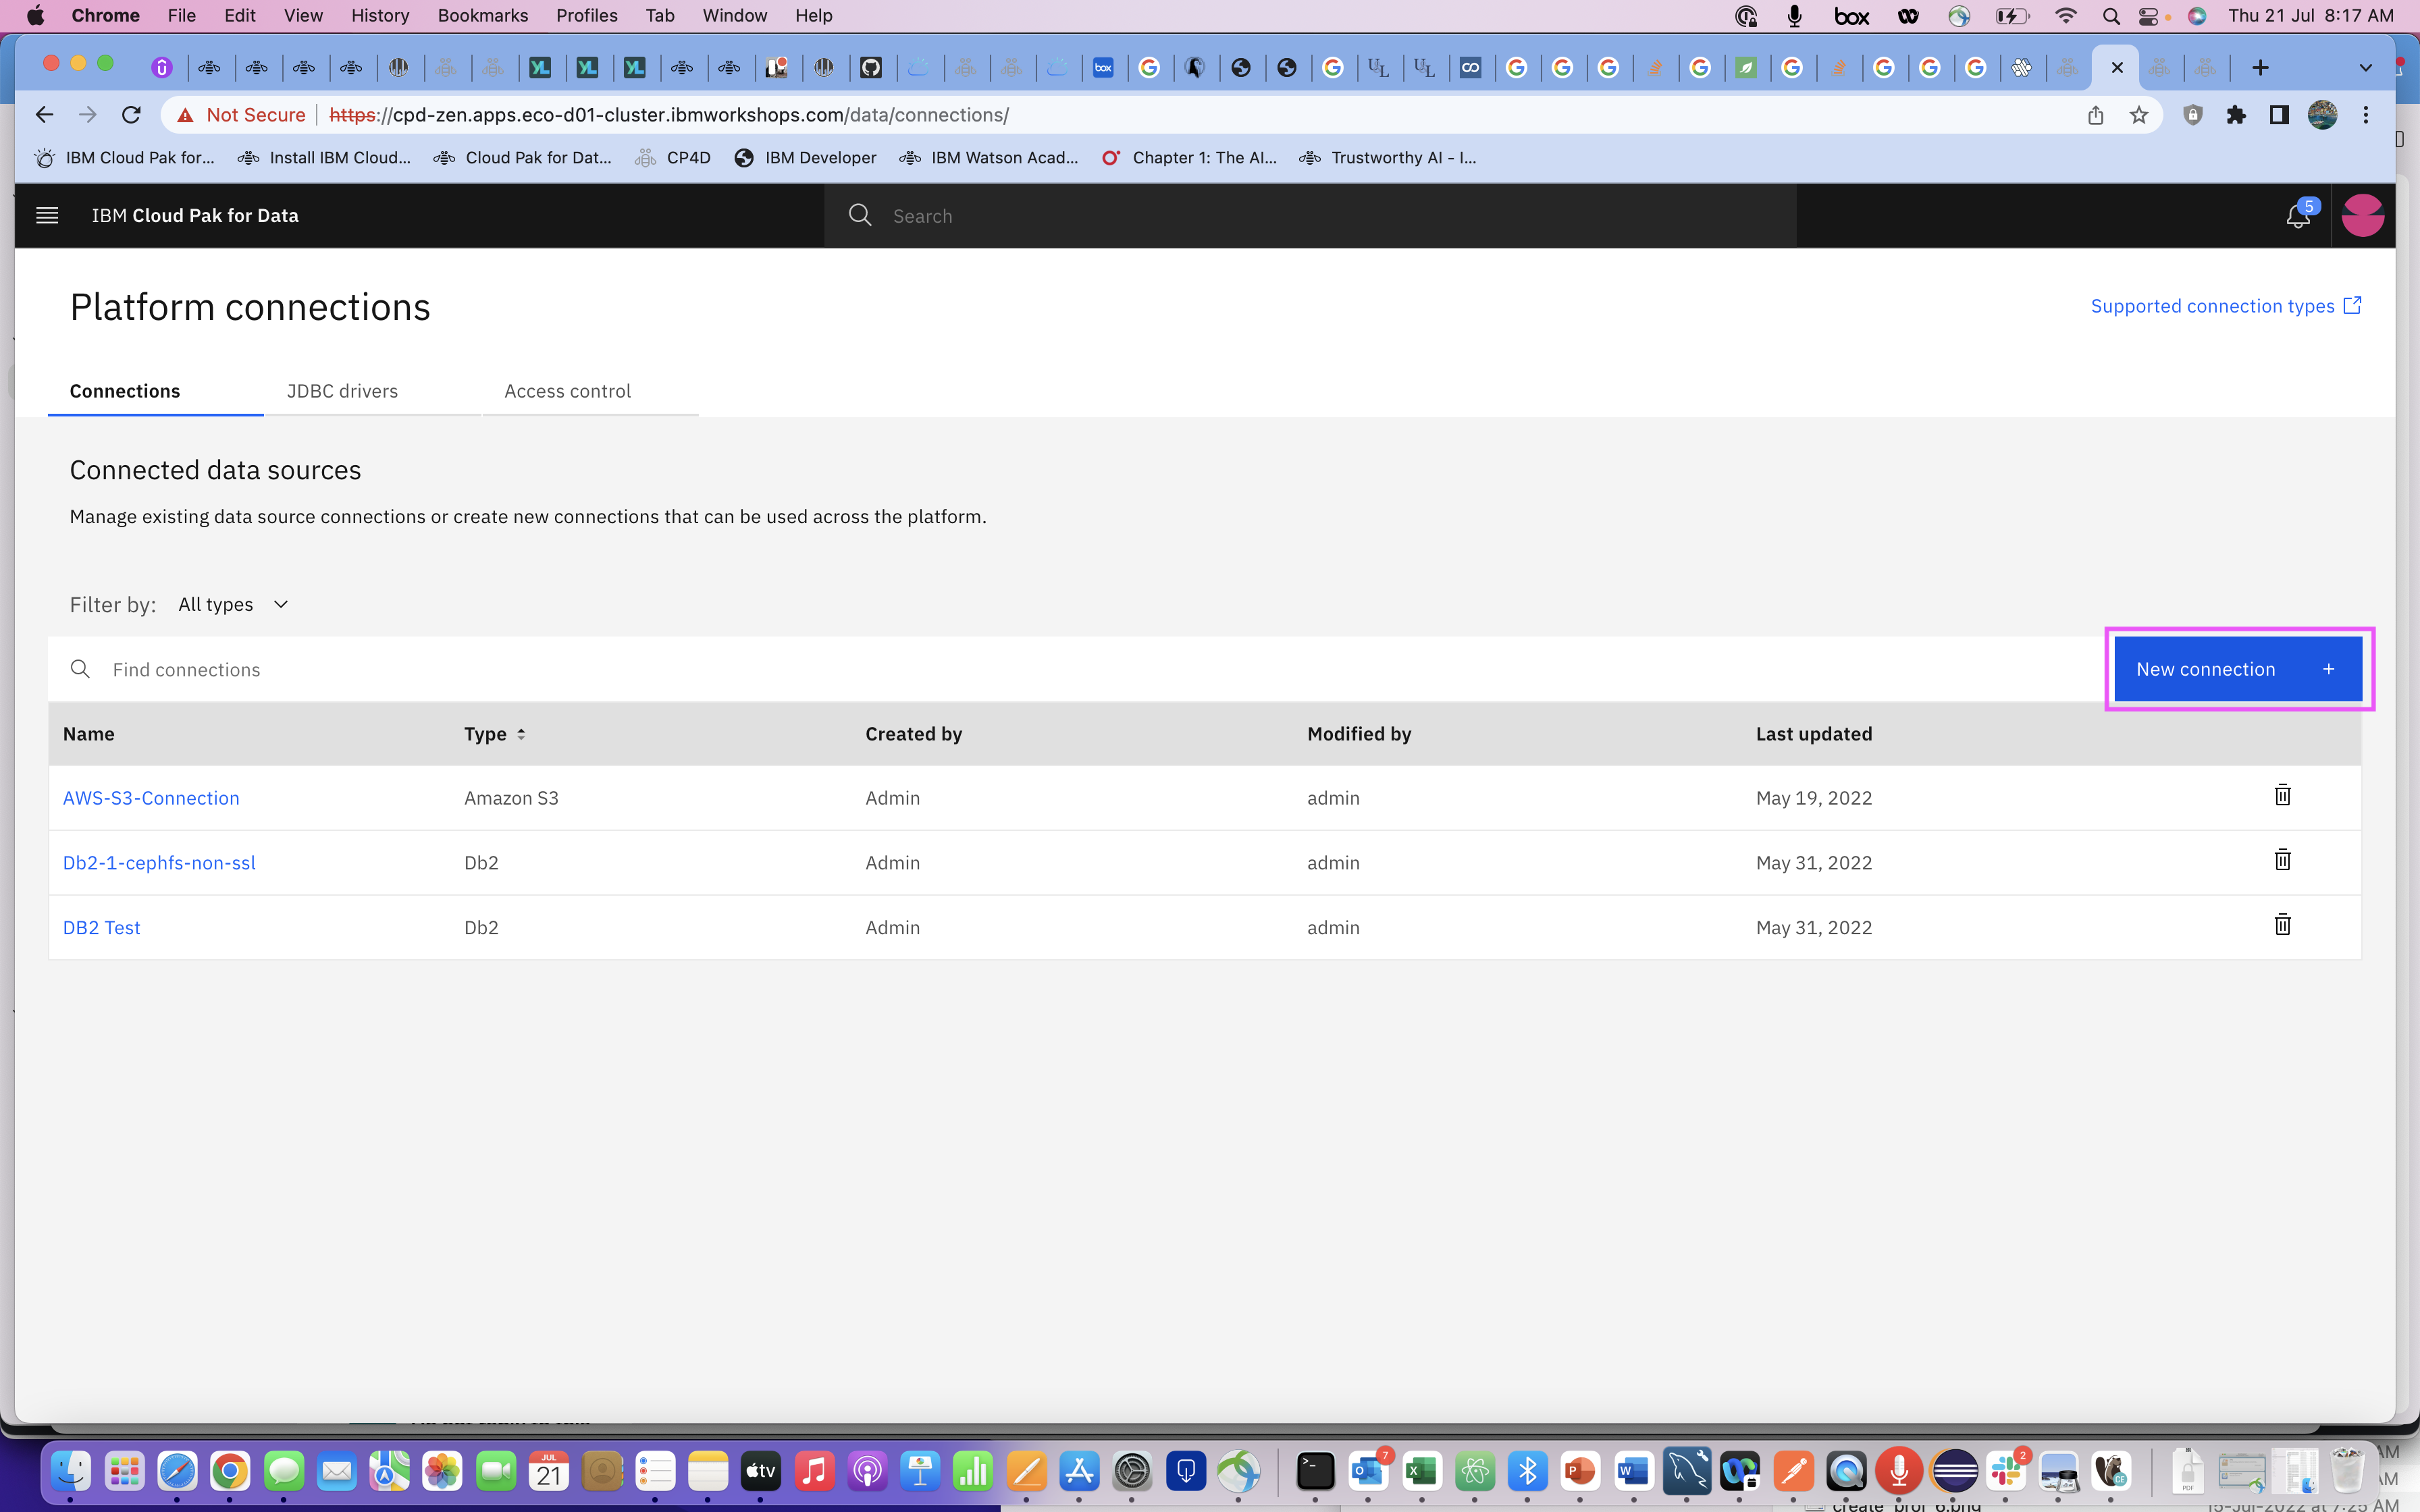

-
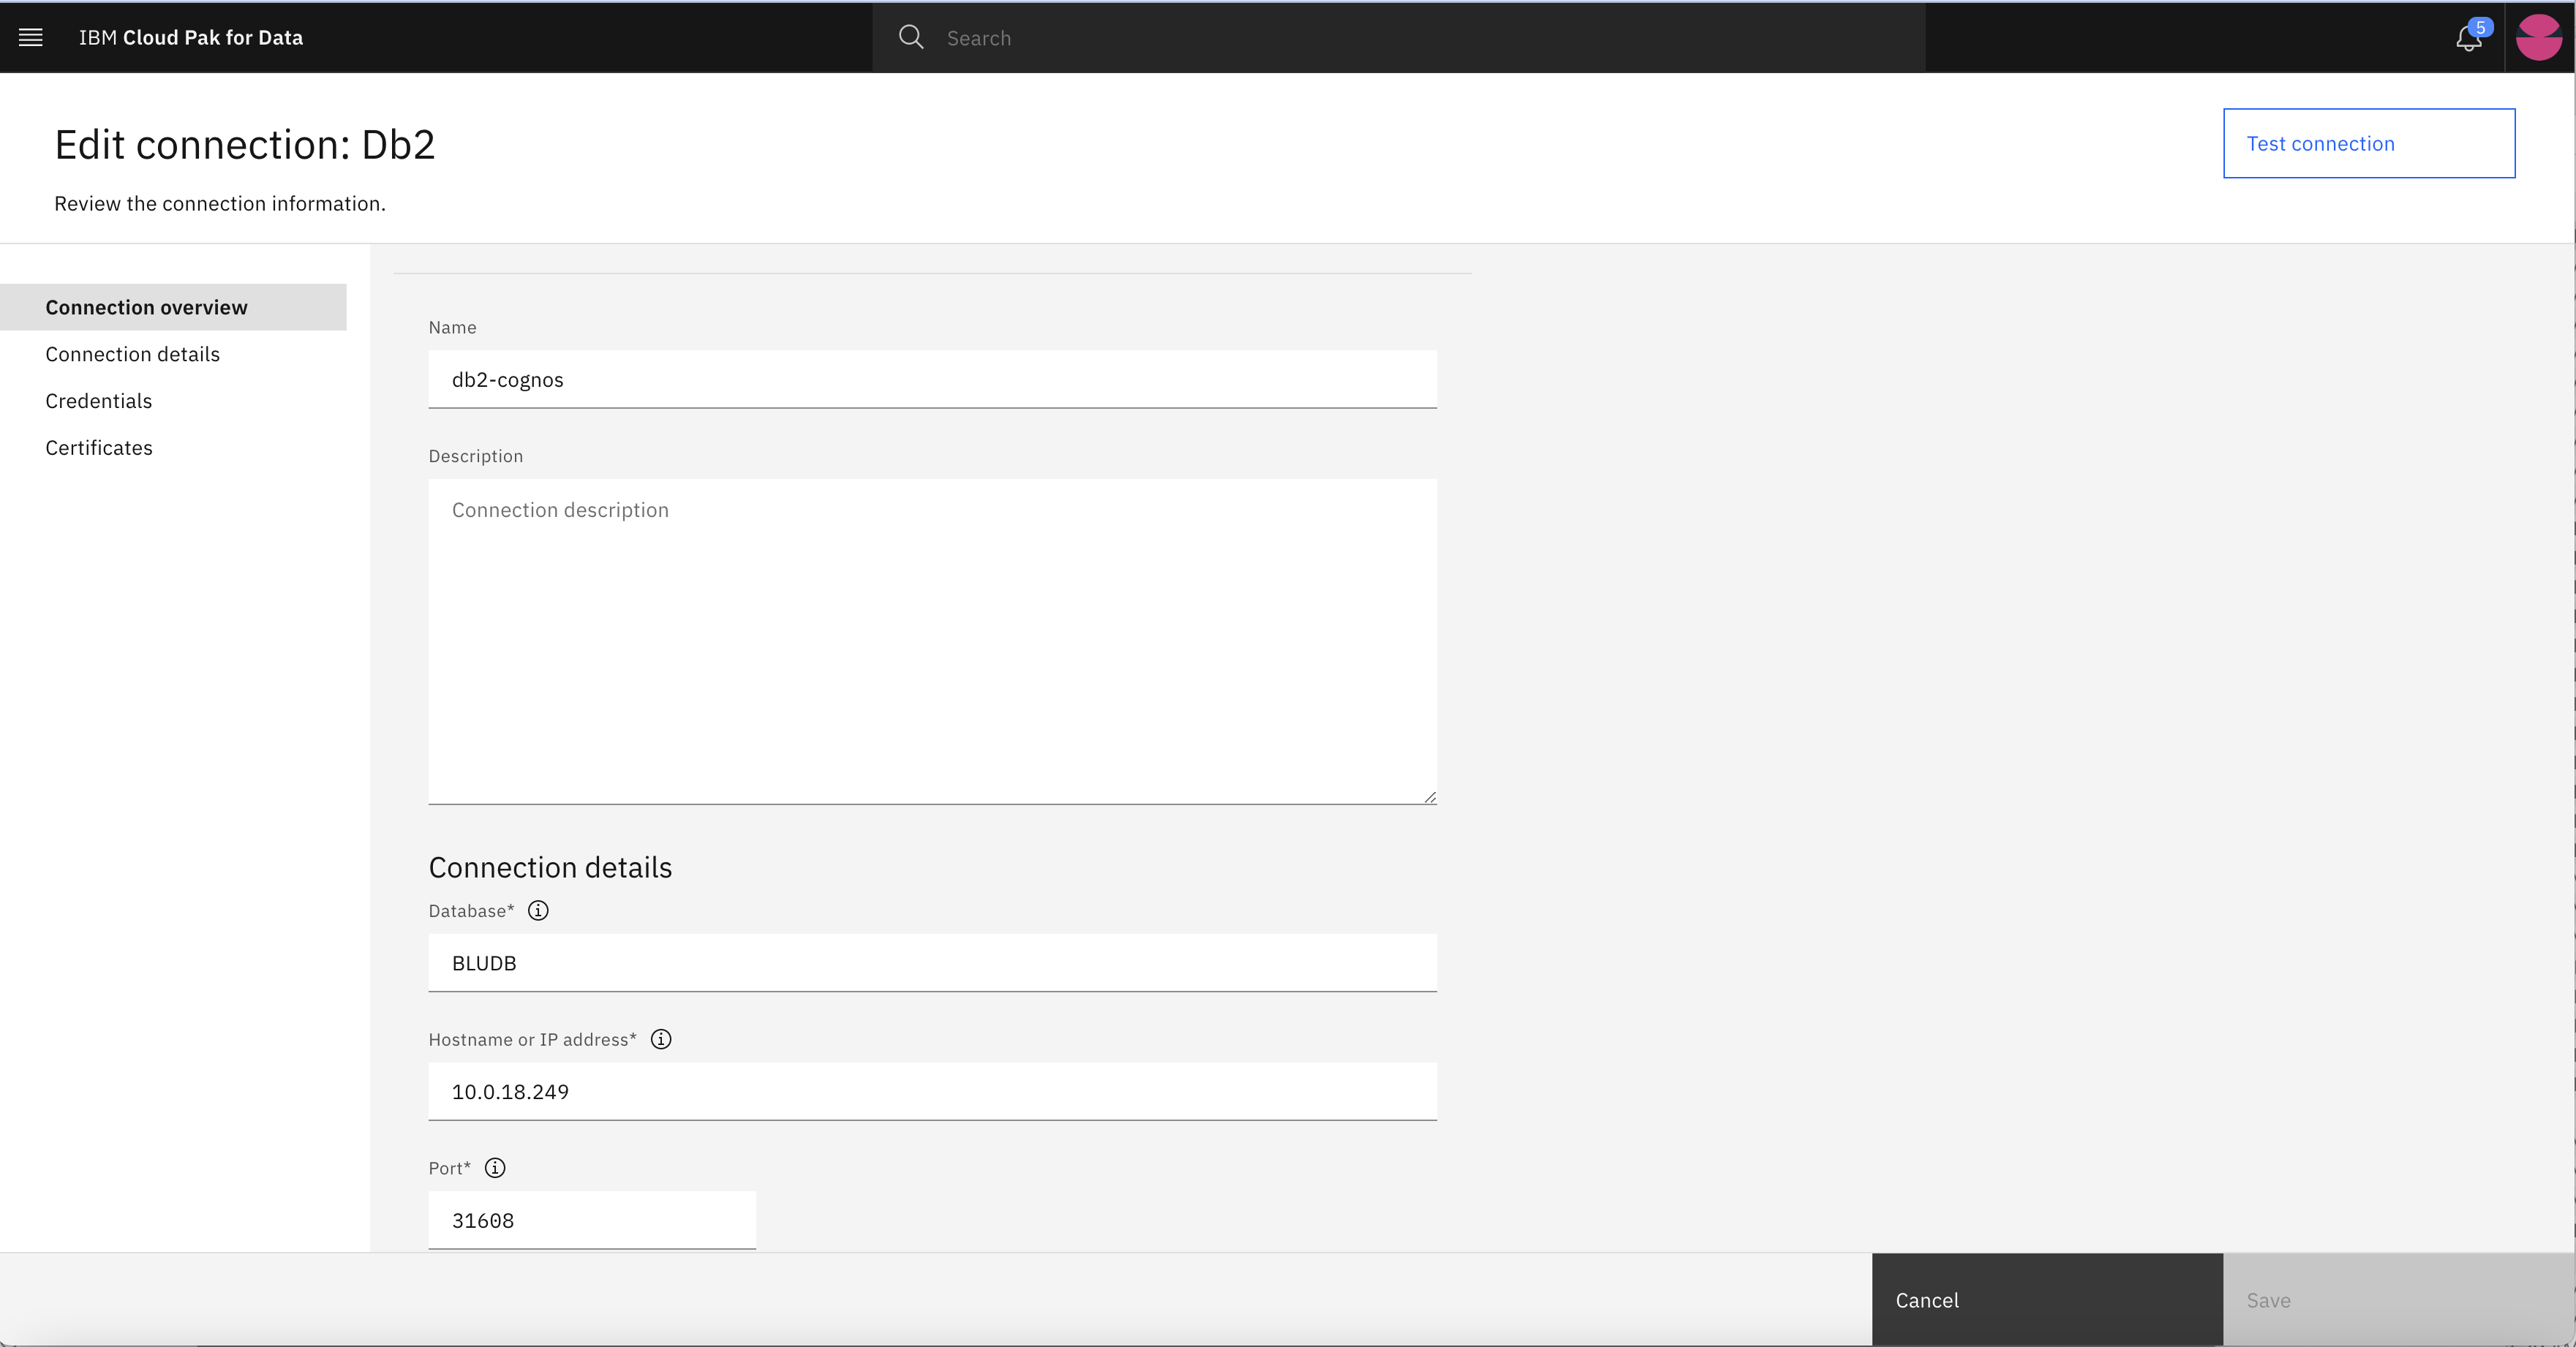
Fill the connection details which you found from step 13.
-
Again click hamburger navigation menu and click on Services -> Services catalog to see all available services for this instance
-
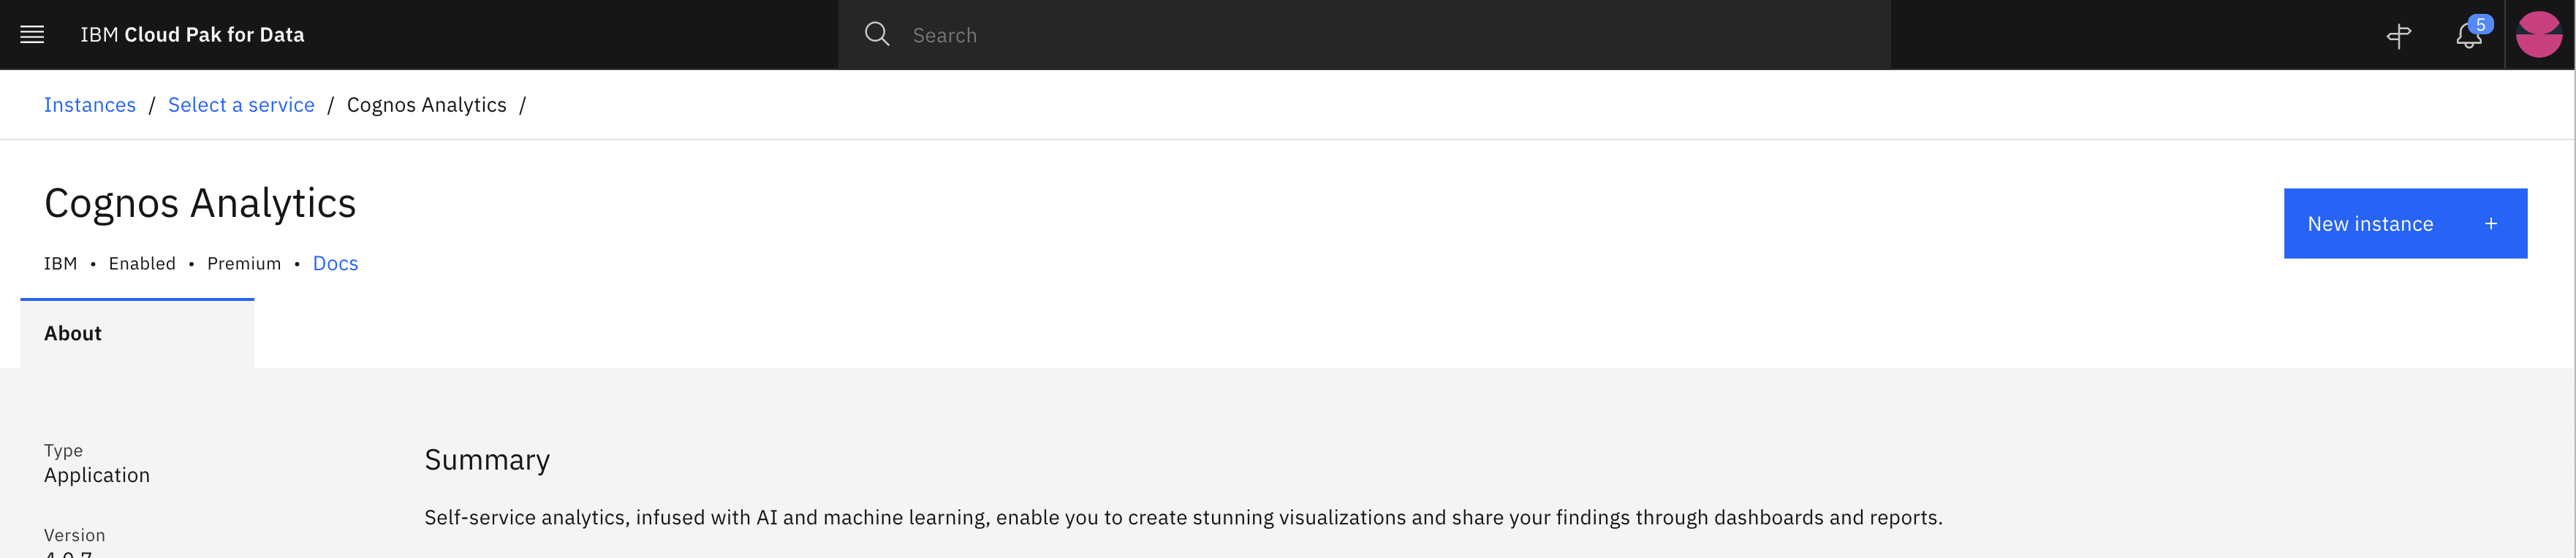
Select and click on Cognos Analytics service
-
Click New instance +
-
Select Shared Volume Storage as shown in images and click Next
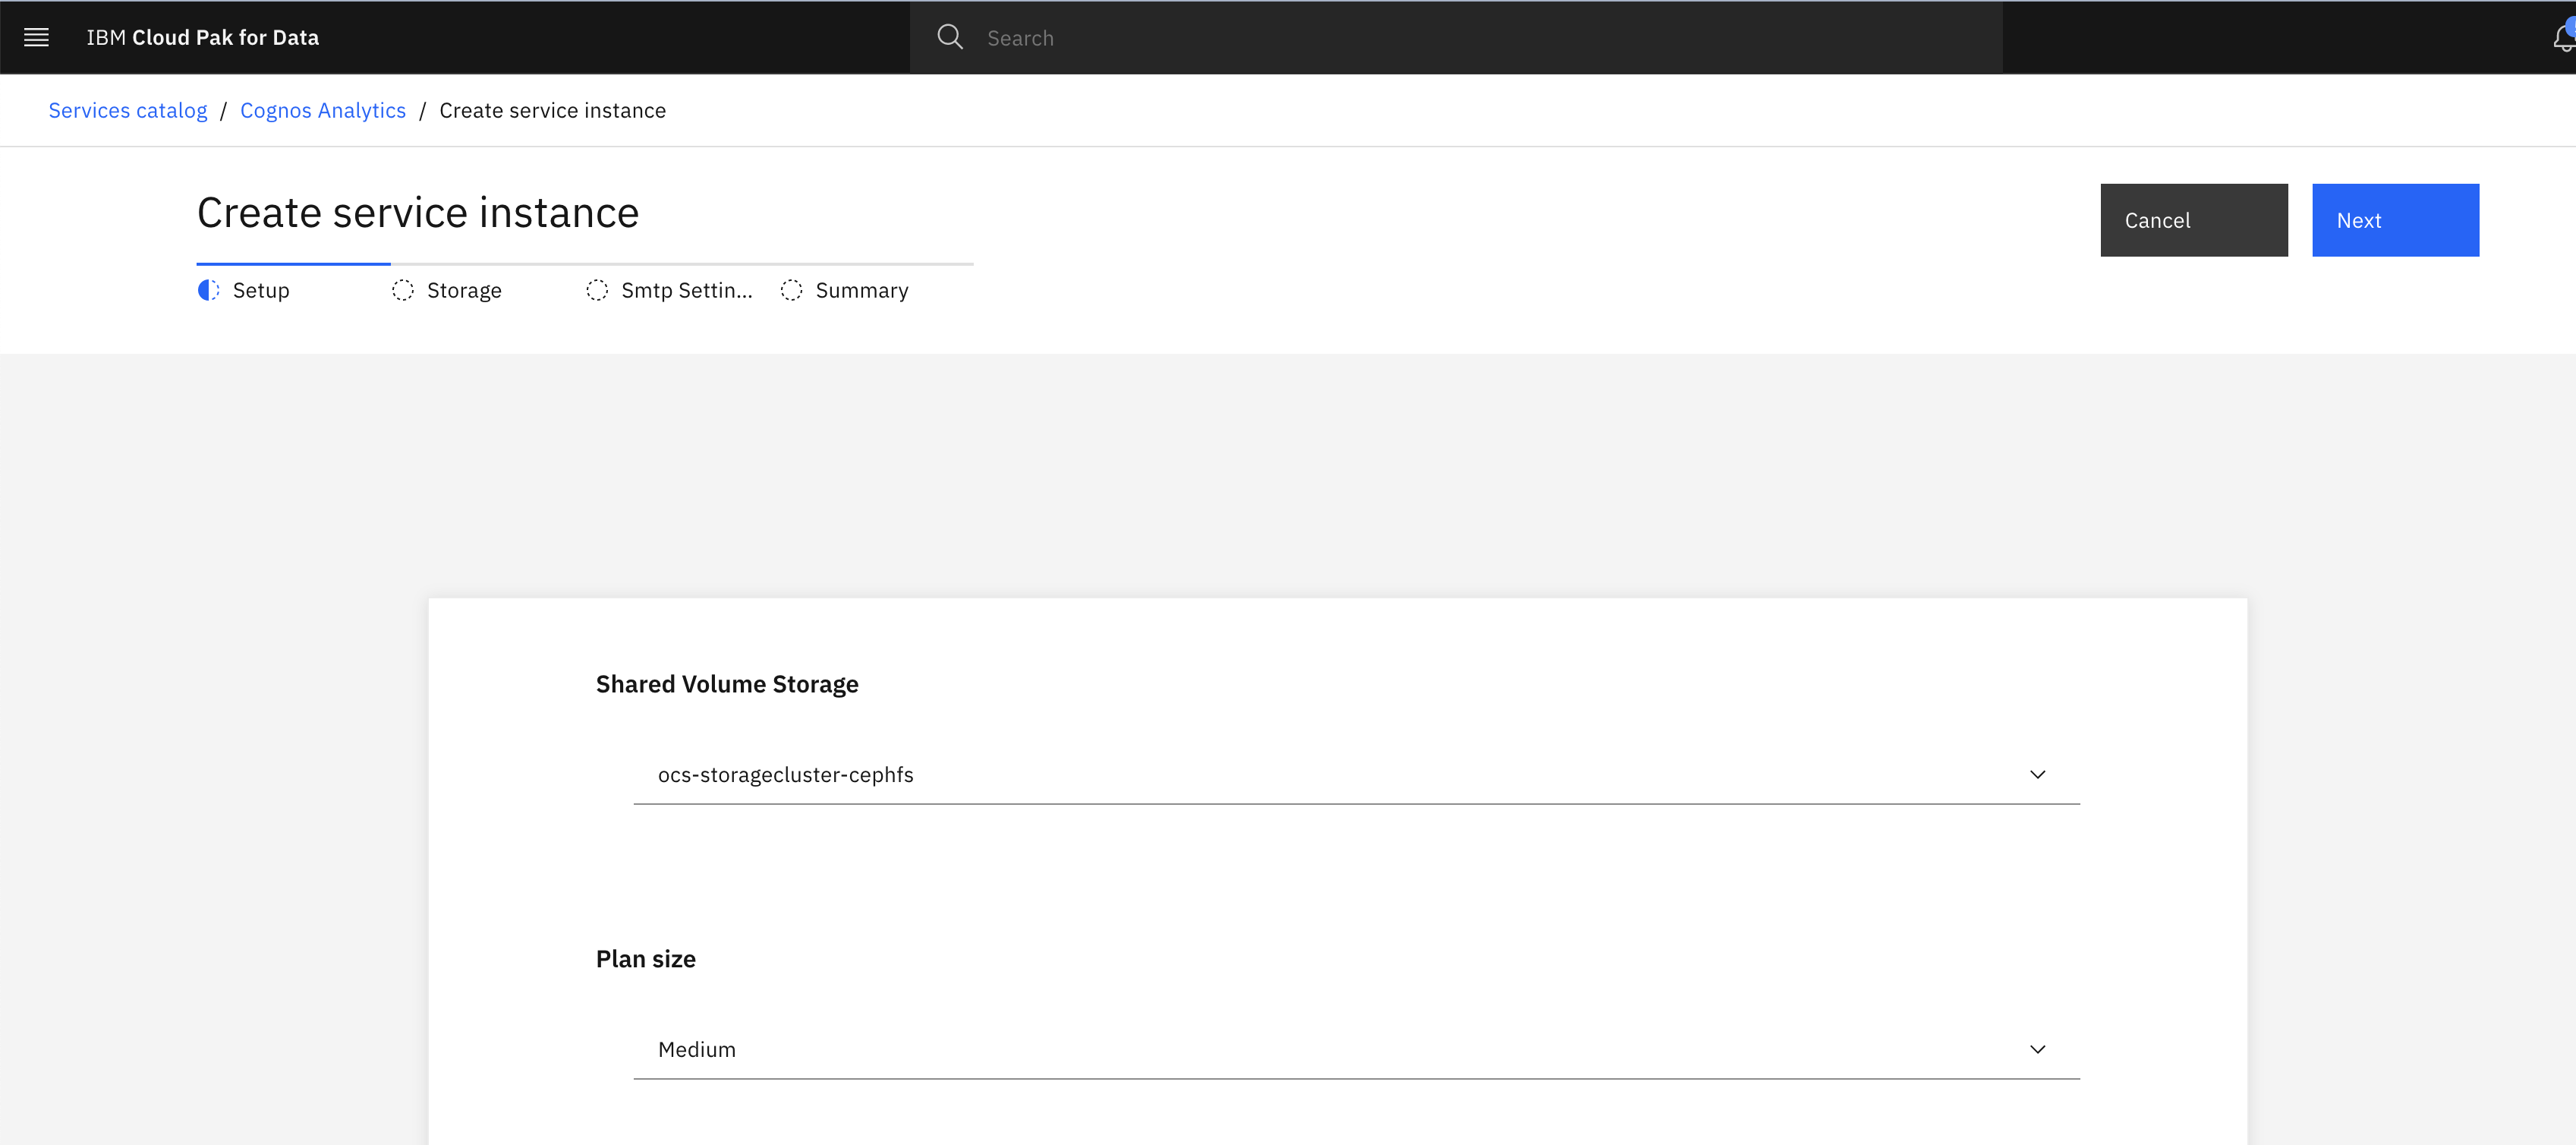
-
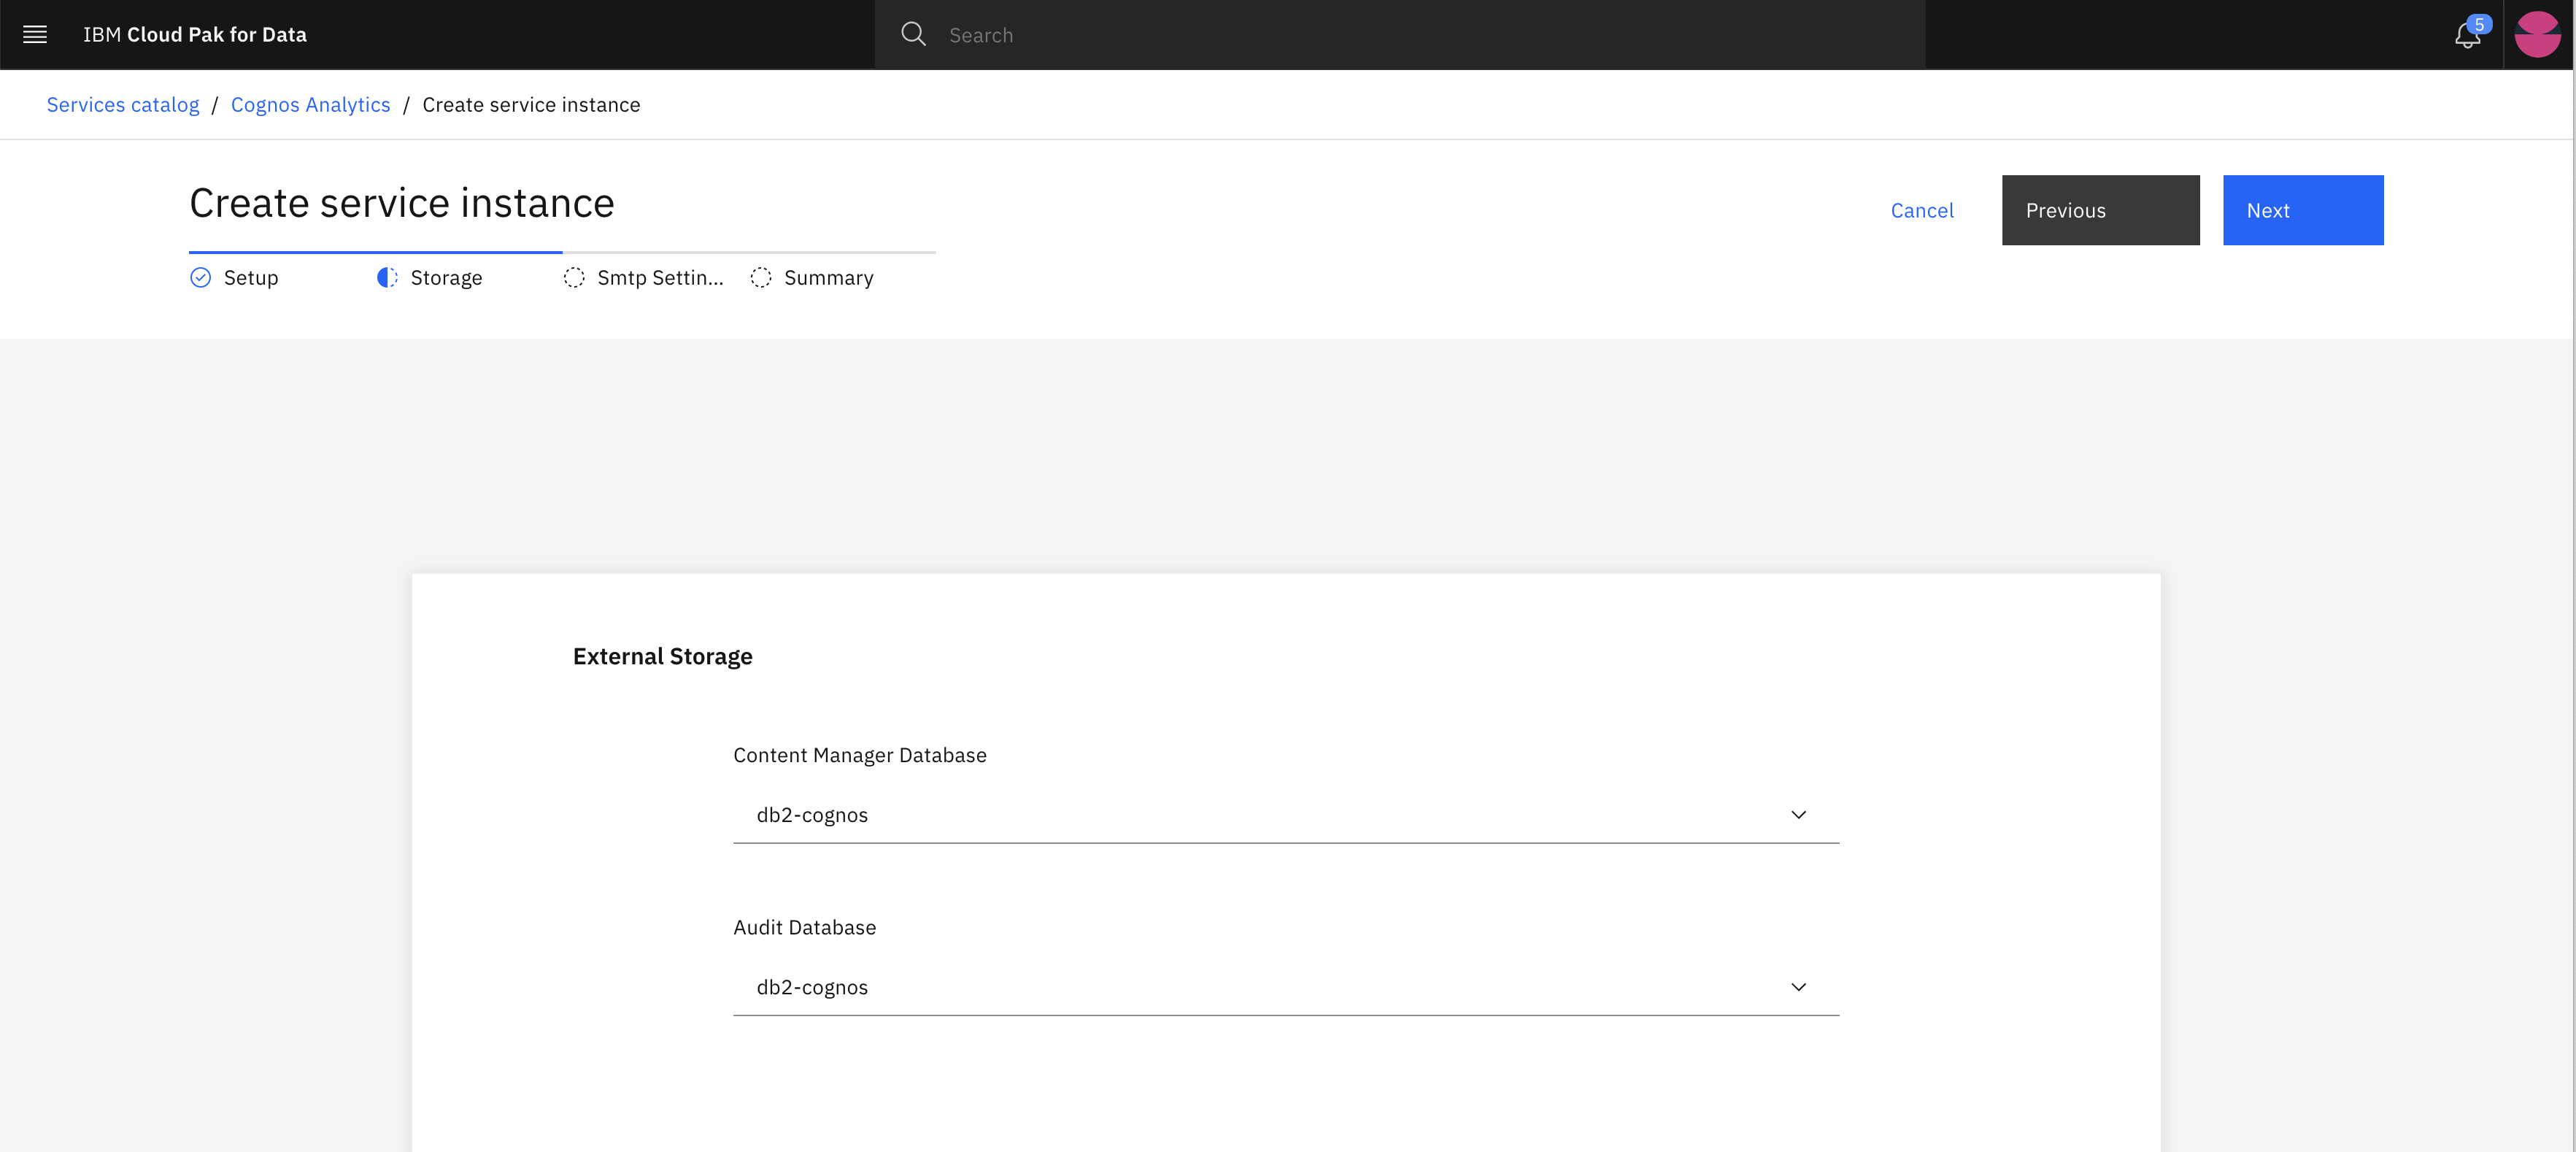
Select Content Manager Database and Audit Database which we created during Platform connection
-
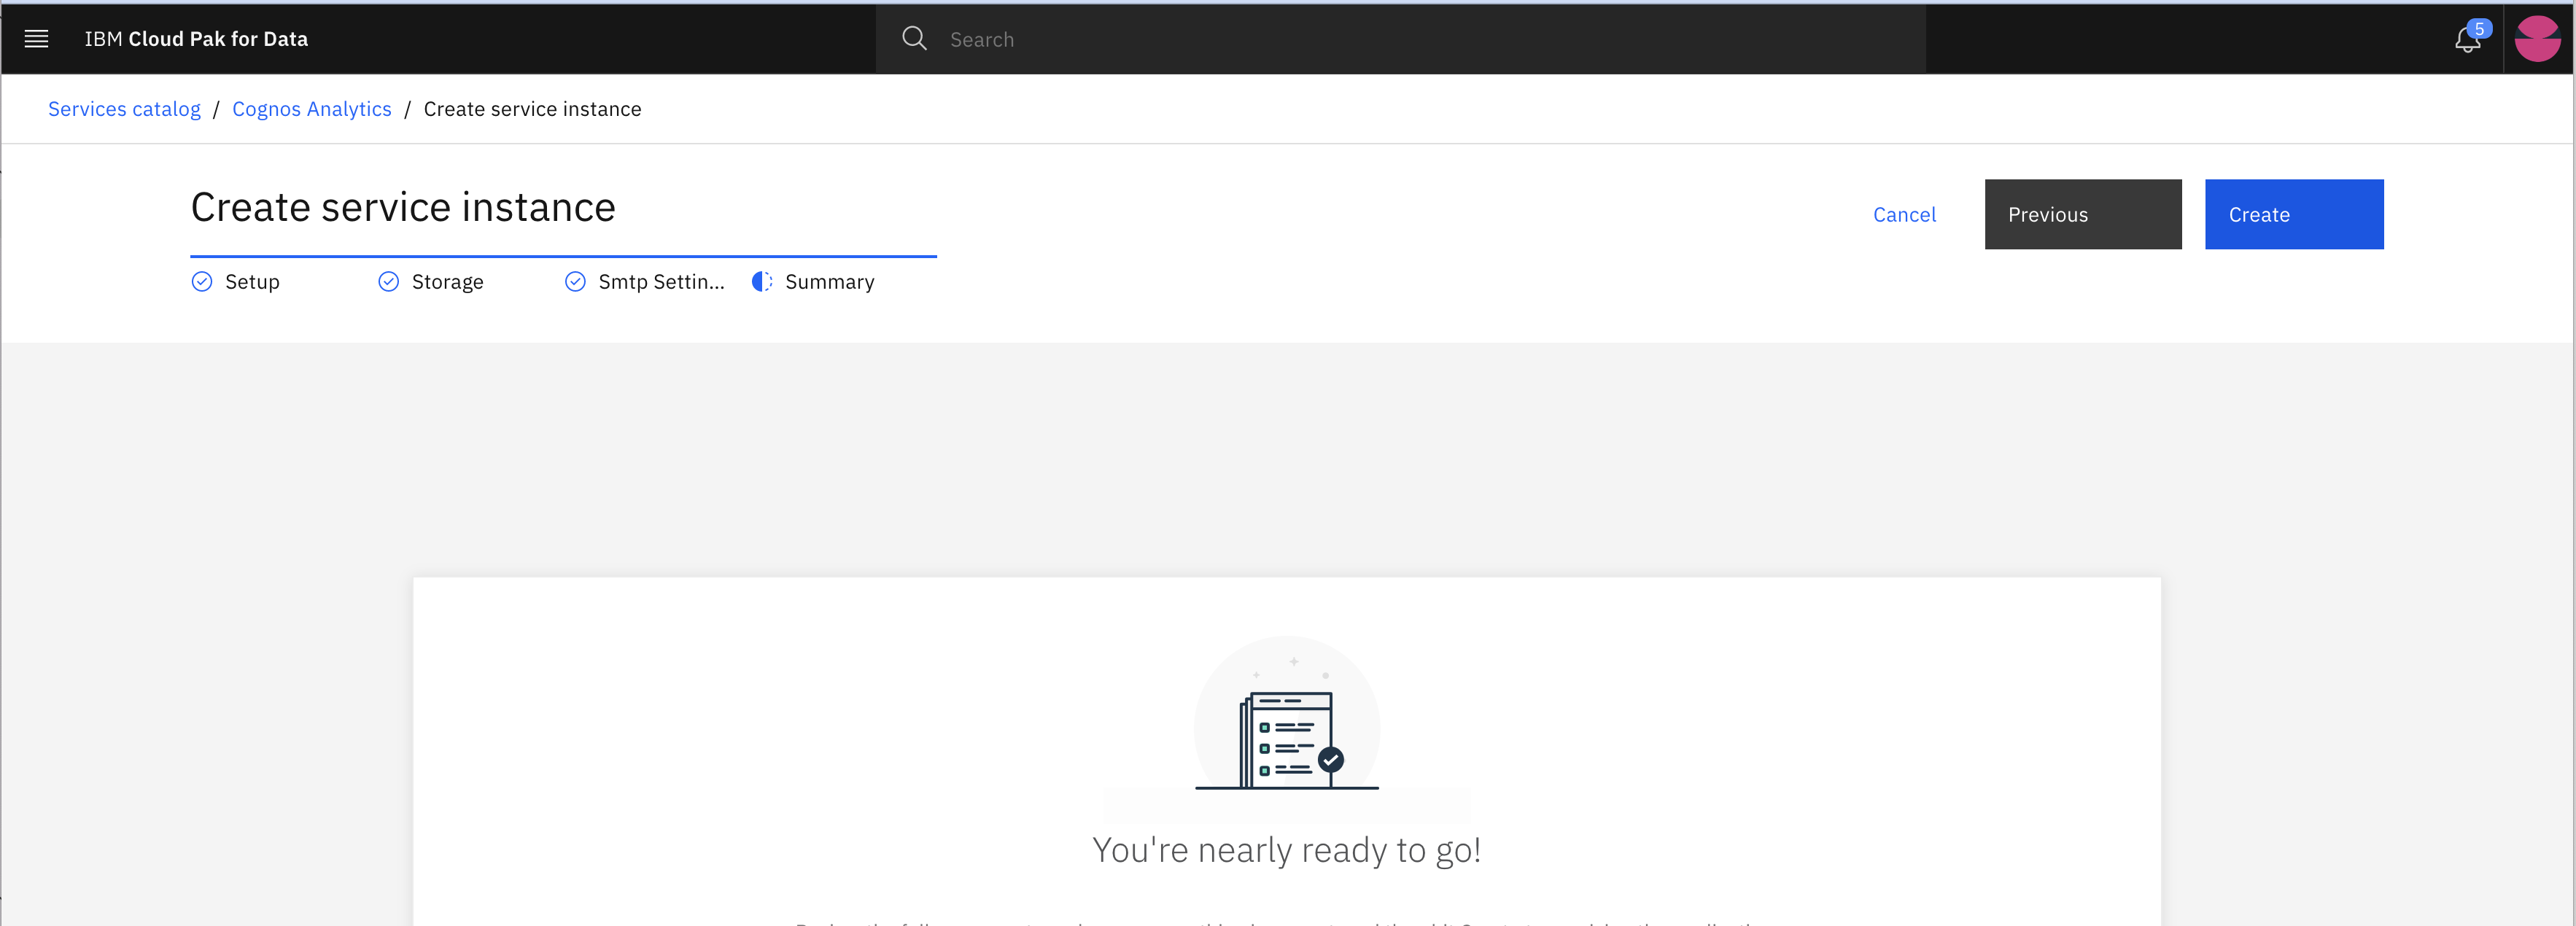
Click Next
-
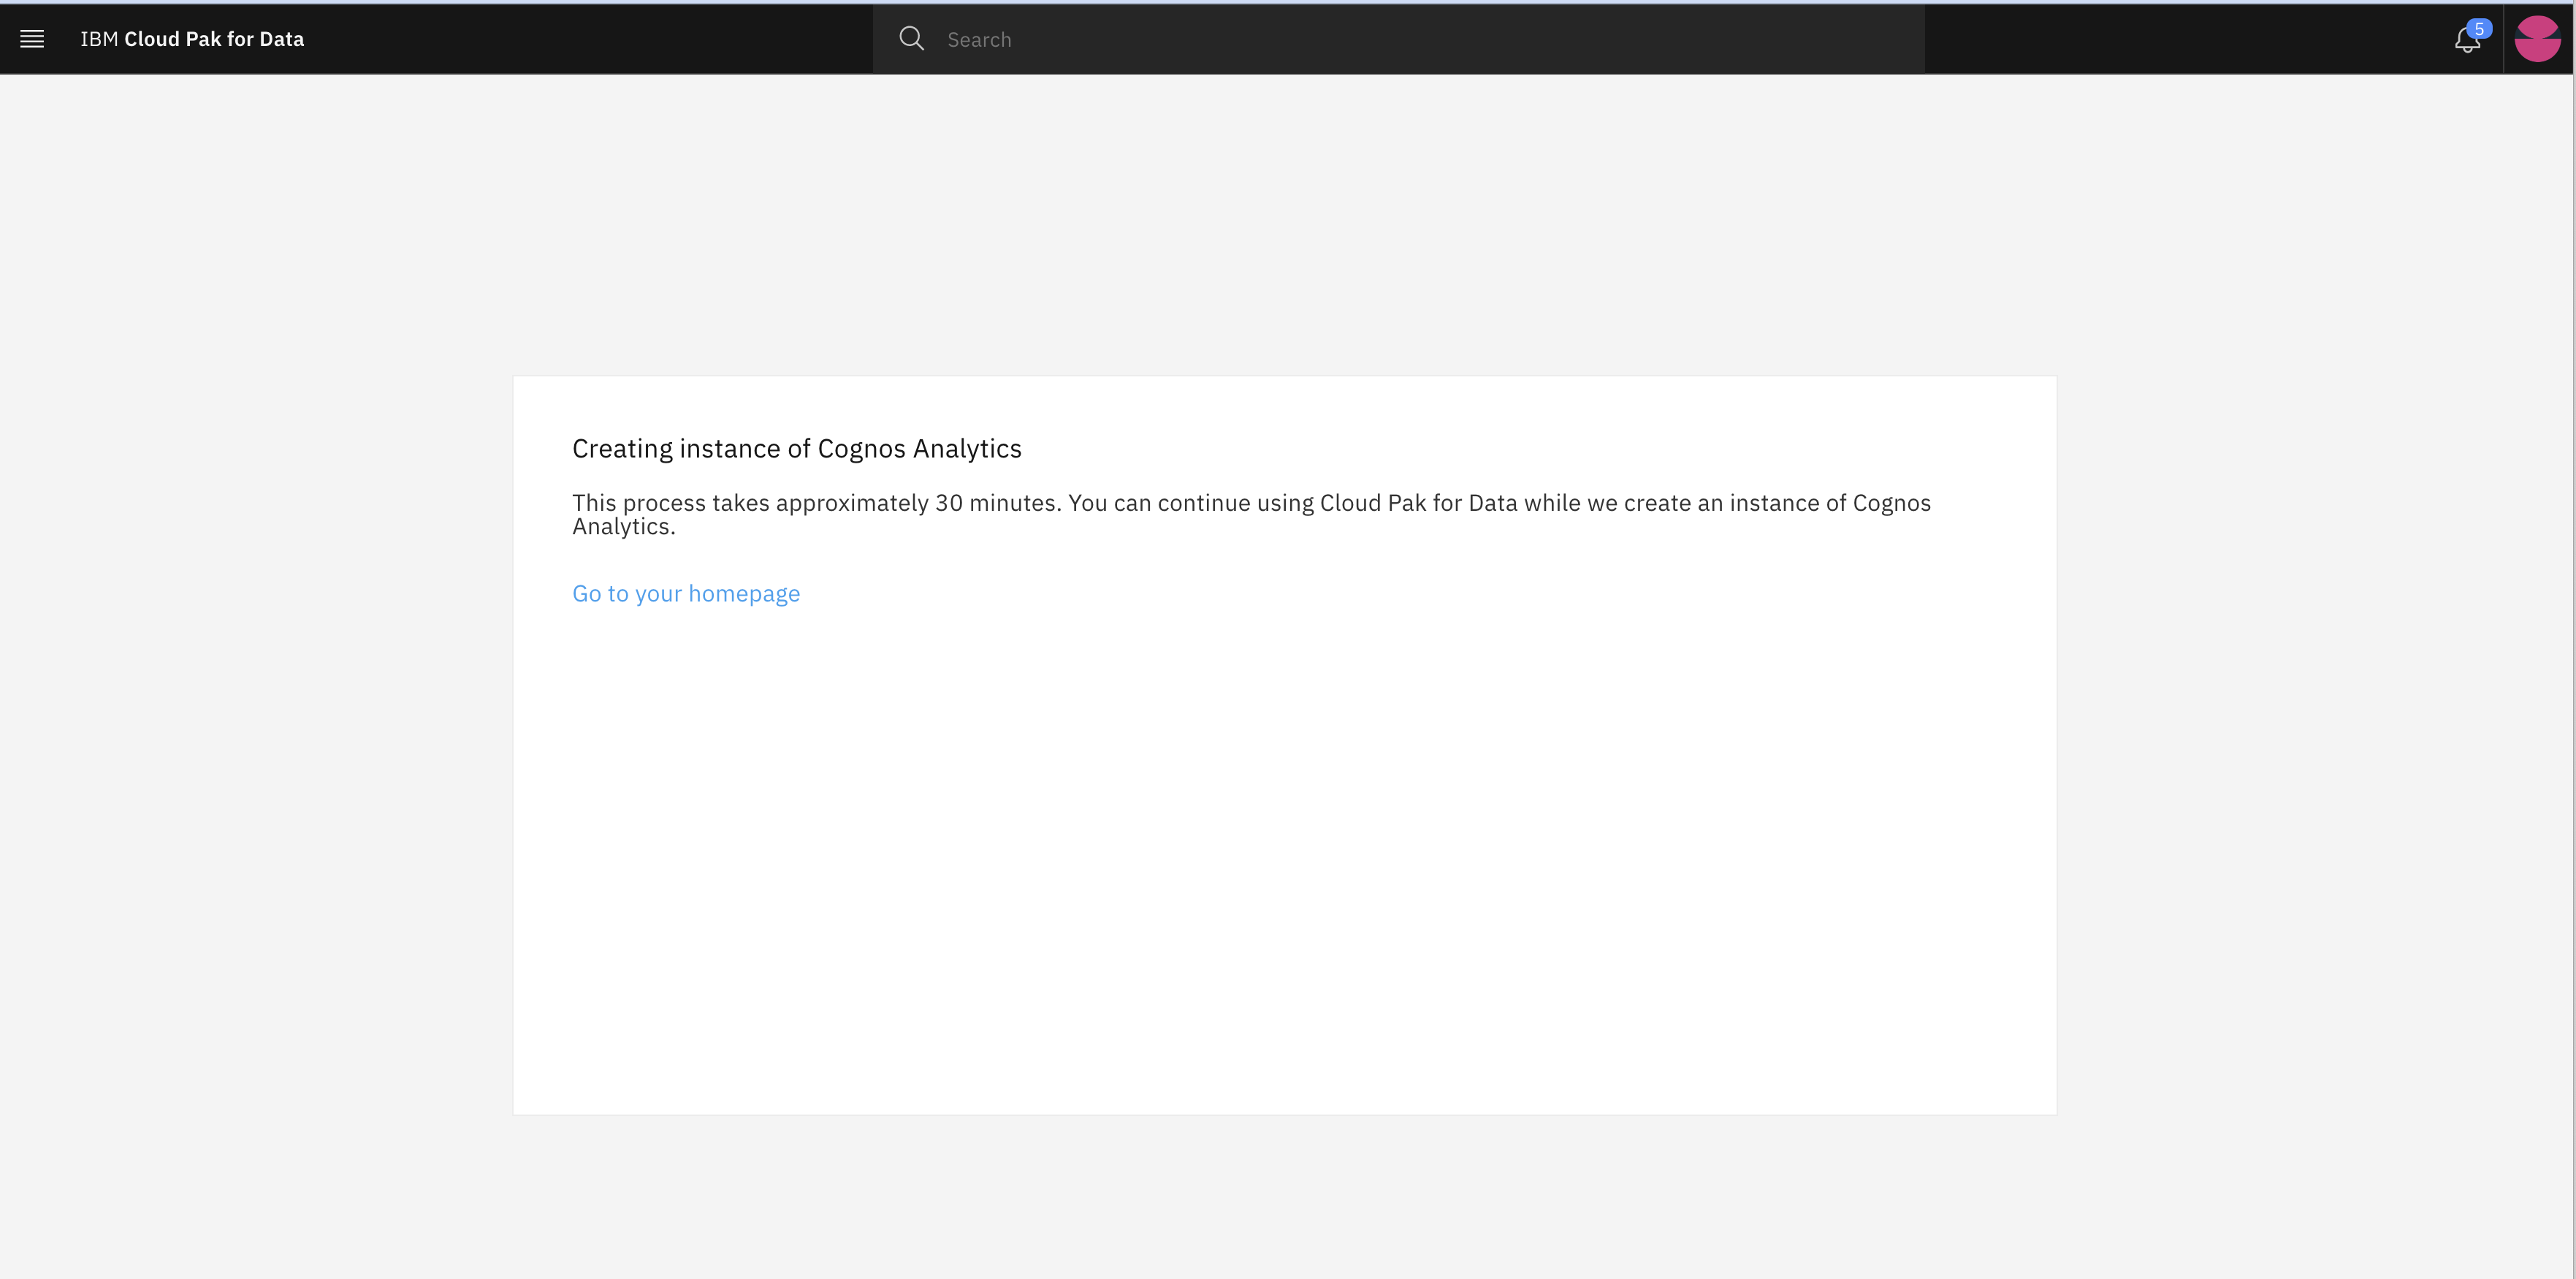
Click Create. Now you can perform other Labs/Steps until Cognos Analytics instance is ready