Infrastructure Provisioning & Setup
Note: This lab document is only for Self Paced infrastructure deployment, not to be performed if you are performing lab through AWS Event Engine.
Learning Objectives
- Deploy Redhat OpenShift and IBM Cloud Pak for Data using CloudFormation template
- Infrastructure provisioning for Lab - 4.
Prerequisites
- IBM Cloud Pak for Data
- AWS Account
Overview
This lab implements creating required infrastructure and loading data onto respective AWS resources.
Lab Environment
Step 1: AWS Resources used in this lab
AWS Cloud9
AWS Cloud9 is a cloud-based integrated development environment (IDE) that lets you write, run, and debug your code with just a browser. It includes a code editor, debugger, and terminal. Cloud9 comes prepackaged with essential tools for popular programming languages, including JavaScript, Python, PHP, and more, so you don’t need to install files or configure your development machine to start new projects. Since your Cloud9 IDE is cloud-based, you can work on your projects from your office, home, or anywhere using an internet-connected machine.
How we made it different?
In this cloud9 environment we have pre-installed with the required tools and utilities to access specific to our lab execution.
Step 2: Cli Resources used in this lab
Openshift Cli
With the OpenShift command-line interface (CLI), the oc command, you can create applications and manage OpenShift Container Platform projects from a terminal. The OpenShift CLI is ideal in the following situations:
-
Working directly with project source code
-
Scripting OpenShift Container Platform operations
-
Managing projects while restricted by bandwidth resources and the web console is unavailable
AWS CLI
The AWS Command Line Interface (AWS CLI) is a unified tool to manage your AWS services. With just one tool to download and configure, you can control multiple AWS services from the command line and automate them through scripts.
Step 3: Create Hosted Zone for your domain
Follow below steps to create Hosted Zone in AWS:
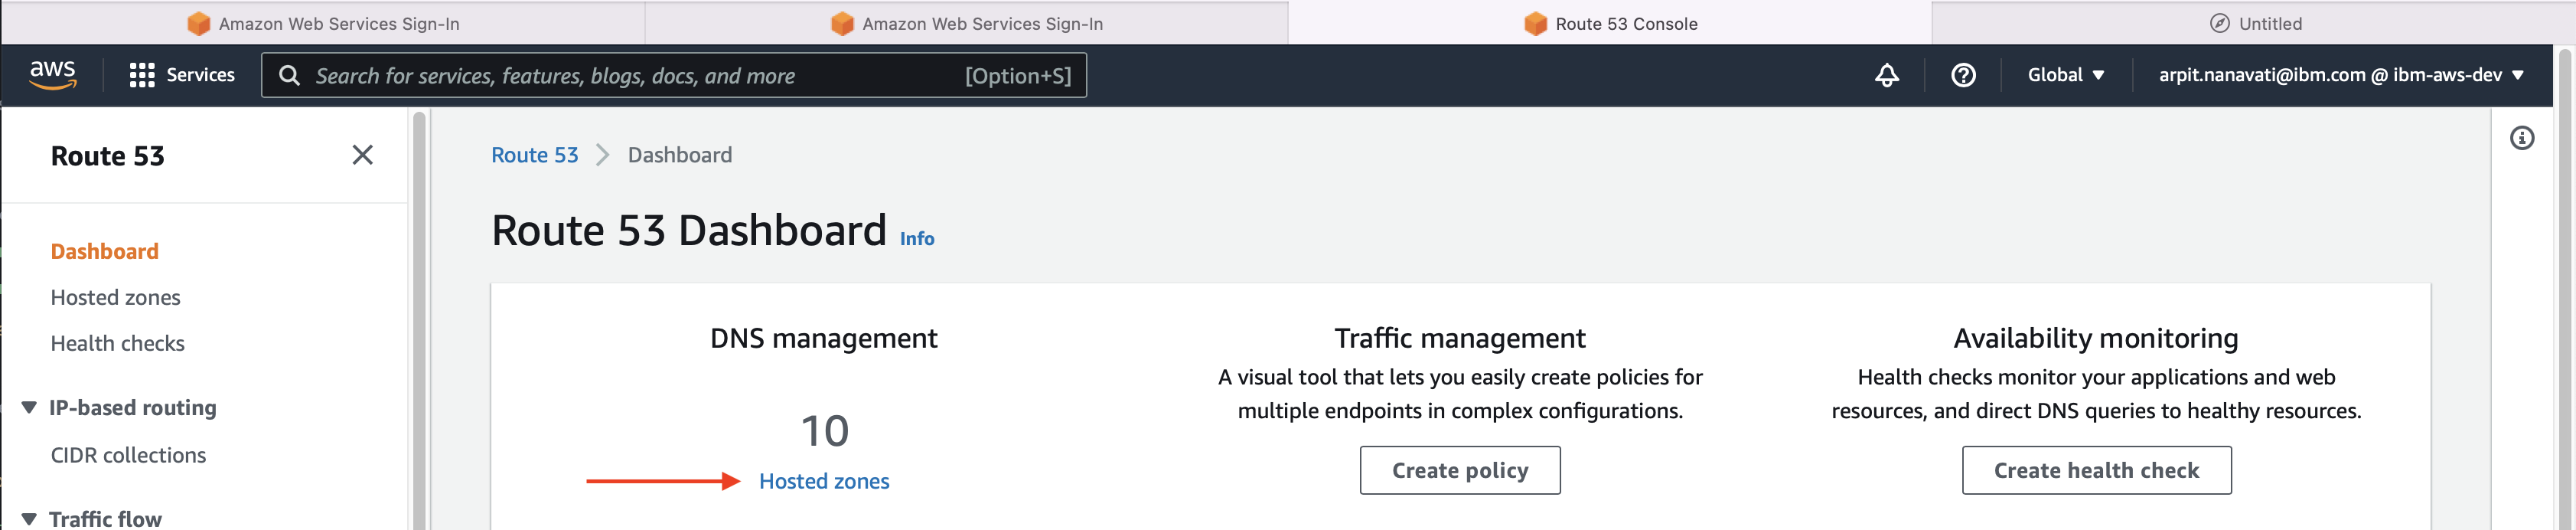
- Search for the Route 53 service and click Hosted zones under DNS Management.
-
Click Create hosted zone to create a new hosted zone for your domain name.
Note: If you already have domain registered with AWS, then you may skip this step.

- Note down the newly created NS record.
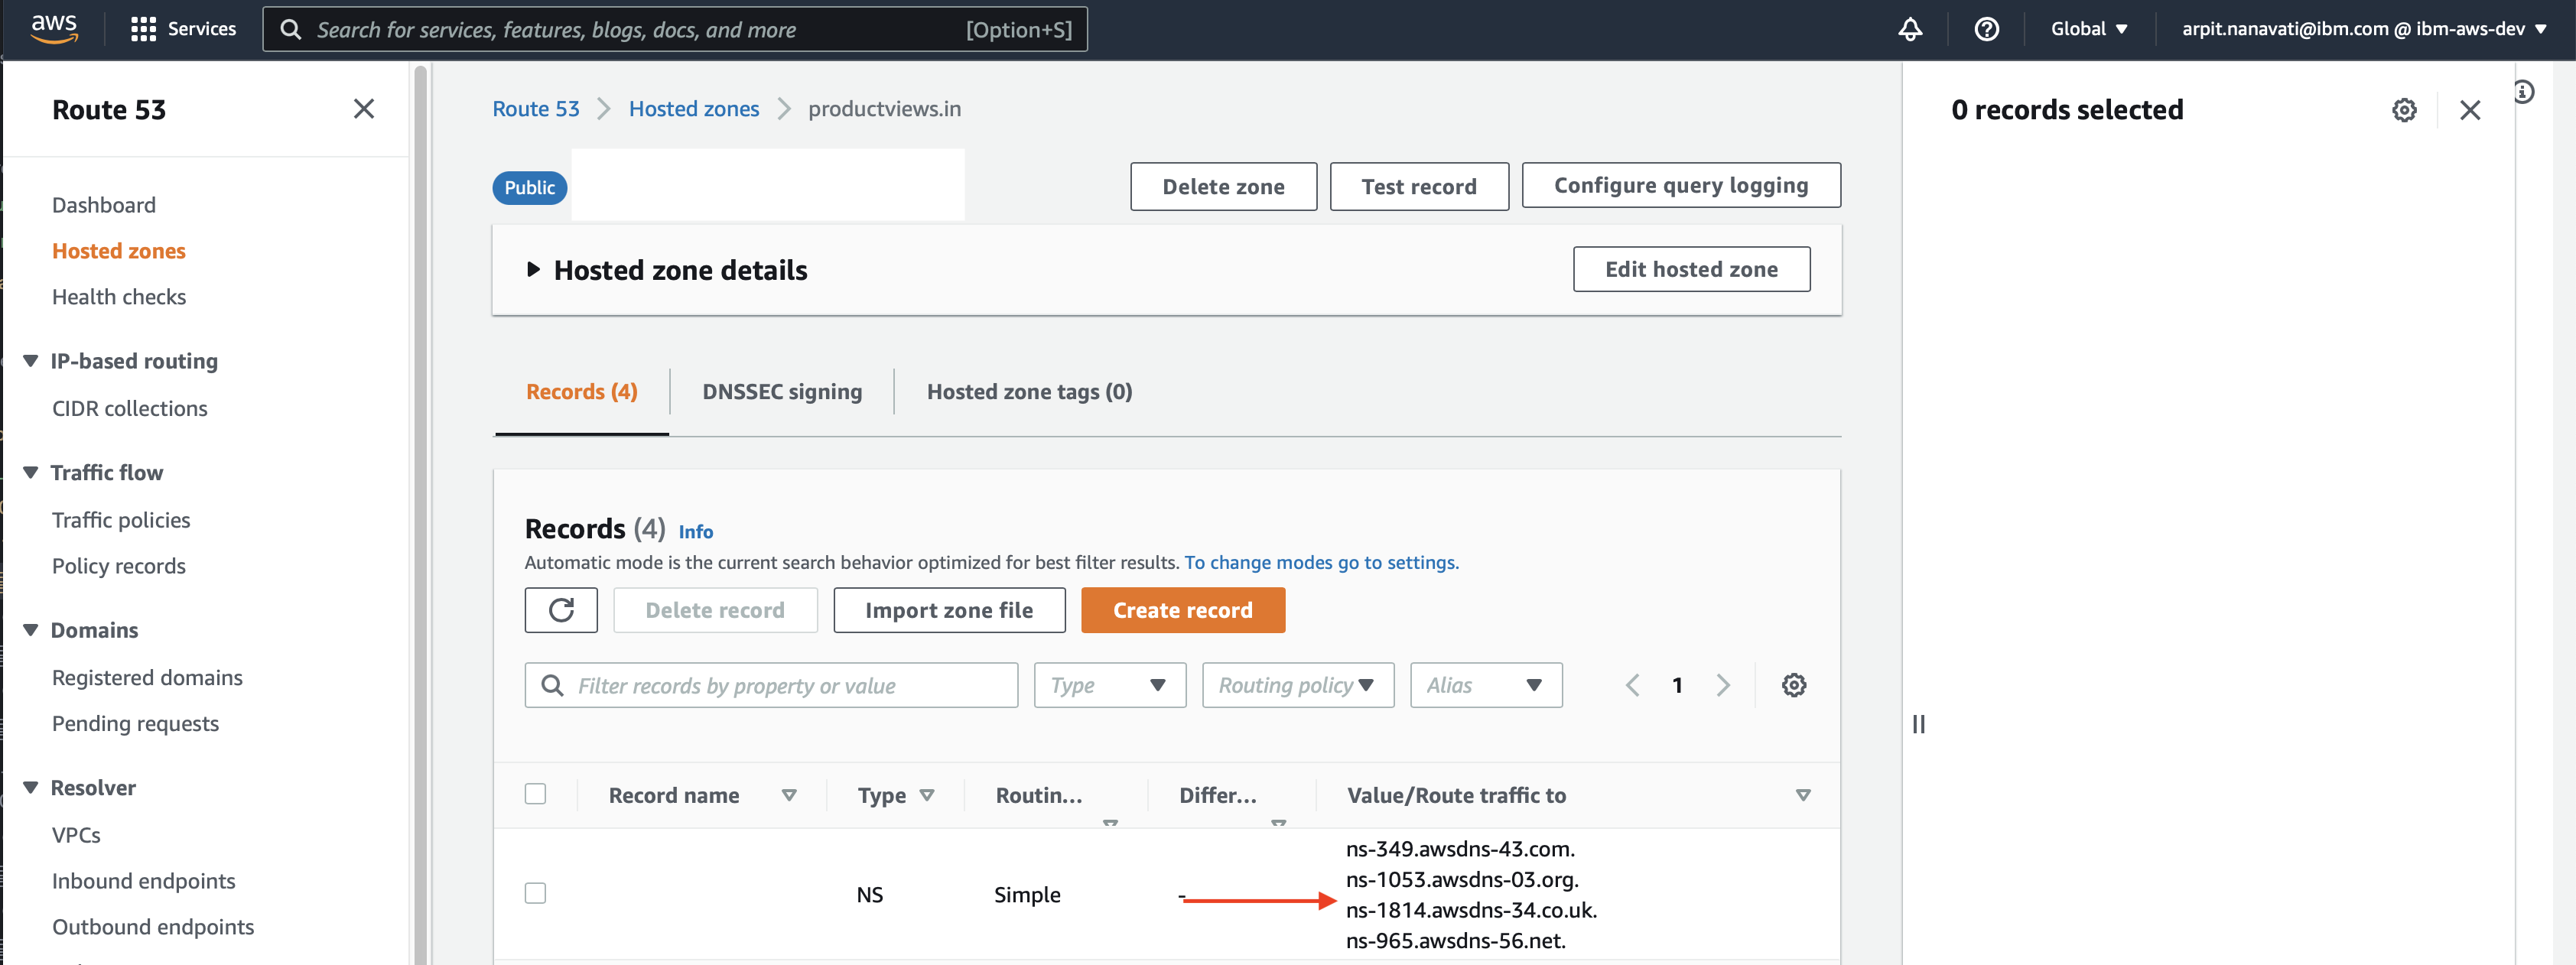
- Once after creating hosted zone in AWS. visit your domain name provider and update NS (Name Server) record created in step 3.
Step 4: Red Hat OpenShift pull secret.
- Visit https://console.redhat.com/openshift/install/pull-secret and follow instructions to get Red Hat pull secret for OpenShift. Download the pull secret (json) file and save it in the Amazon S3 bucket for further use.
Step 5: Create the stack in CloudFormation on AWS Console.
Note: This lab is available only for 2 - 3 days.
- Login into AWS Console and search for CloudFormation services and then click on Create Stack with new resources.

- Select template source as Amazon S3 and provide the below s3 url for Amazon S3 URL
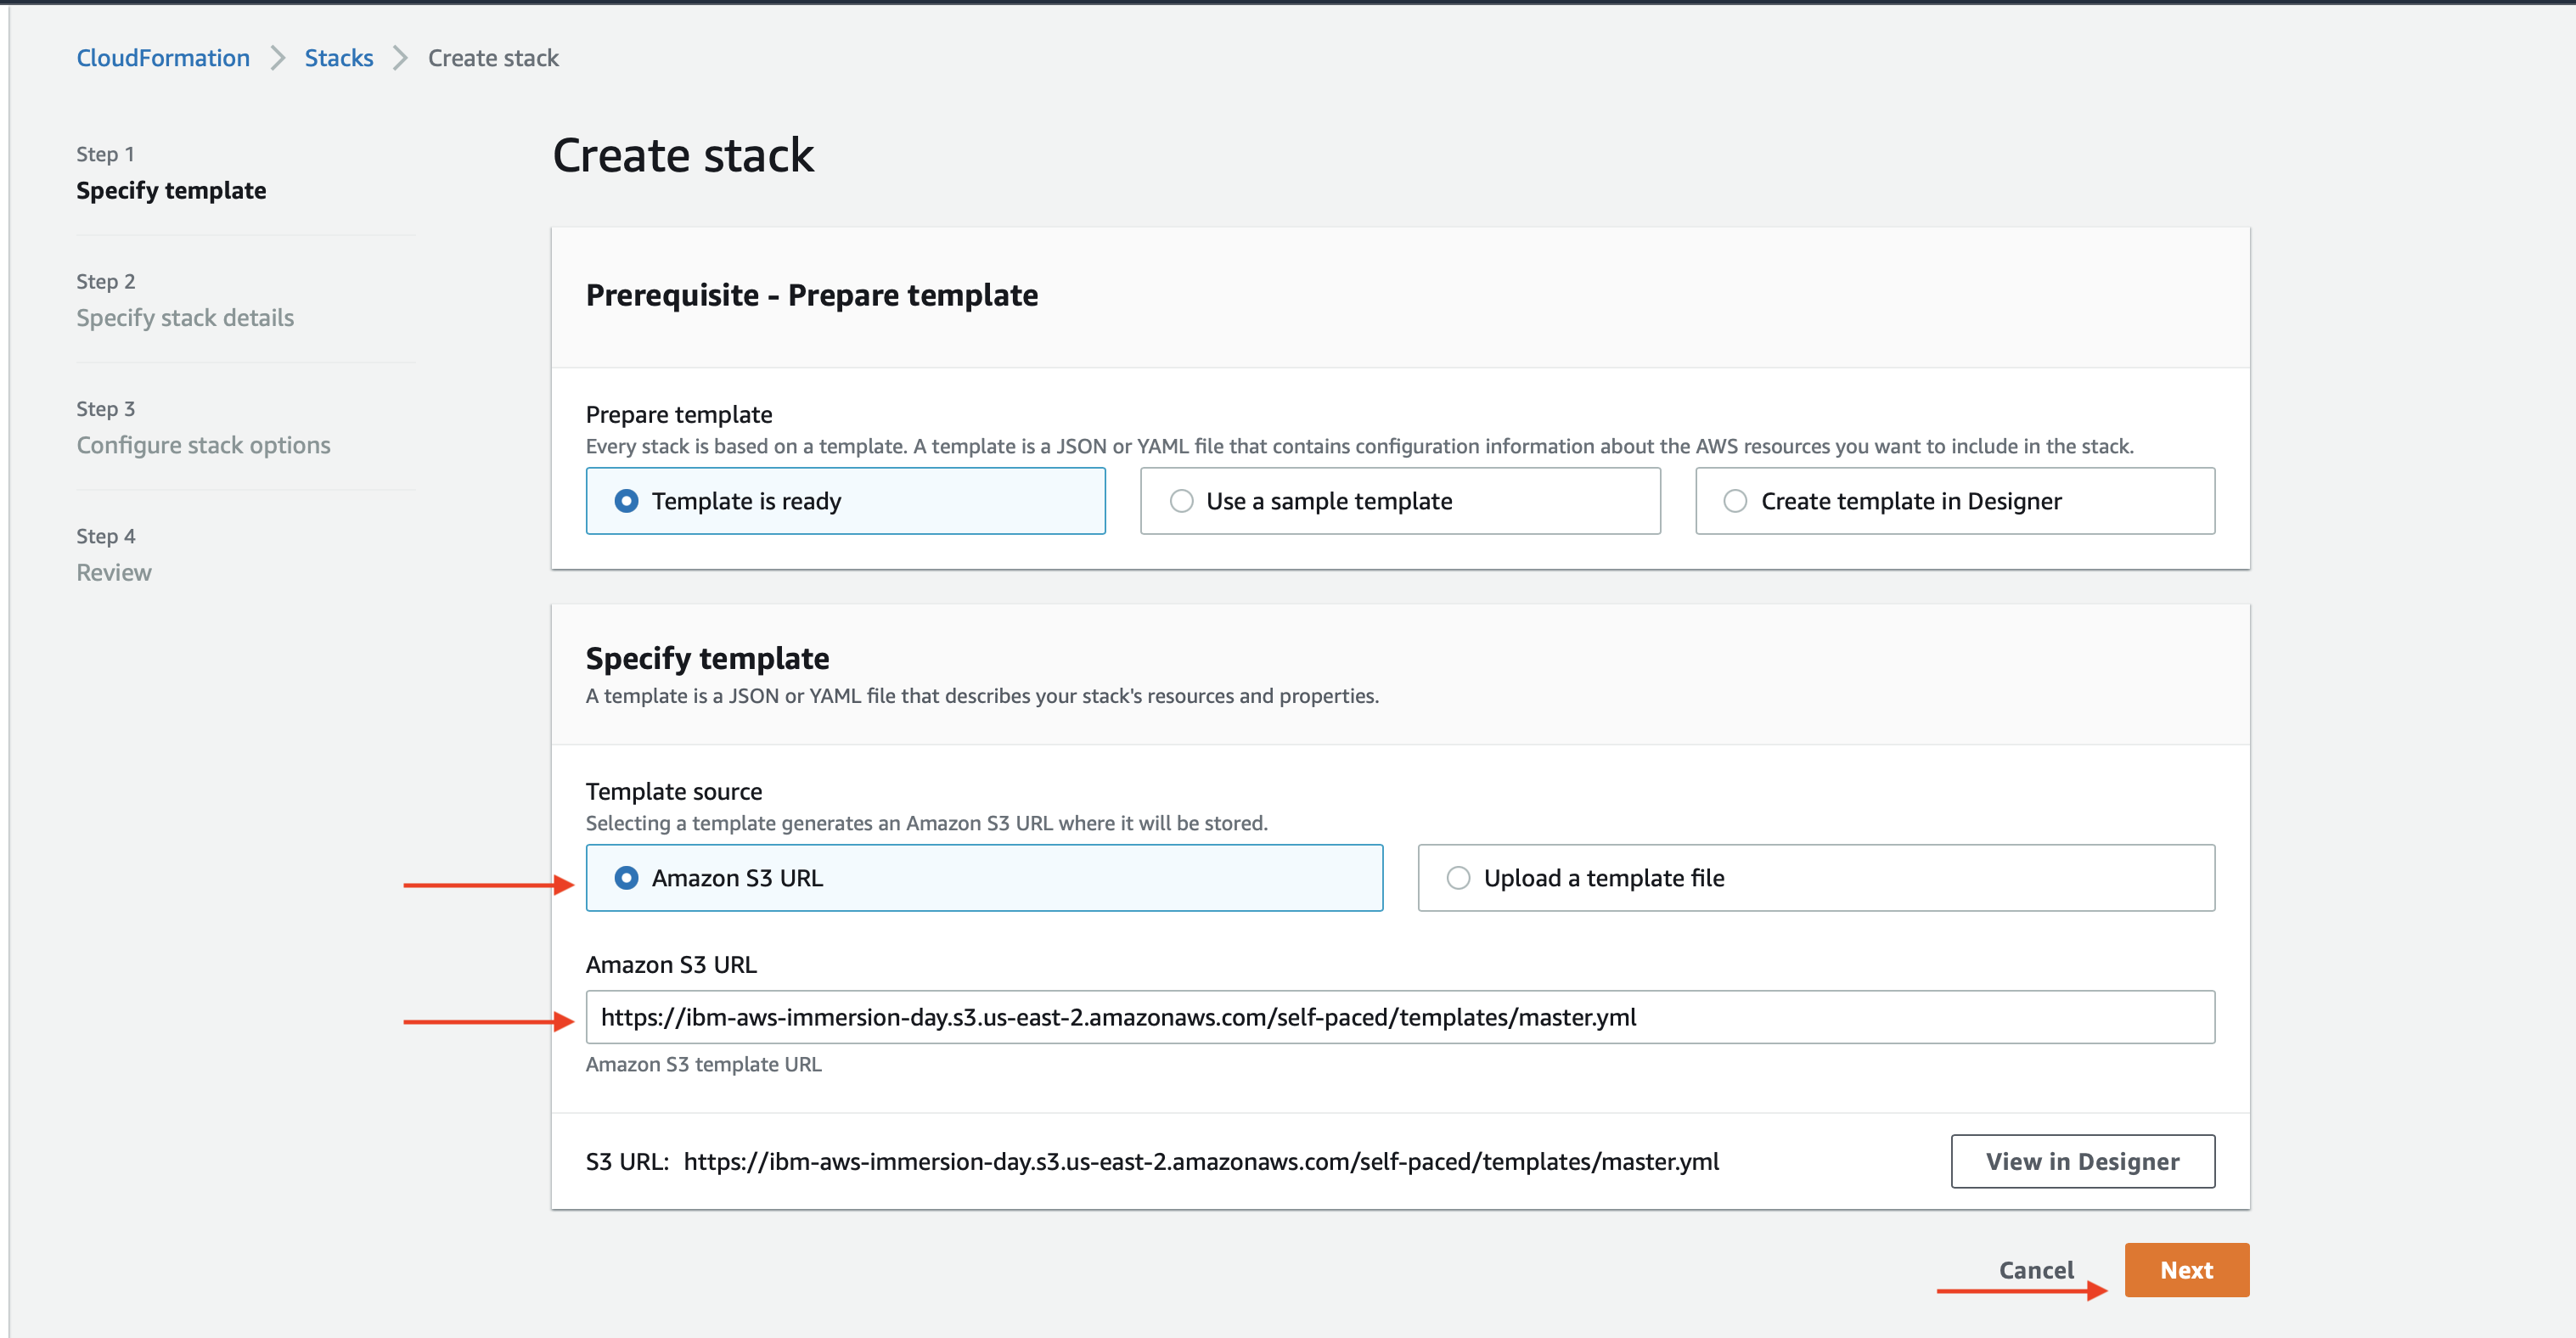
https://ibm-aws-immersion-day.s3.us-east-2.amazonaws.com/self-paced/templates/master.yml
- Provide the required inputs
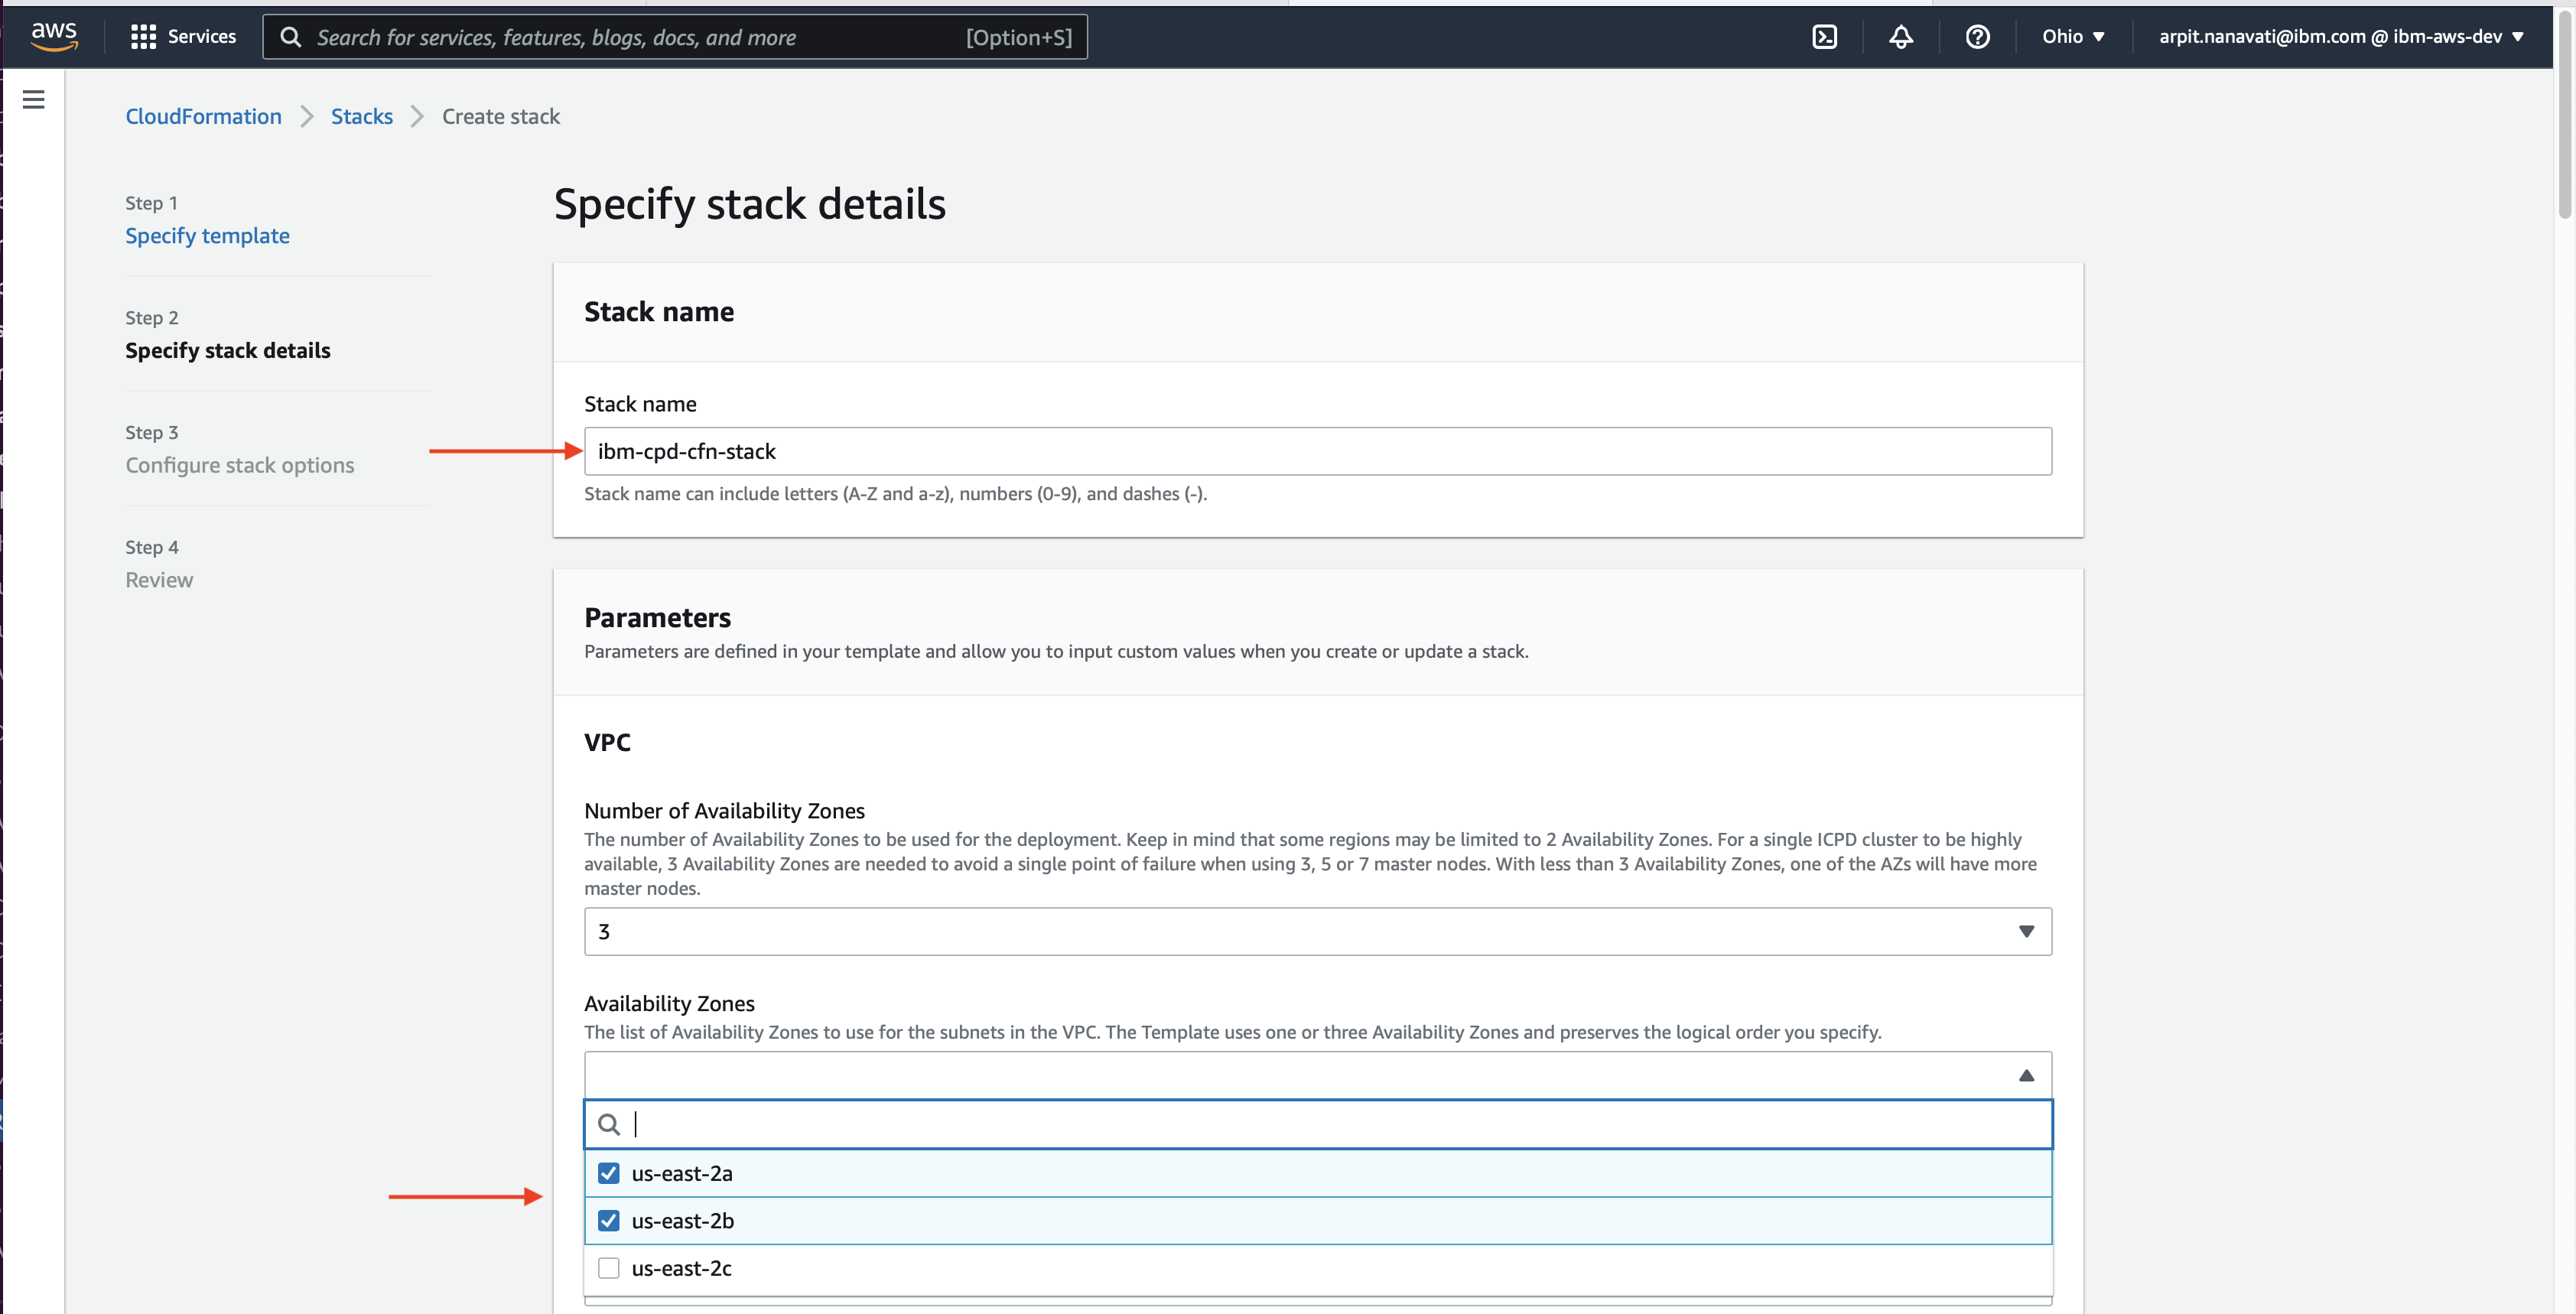
Specify stack name and availability zone as shown below
Provide your domain name instead of example.com

Provide password to login to Red Hat OpenShift and IBM Cloud Pak for Data

Provide IBM Cloud Pak for Data API key which you might have received as the part of previous step.
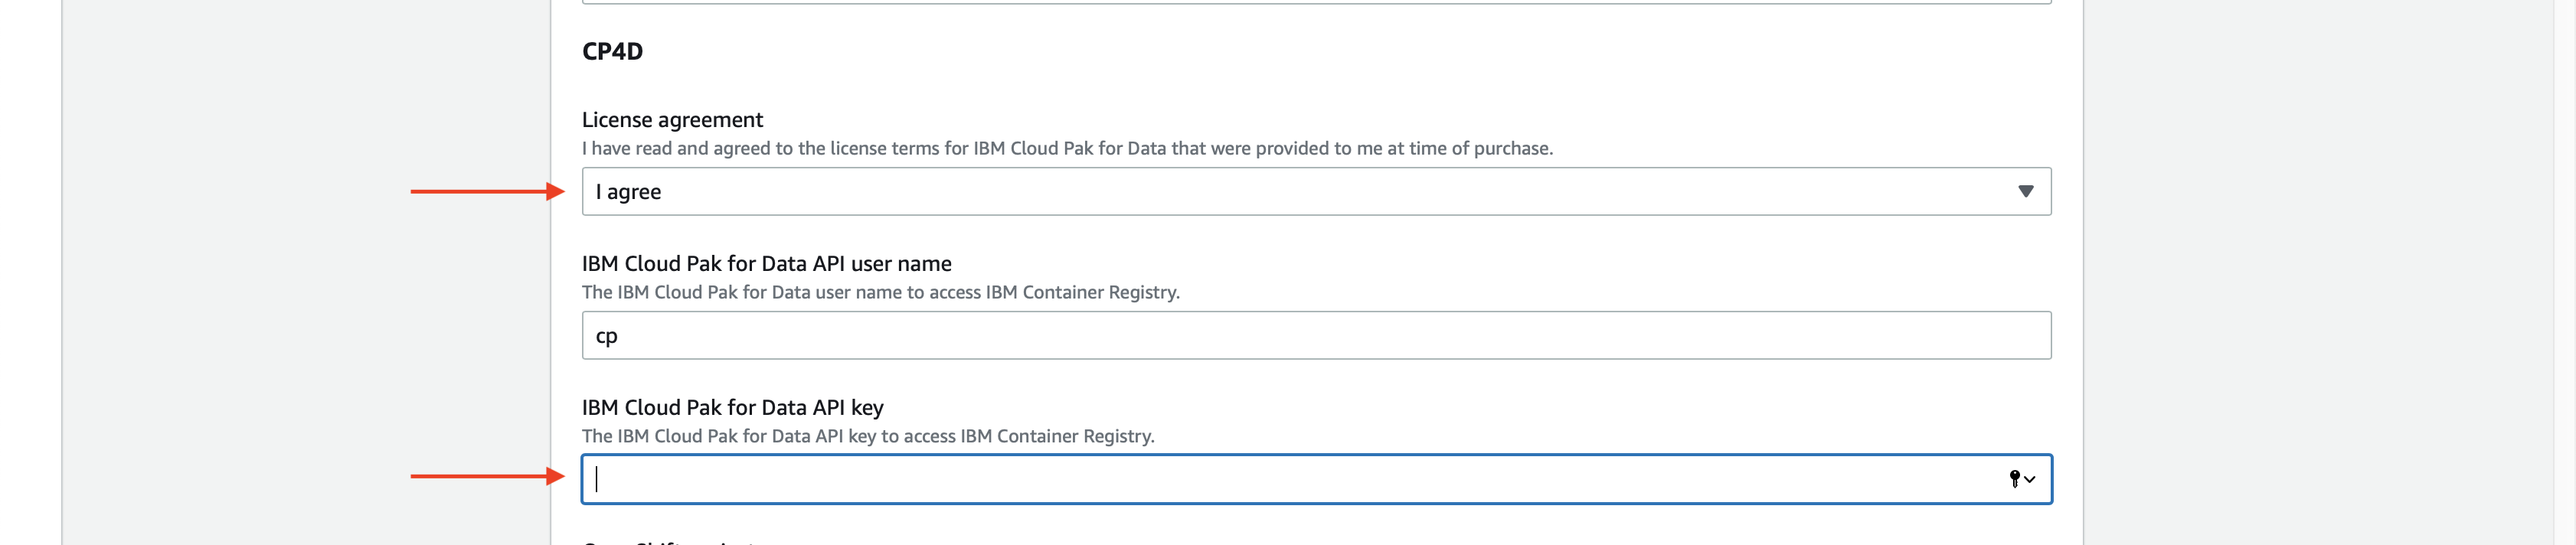
Provide Redhat pull secret that you saved in Amazon S3 in earlier step.

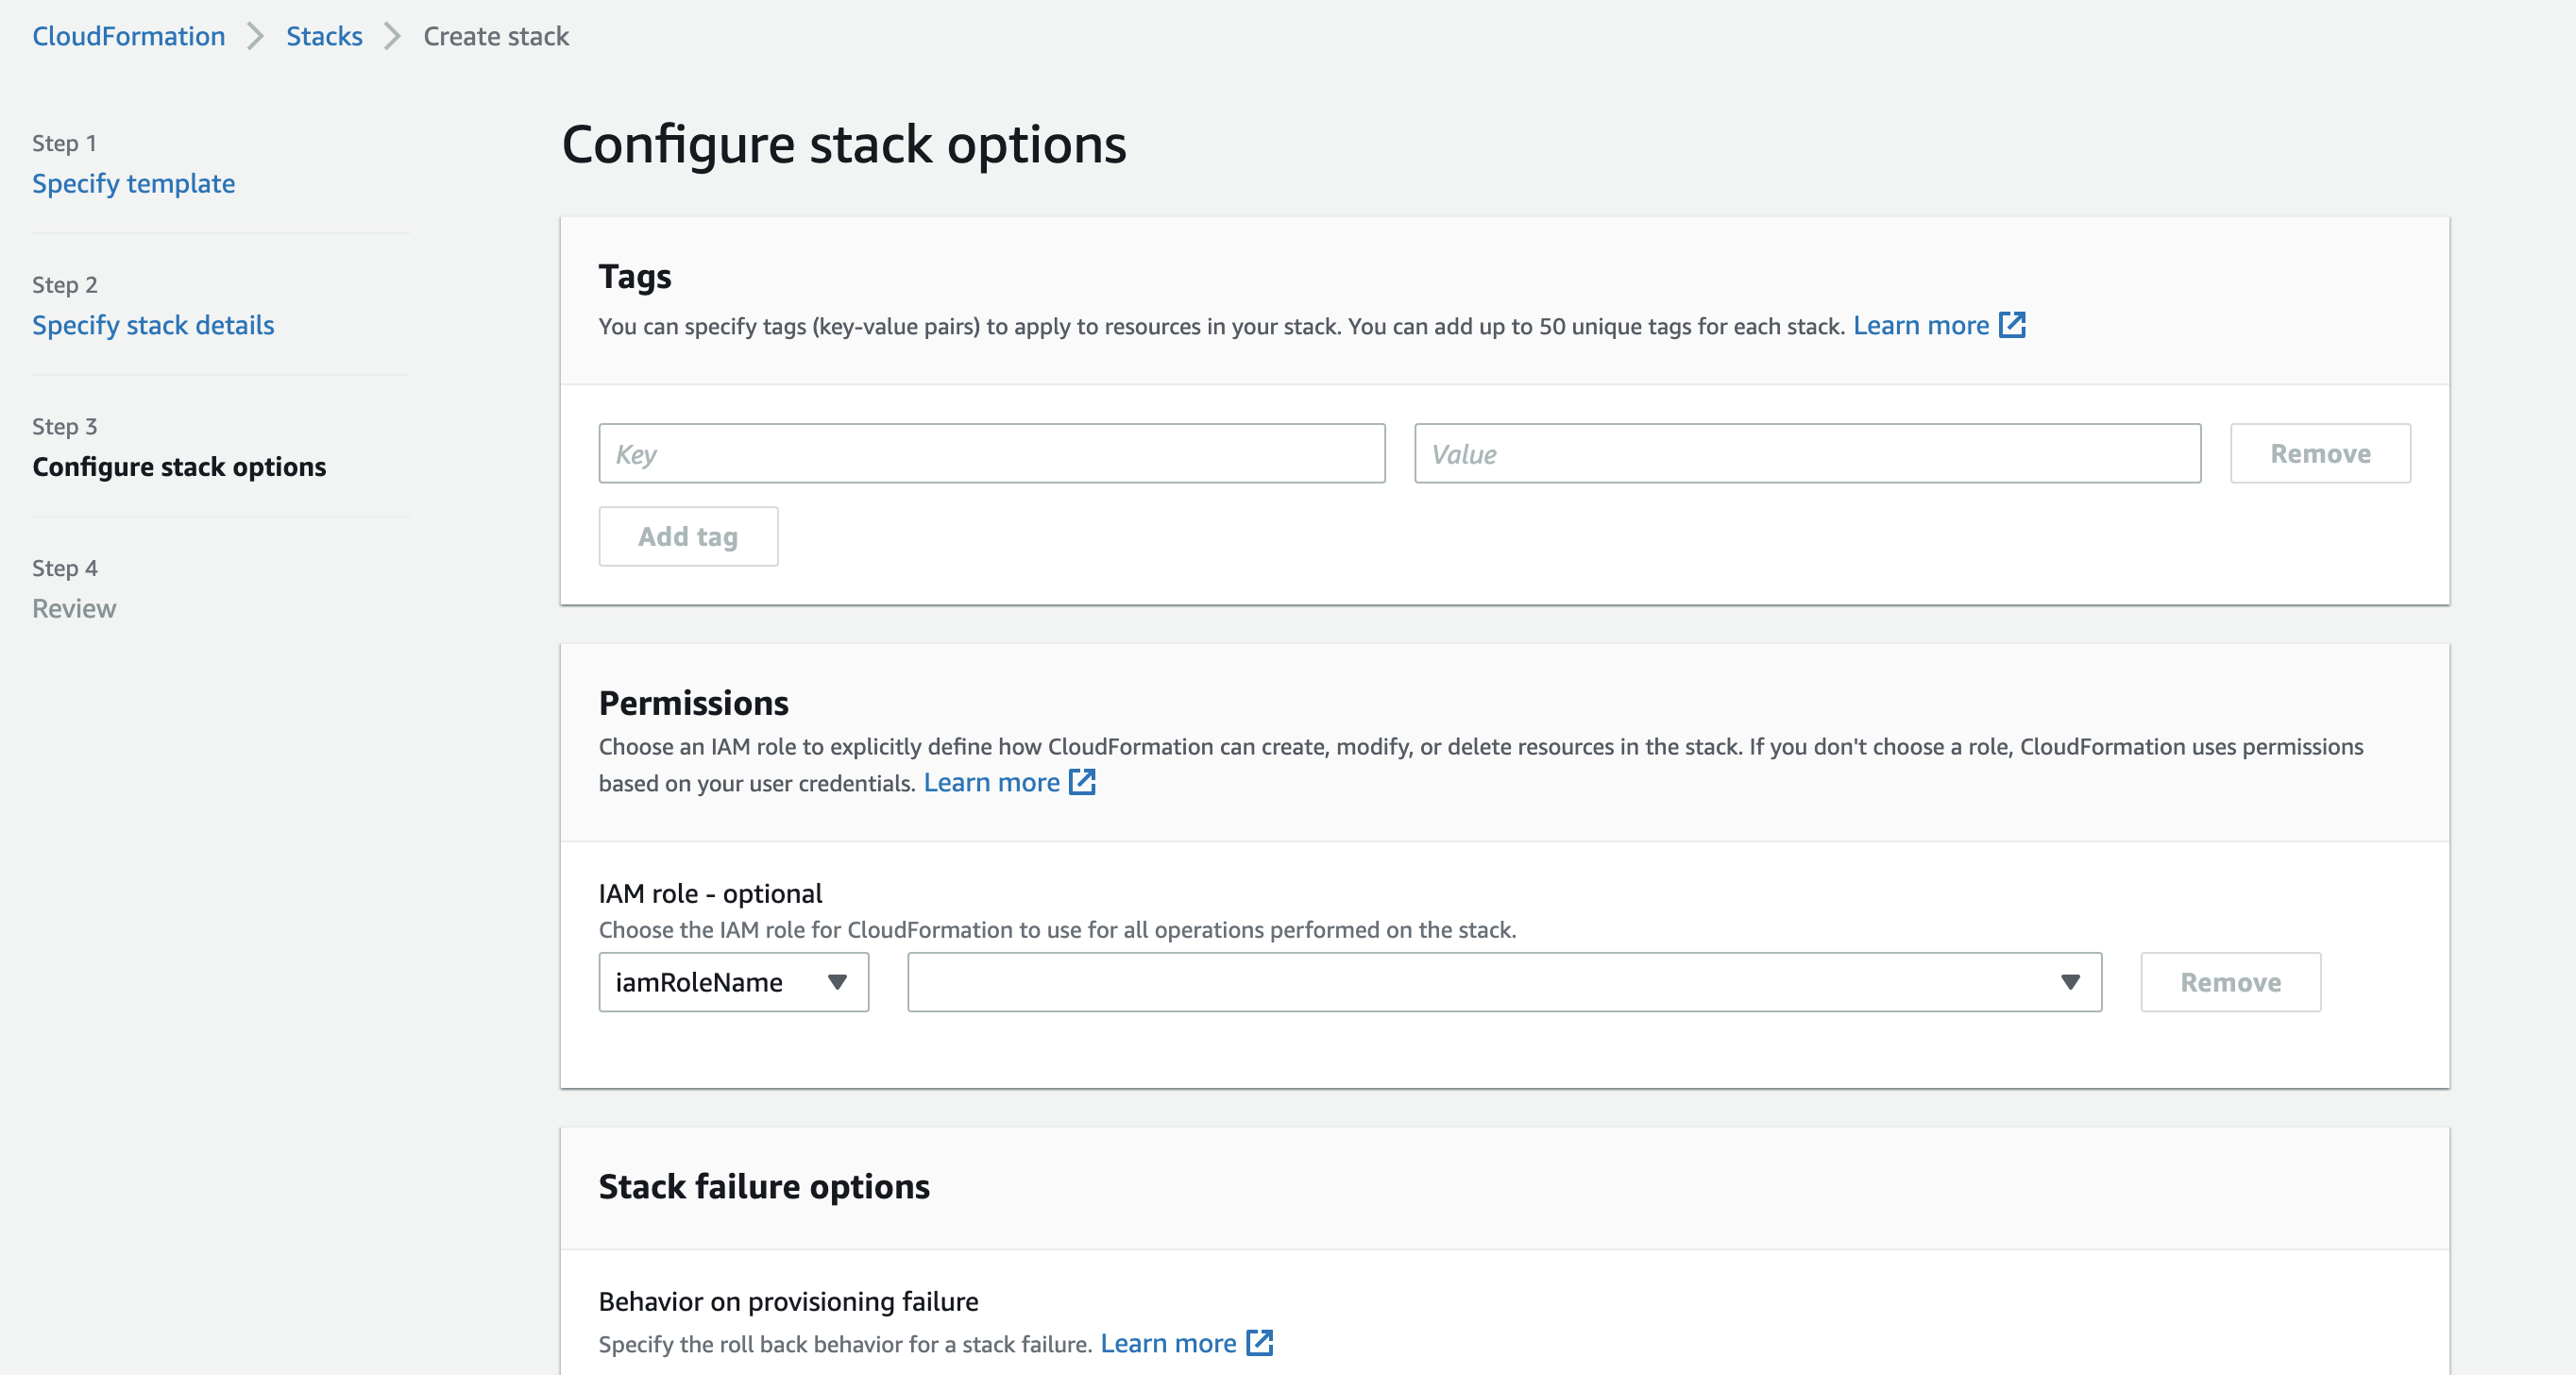
- Choose appropriate IAM Role as shown below.
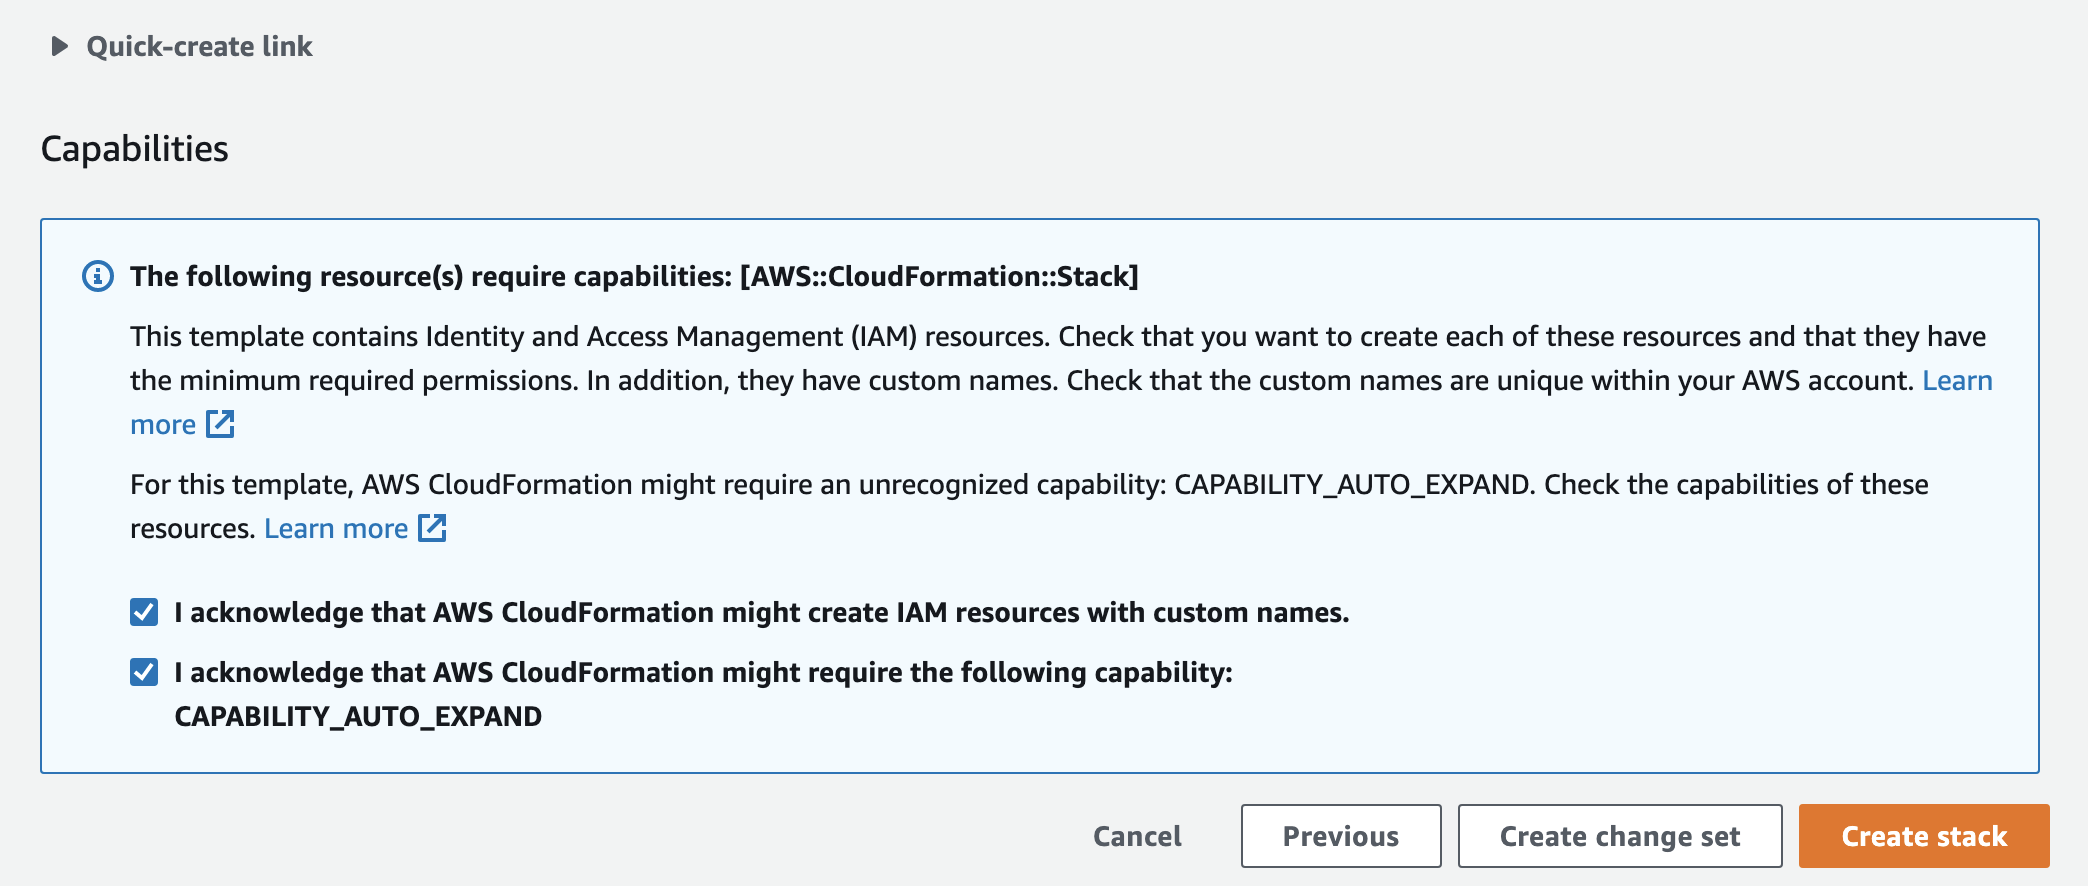
- Acknowledge and Click the Create stack button
- Review the outputs (stacks) formed in AWS CloudFormation tab.
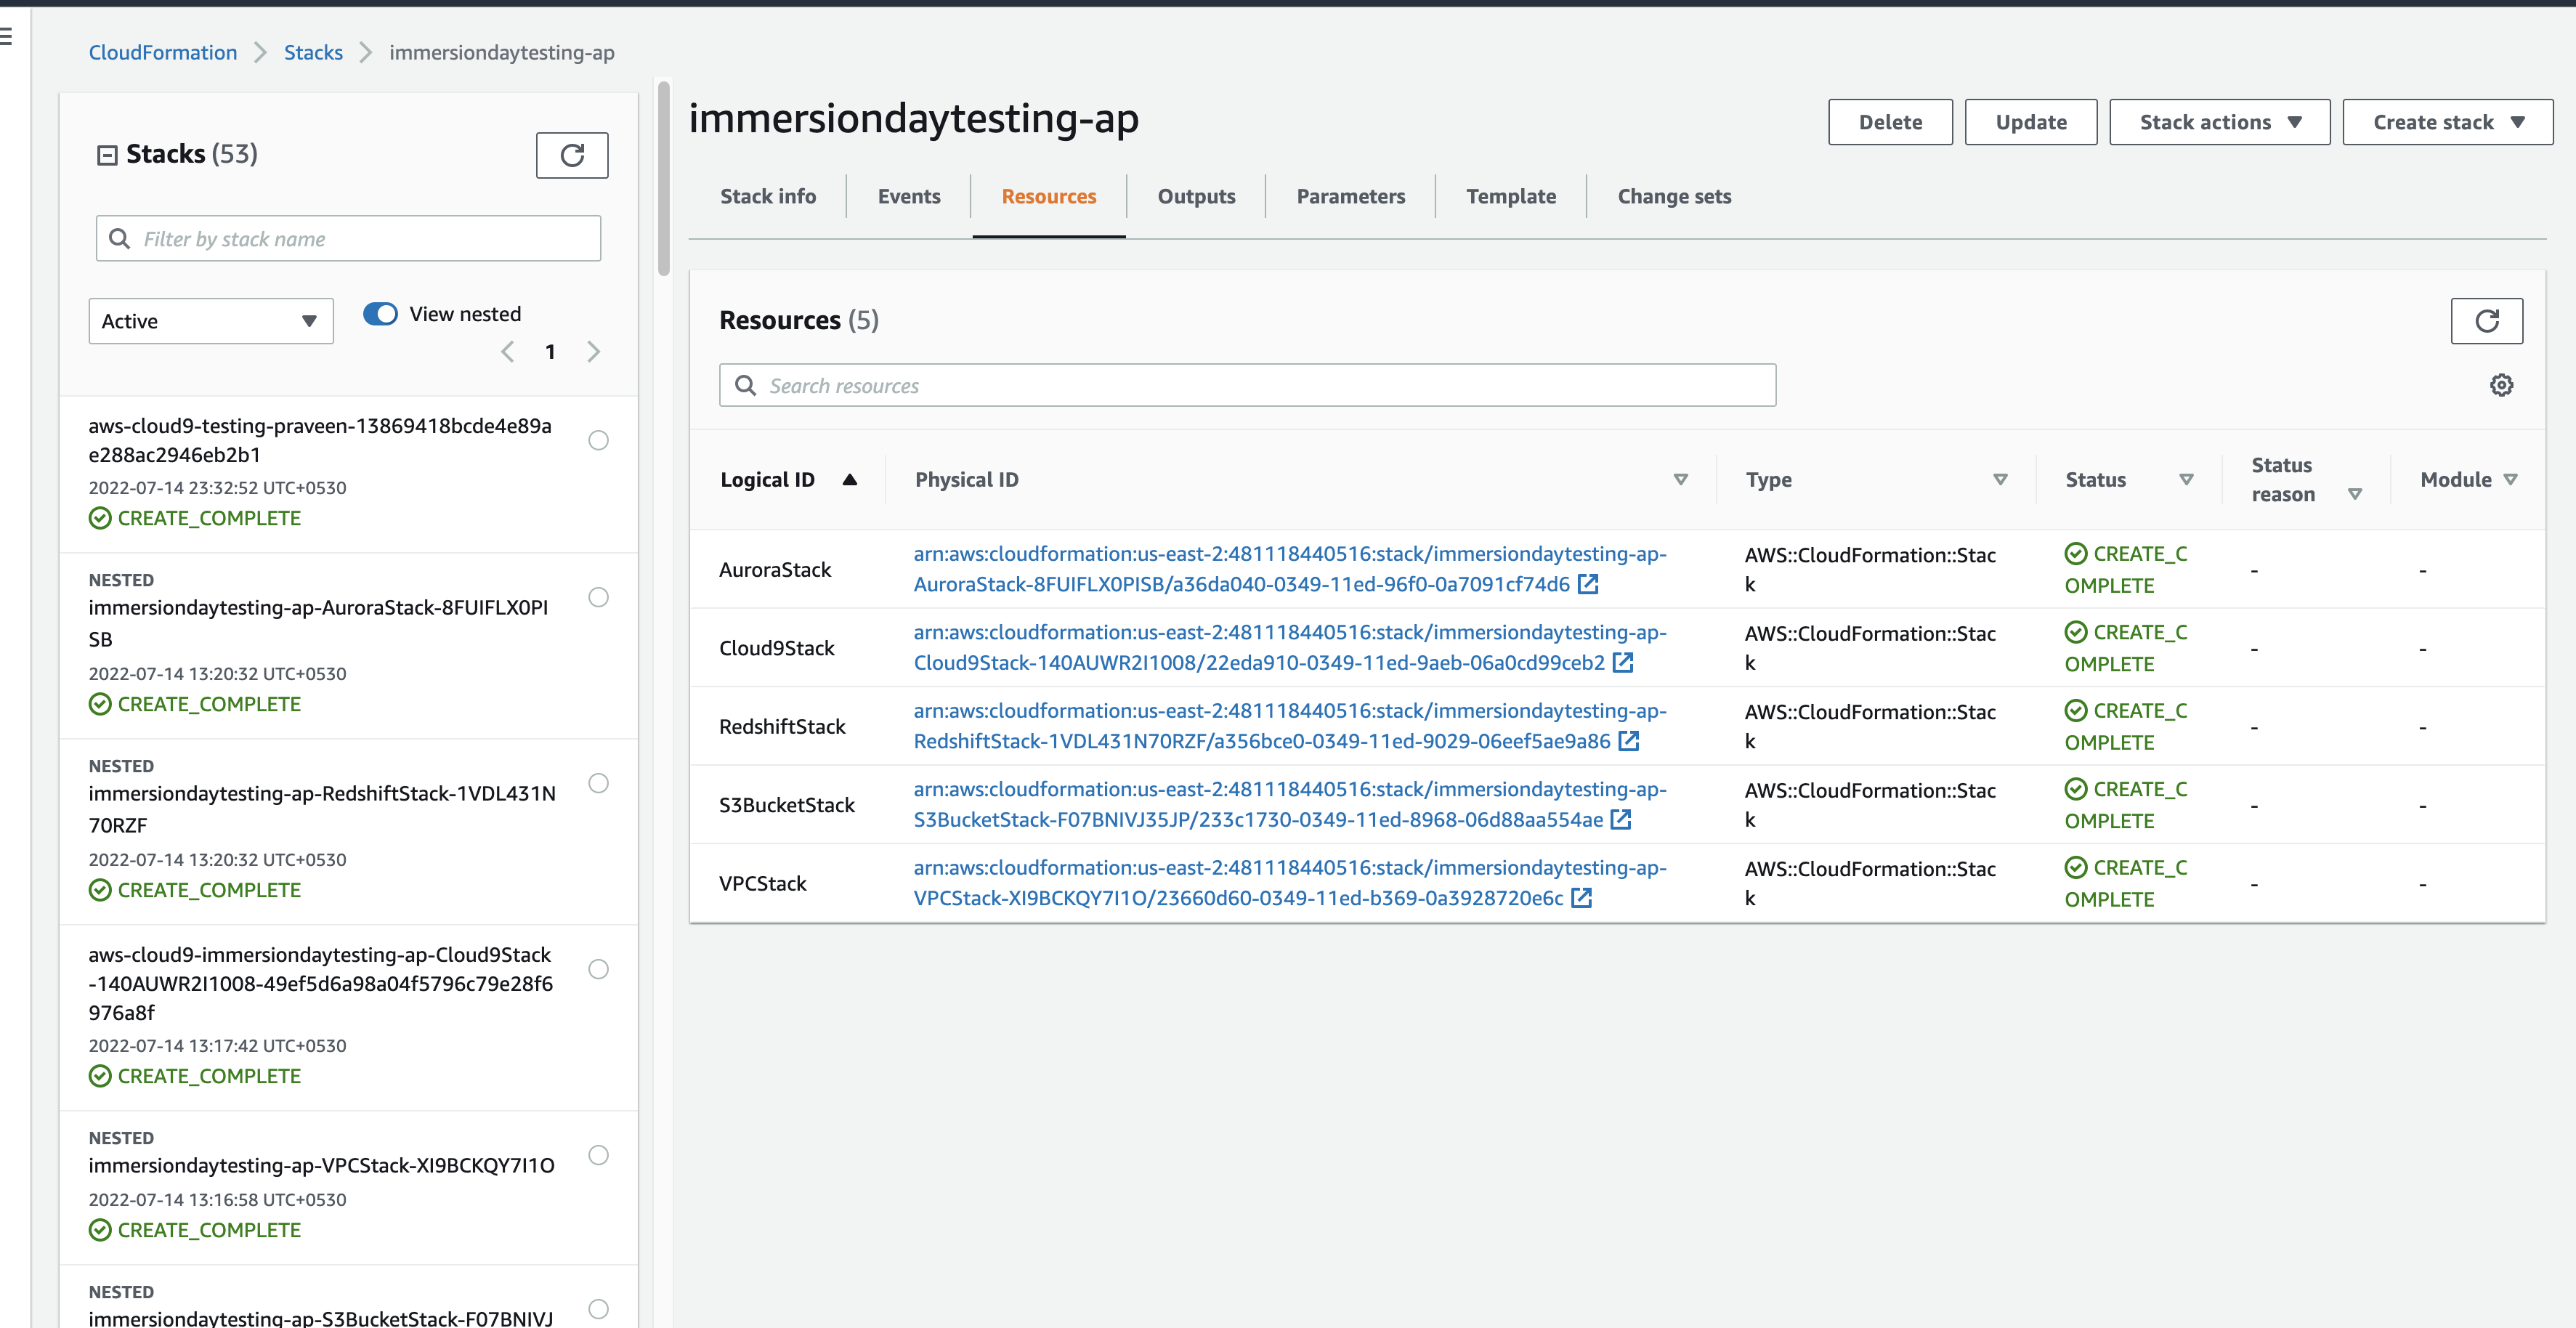
TIP: Since this is a master template we can view the resources as nested stacks.
- Review the output and Connect to the Cloud9 Environment.
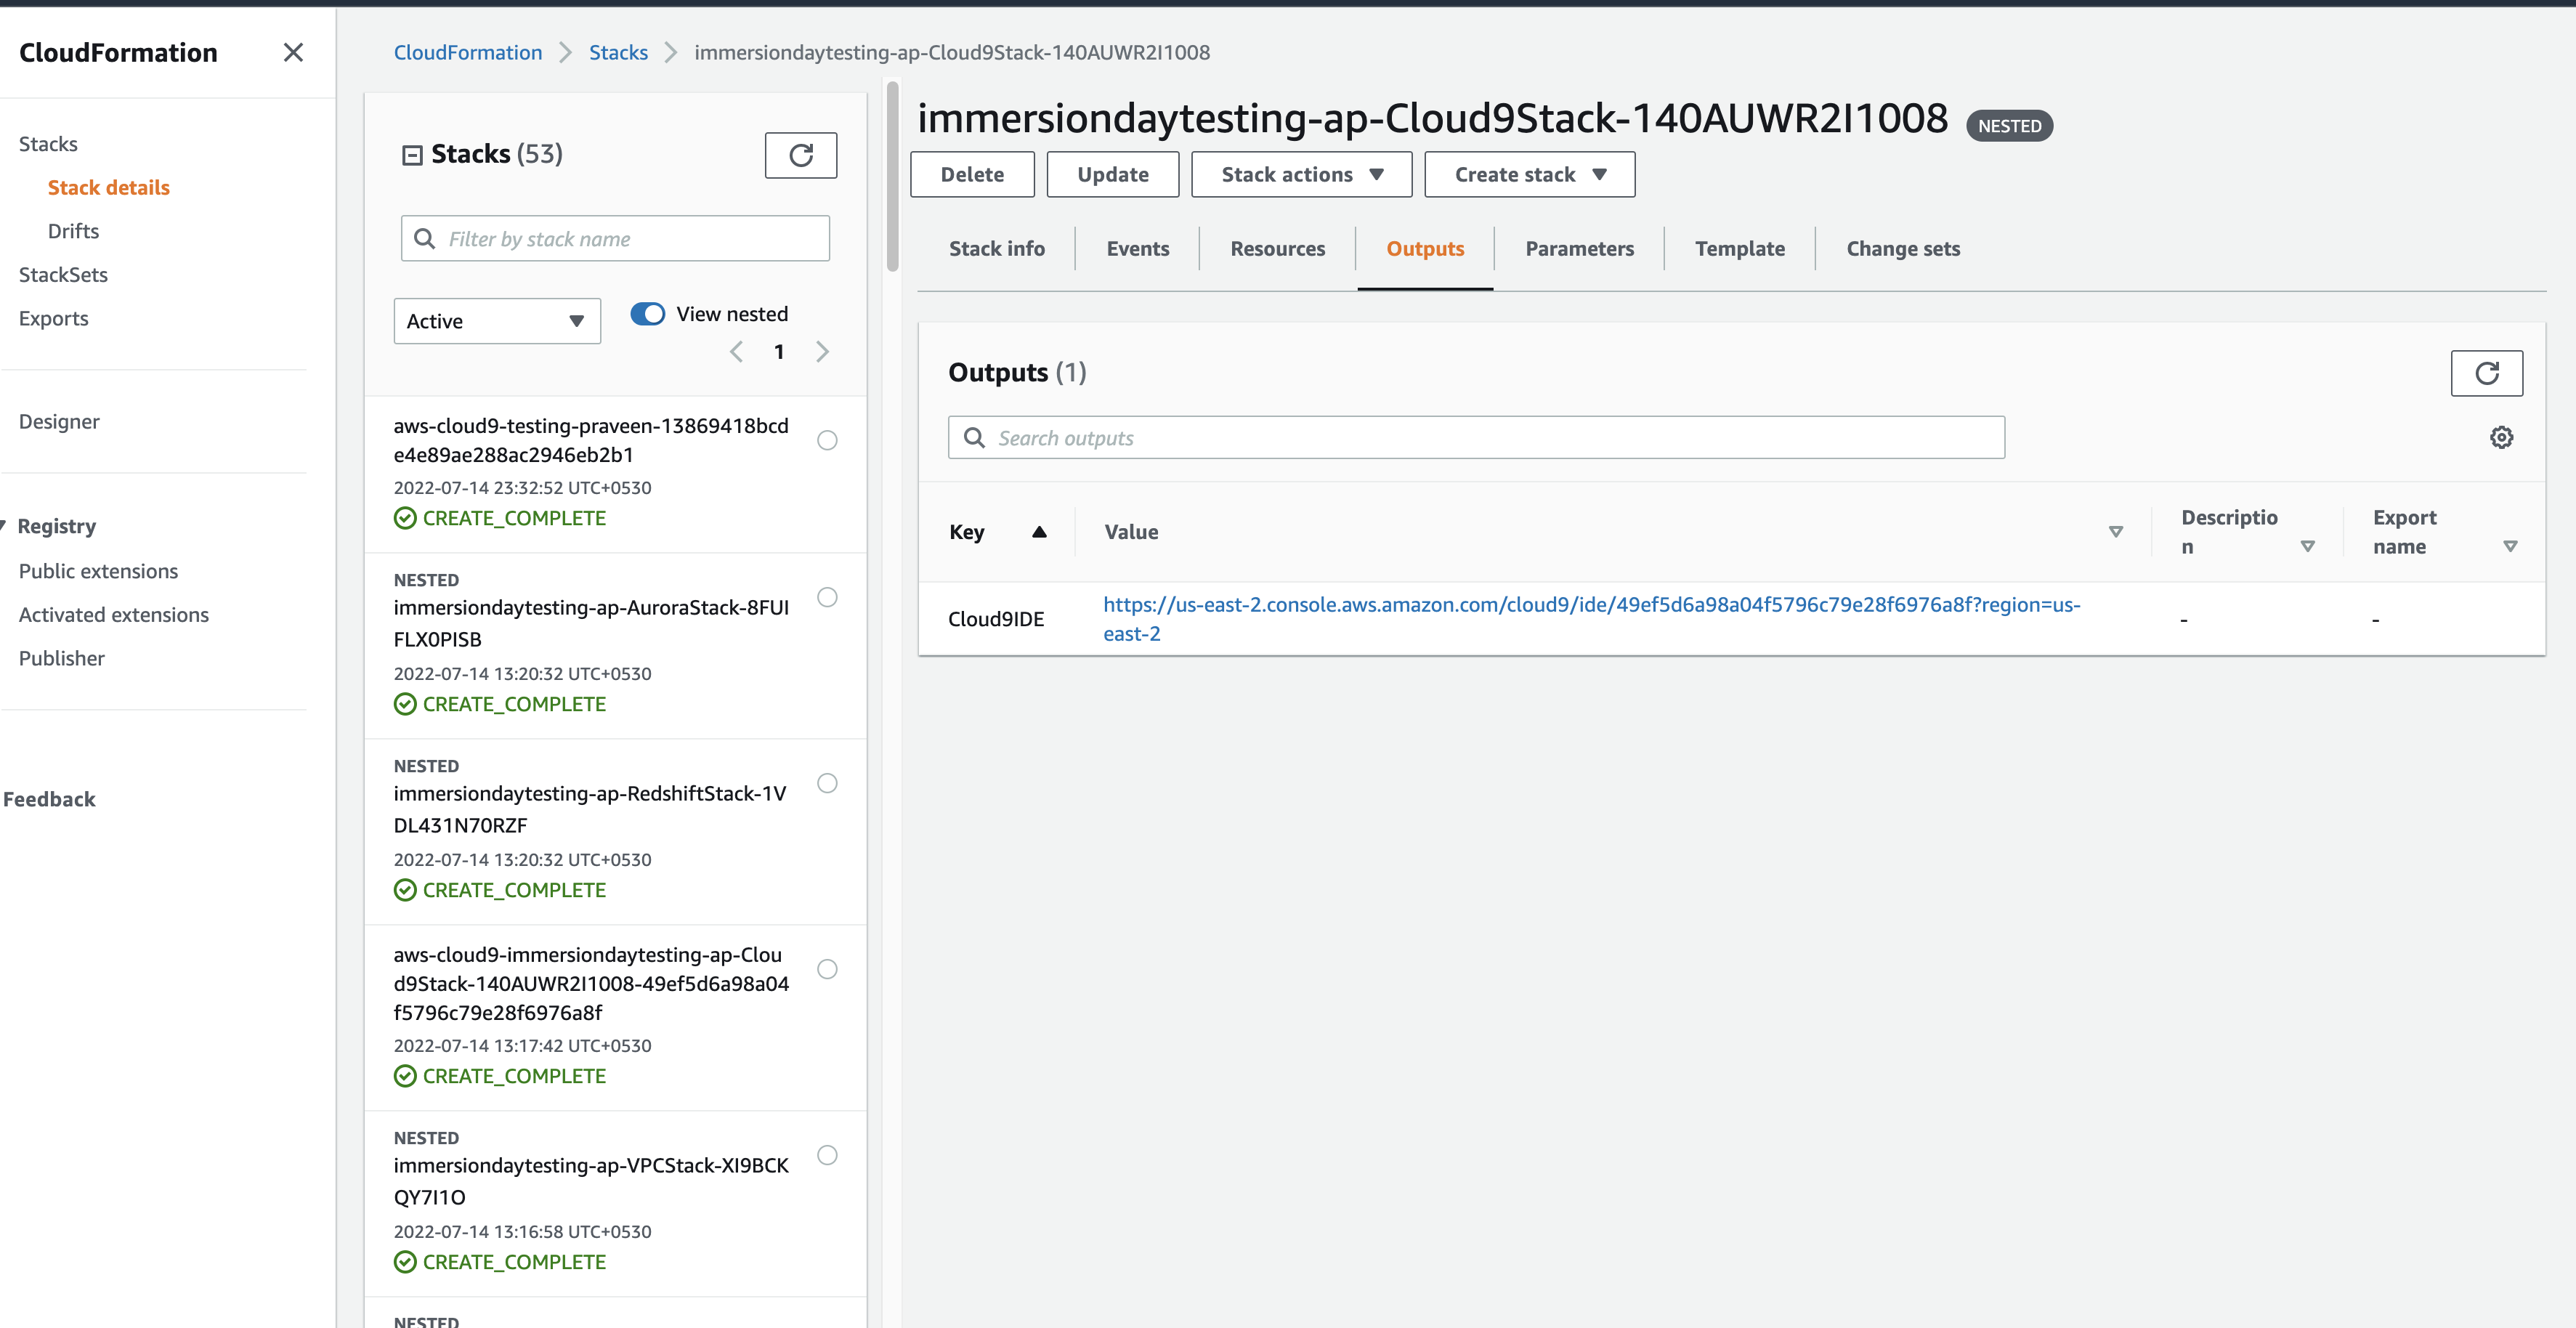
Access Cloud9 Environment through browser console and validate OpenShift and Cloud Pak for Data deployment.
-
Check for the tools installation.
oc versionOutput:
....
Sample Output:
.....
Client Version: 4.9.23
Server Version: 4.8.11
Kubernetes Version: v1.21.1+9807387
.....
aws command
awsExpected Output:
usage: aws [options] <command> <subcommand> [<subcommand> ...] [parameters] To see help text, you can run: aws help aws <command> help aws <command> <subcommand> help aws: error: the following arguments are required: command -
Validate the aws secret key credentials.
aws configureOutput:
AWS Access Key ID [****************HZH5]: AWS Secret Access Key [****************BBPW]: Default region name [us-east-2]: Default output format [json]: -
Connect to CP4D Cluster.
export OCP_USER=ocsadmin
export OCP_PASSWORD=ocsadmin
export OCP_API=https://api.<clustername>.<domainname>:6443
oc login --insecure-skip-tls-verify=true -u ${OCP_USER} -p ${OCP_PASSWORD} ${OCP_API}
Expected Output:
Login successful.

You have access to 66 projects, the list has been suppressed. You can list all projects with 'oc projects'
whoami command
oc whoami --show-consoleExpected Output:
https://console-openshift-console.apps.<clustername>.<domainname>.com -
Get the route.
oc get route |awk 'NR==2 {print $2}'Using the route, users will be able to login into CP4D using the above created credentials and start Lab exercises.
Step 6: Low/No Code ML application deployment on Amazon EKS cluster
-
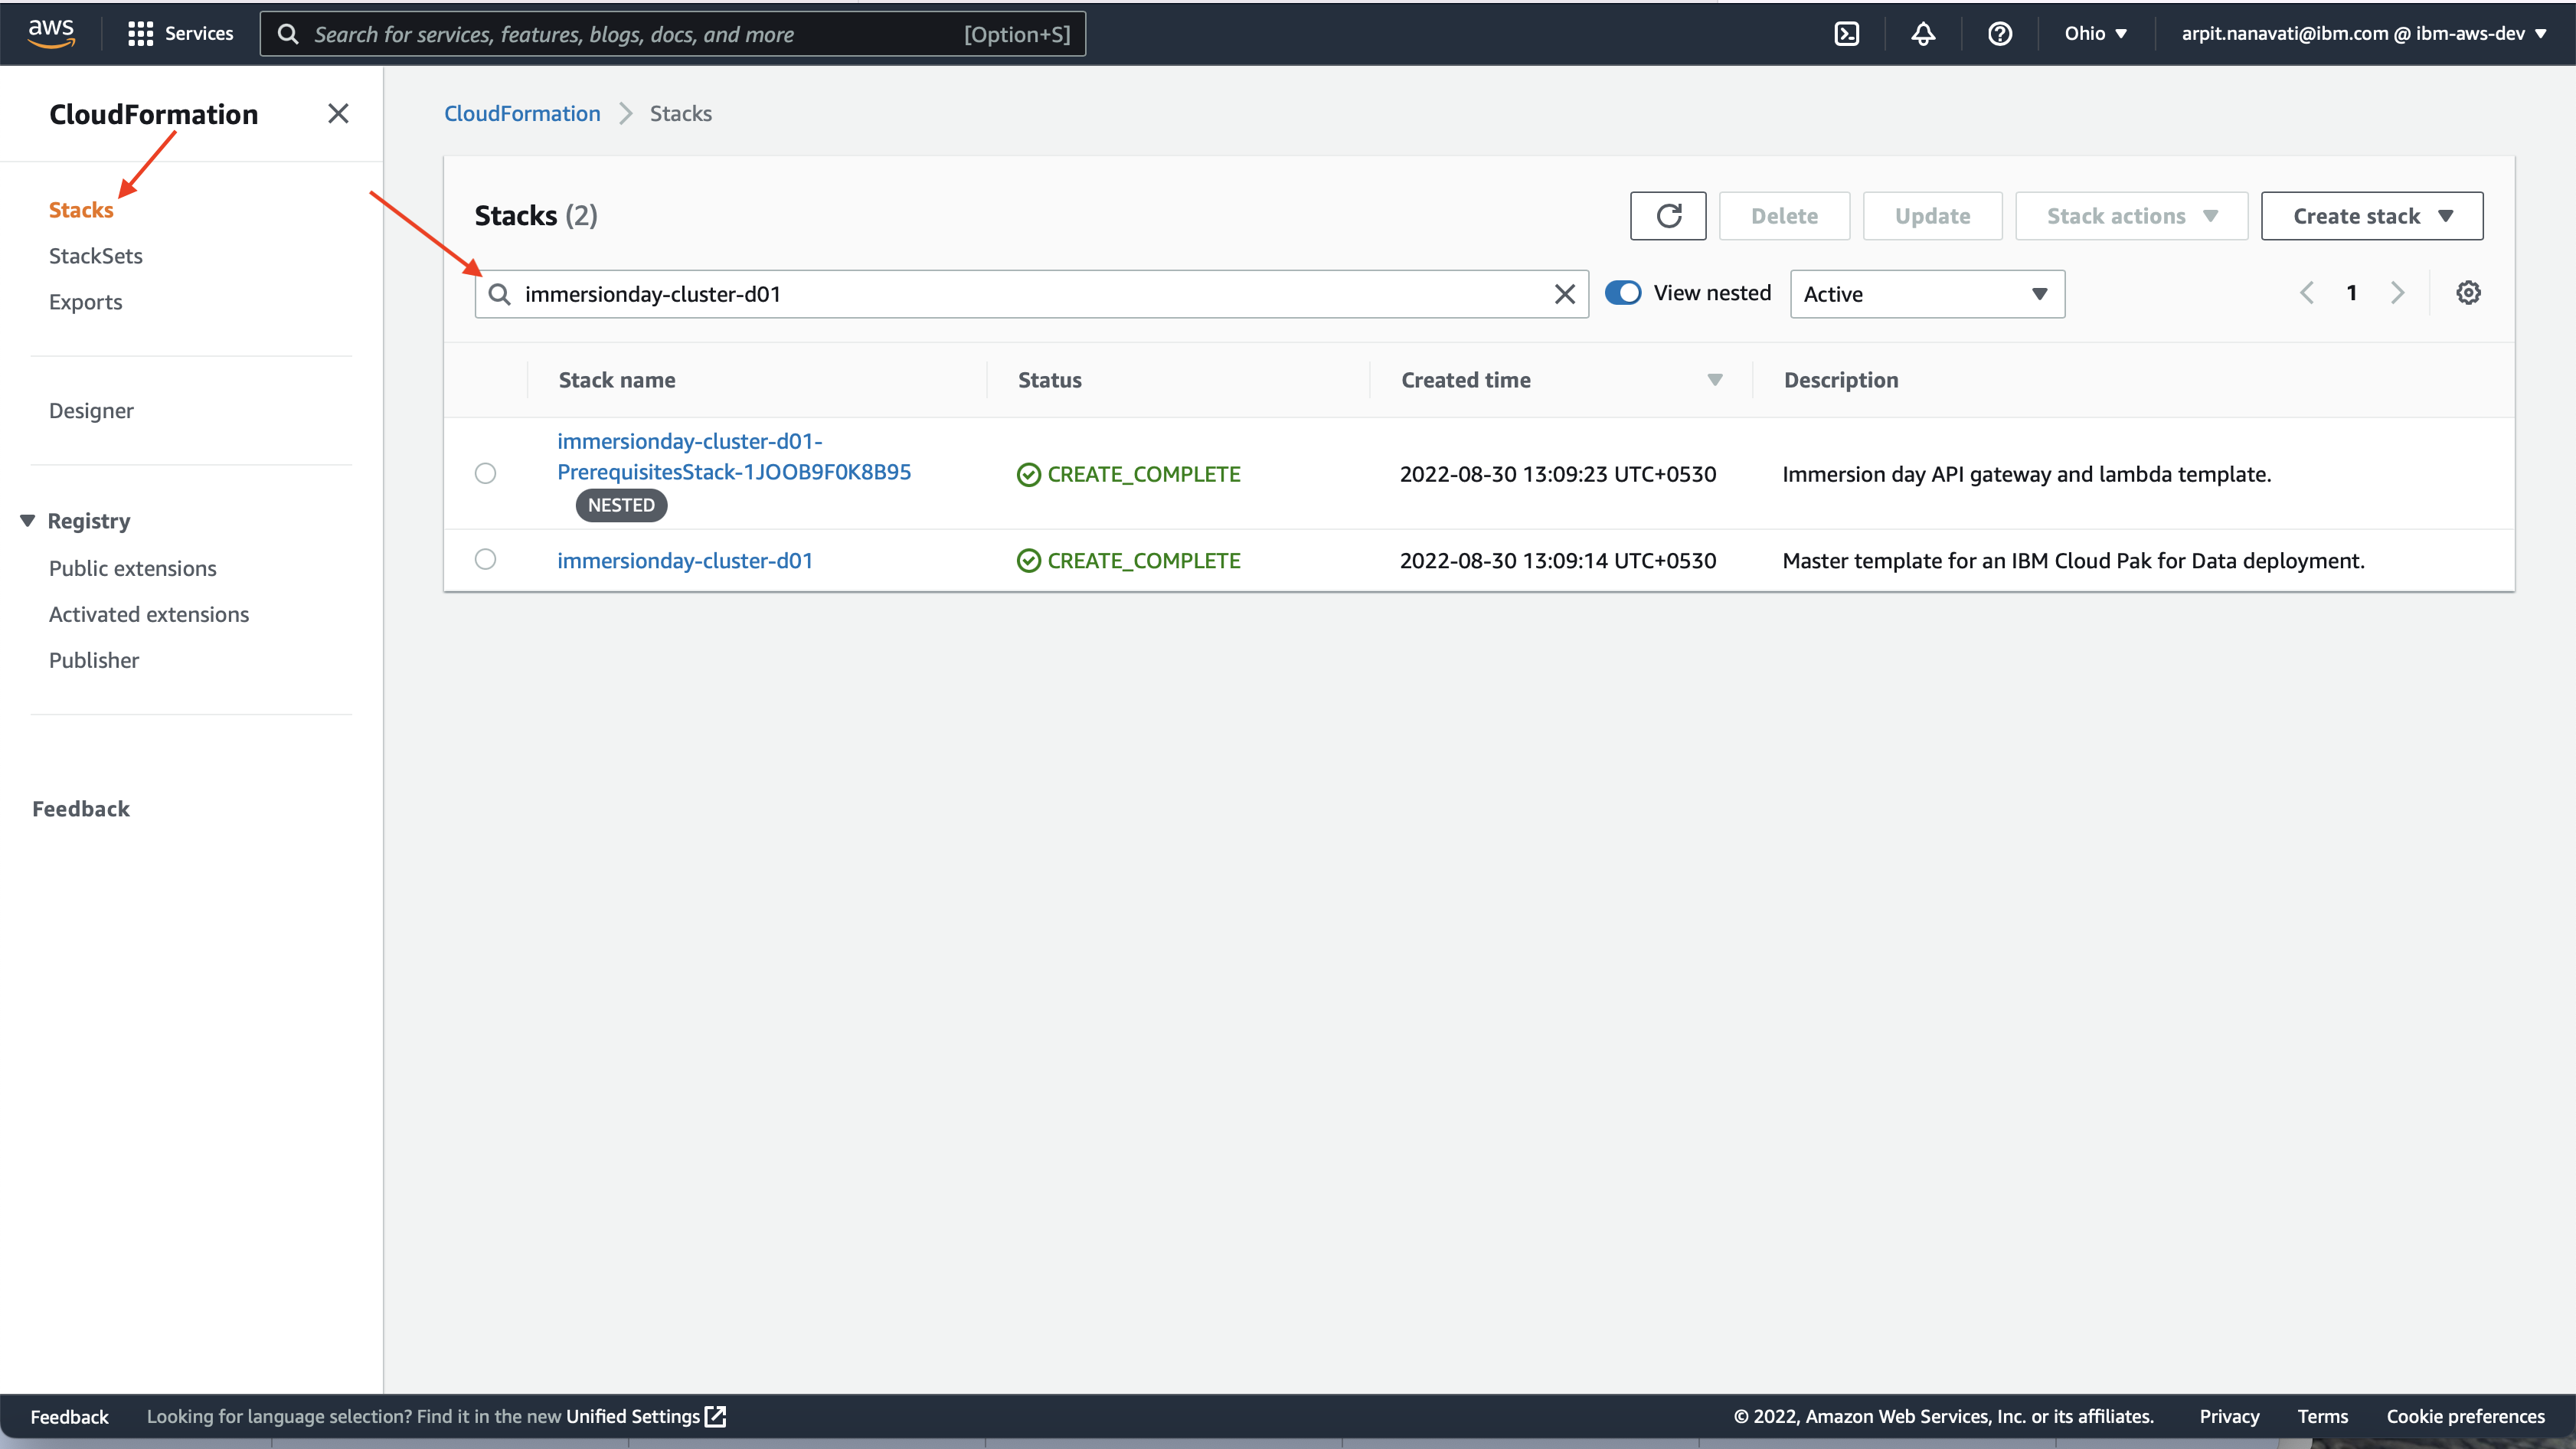
Login to AWS console and search for CloudFormation service and search for the Stack name which you have created in step 5.
-
Look for stack name starts with stackname**-PrerequisitesStack** and click on it.

-
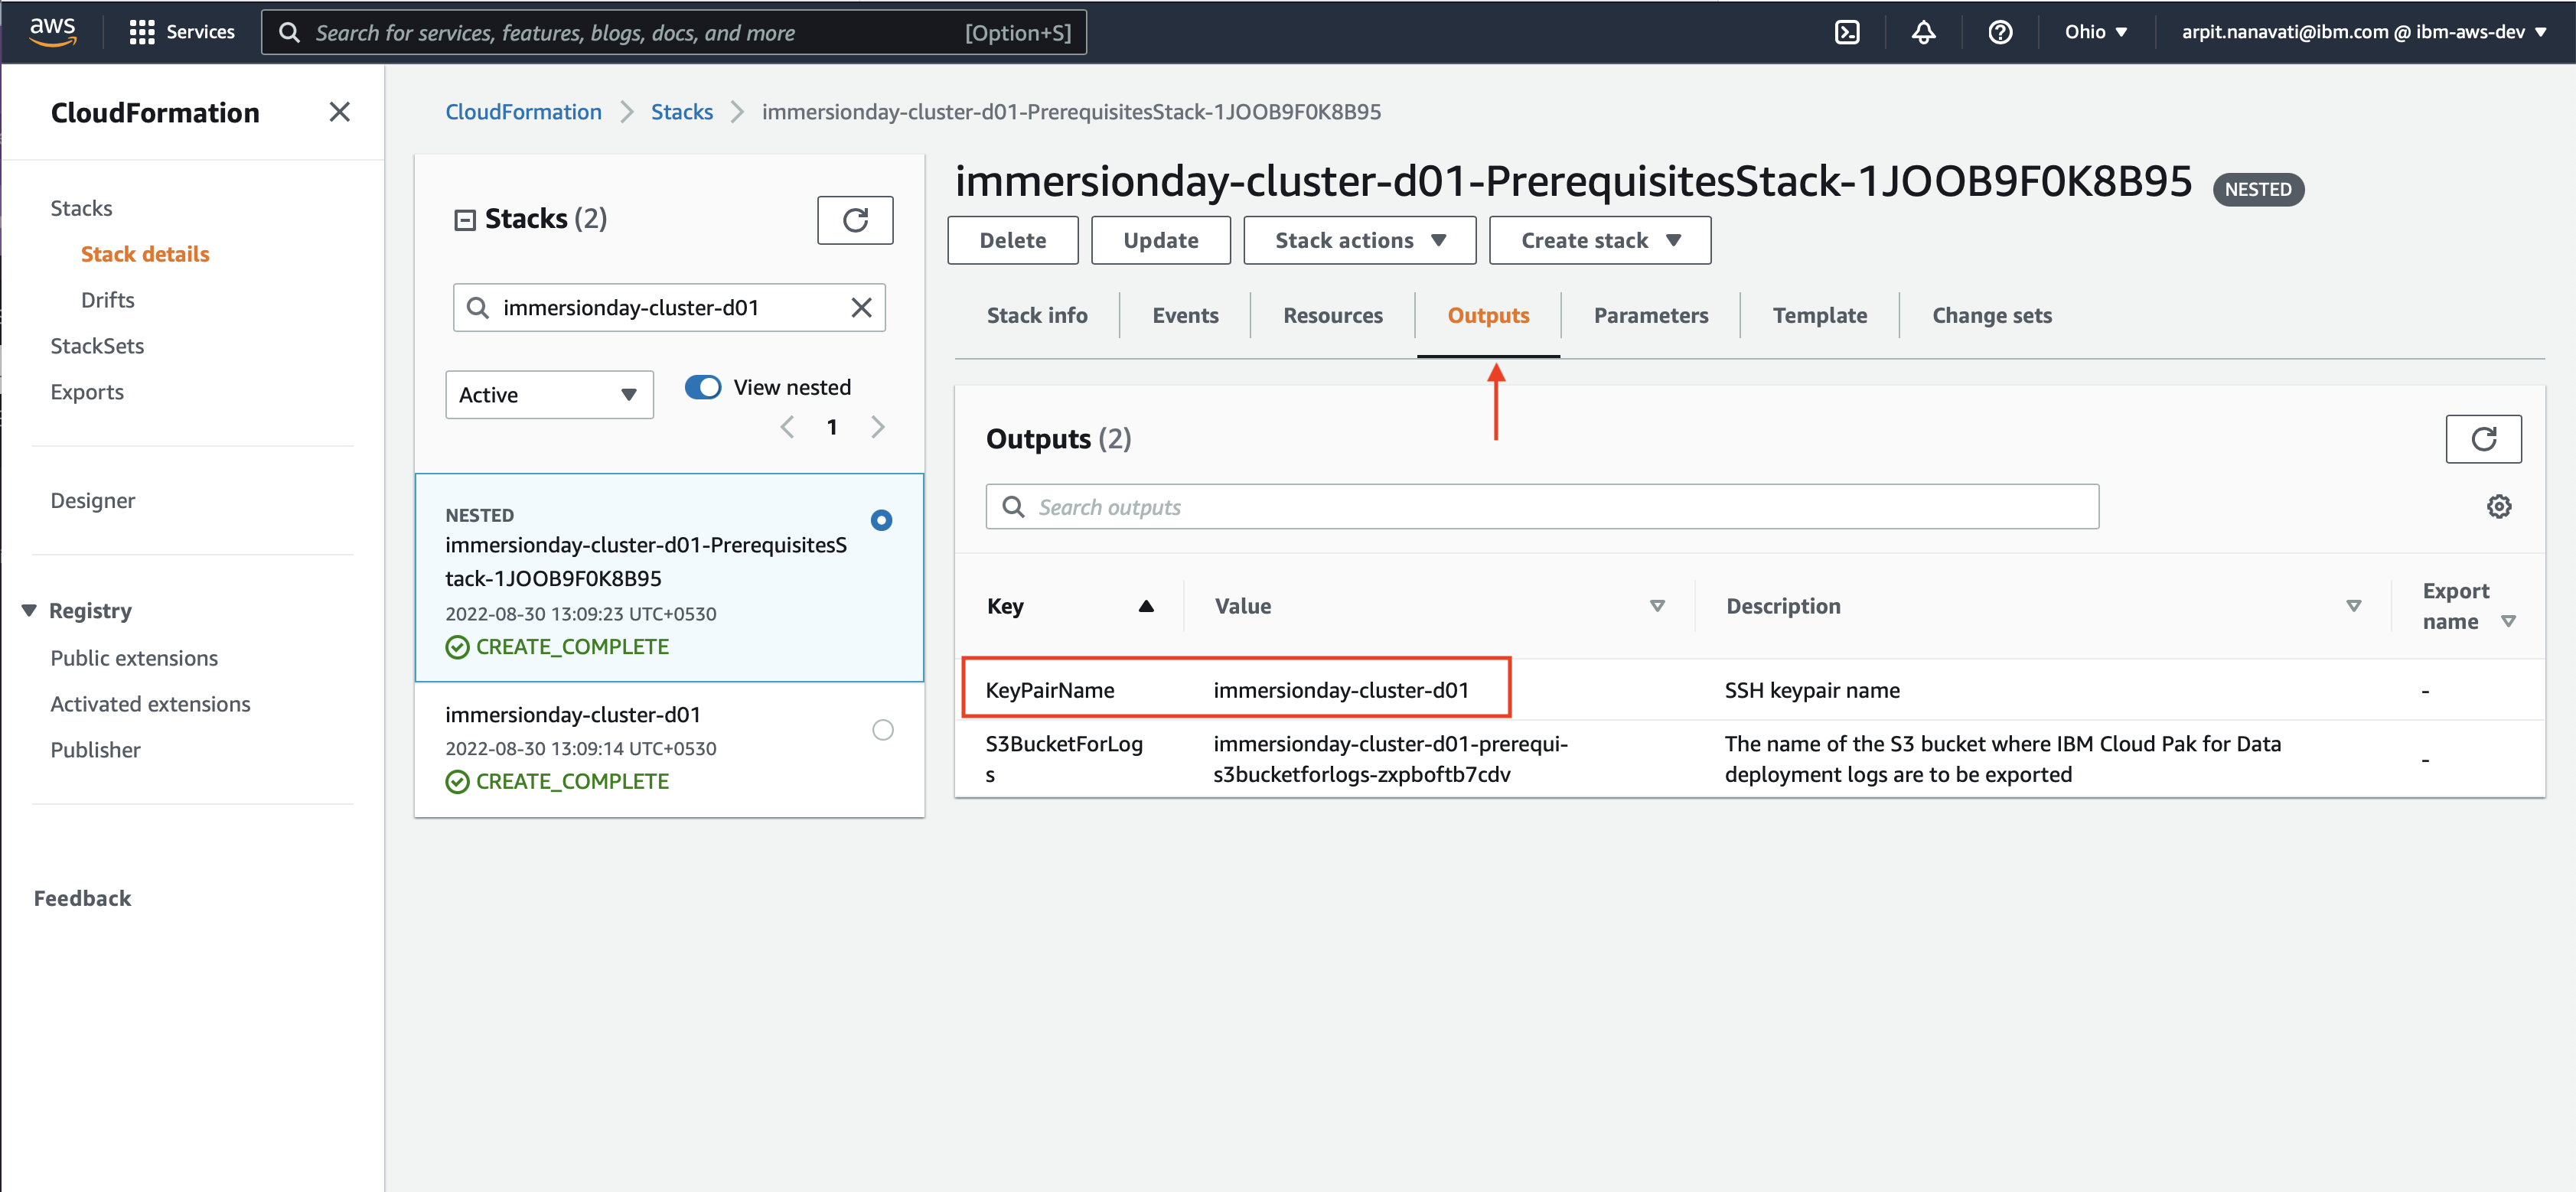
Go to the Output section of the stack and then note down the value of KeyPairName.
-
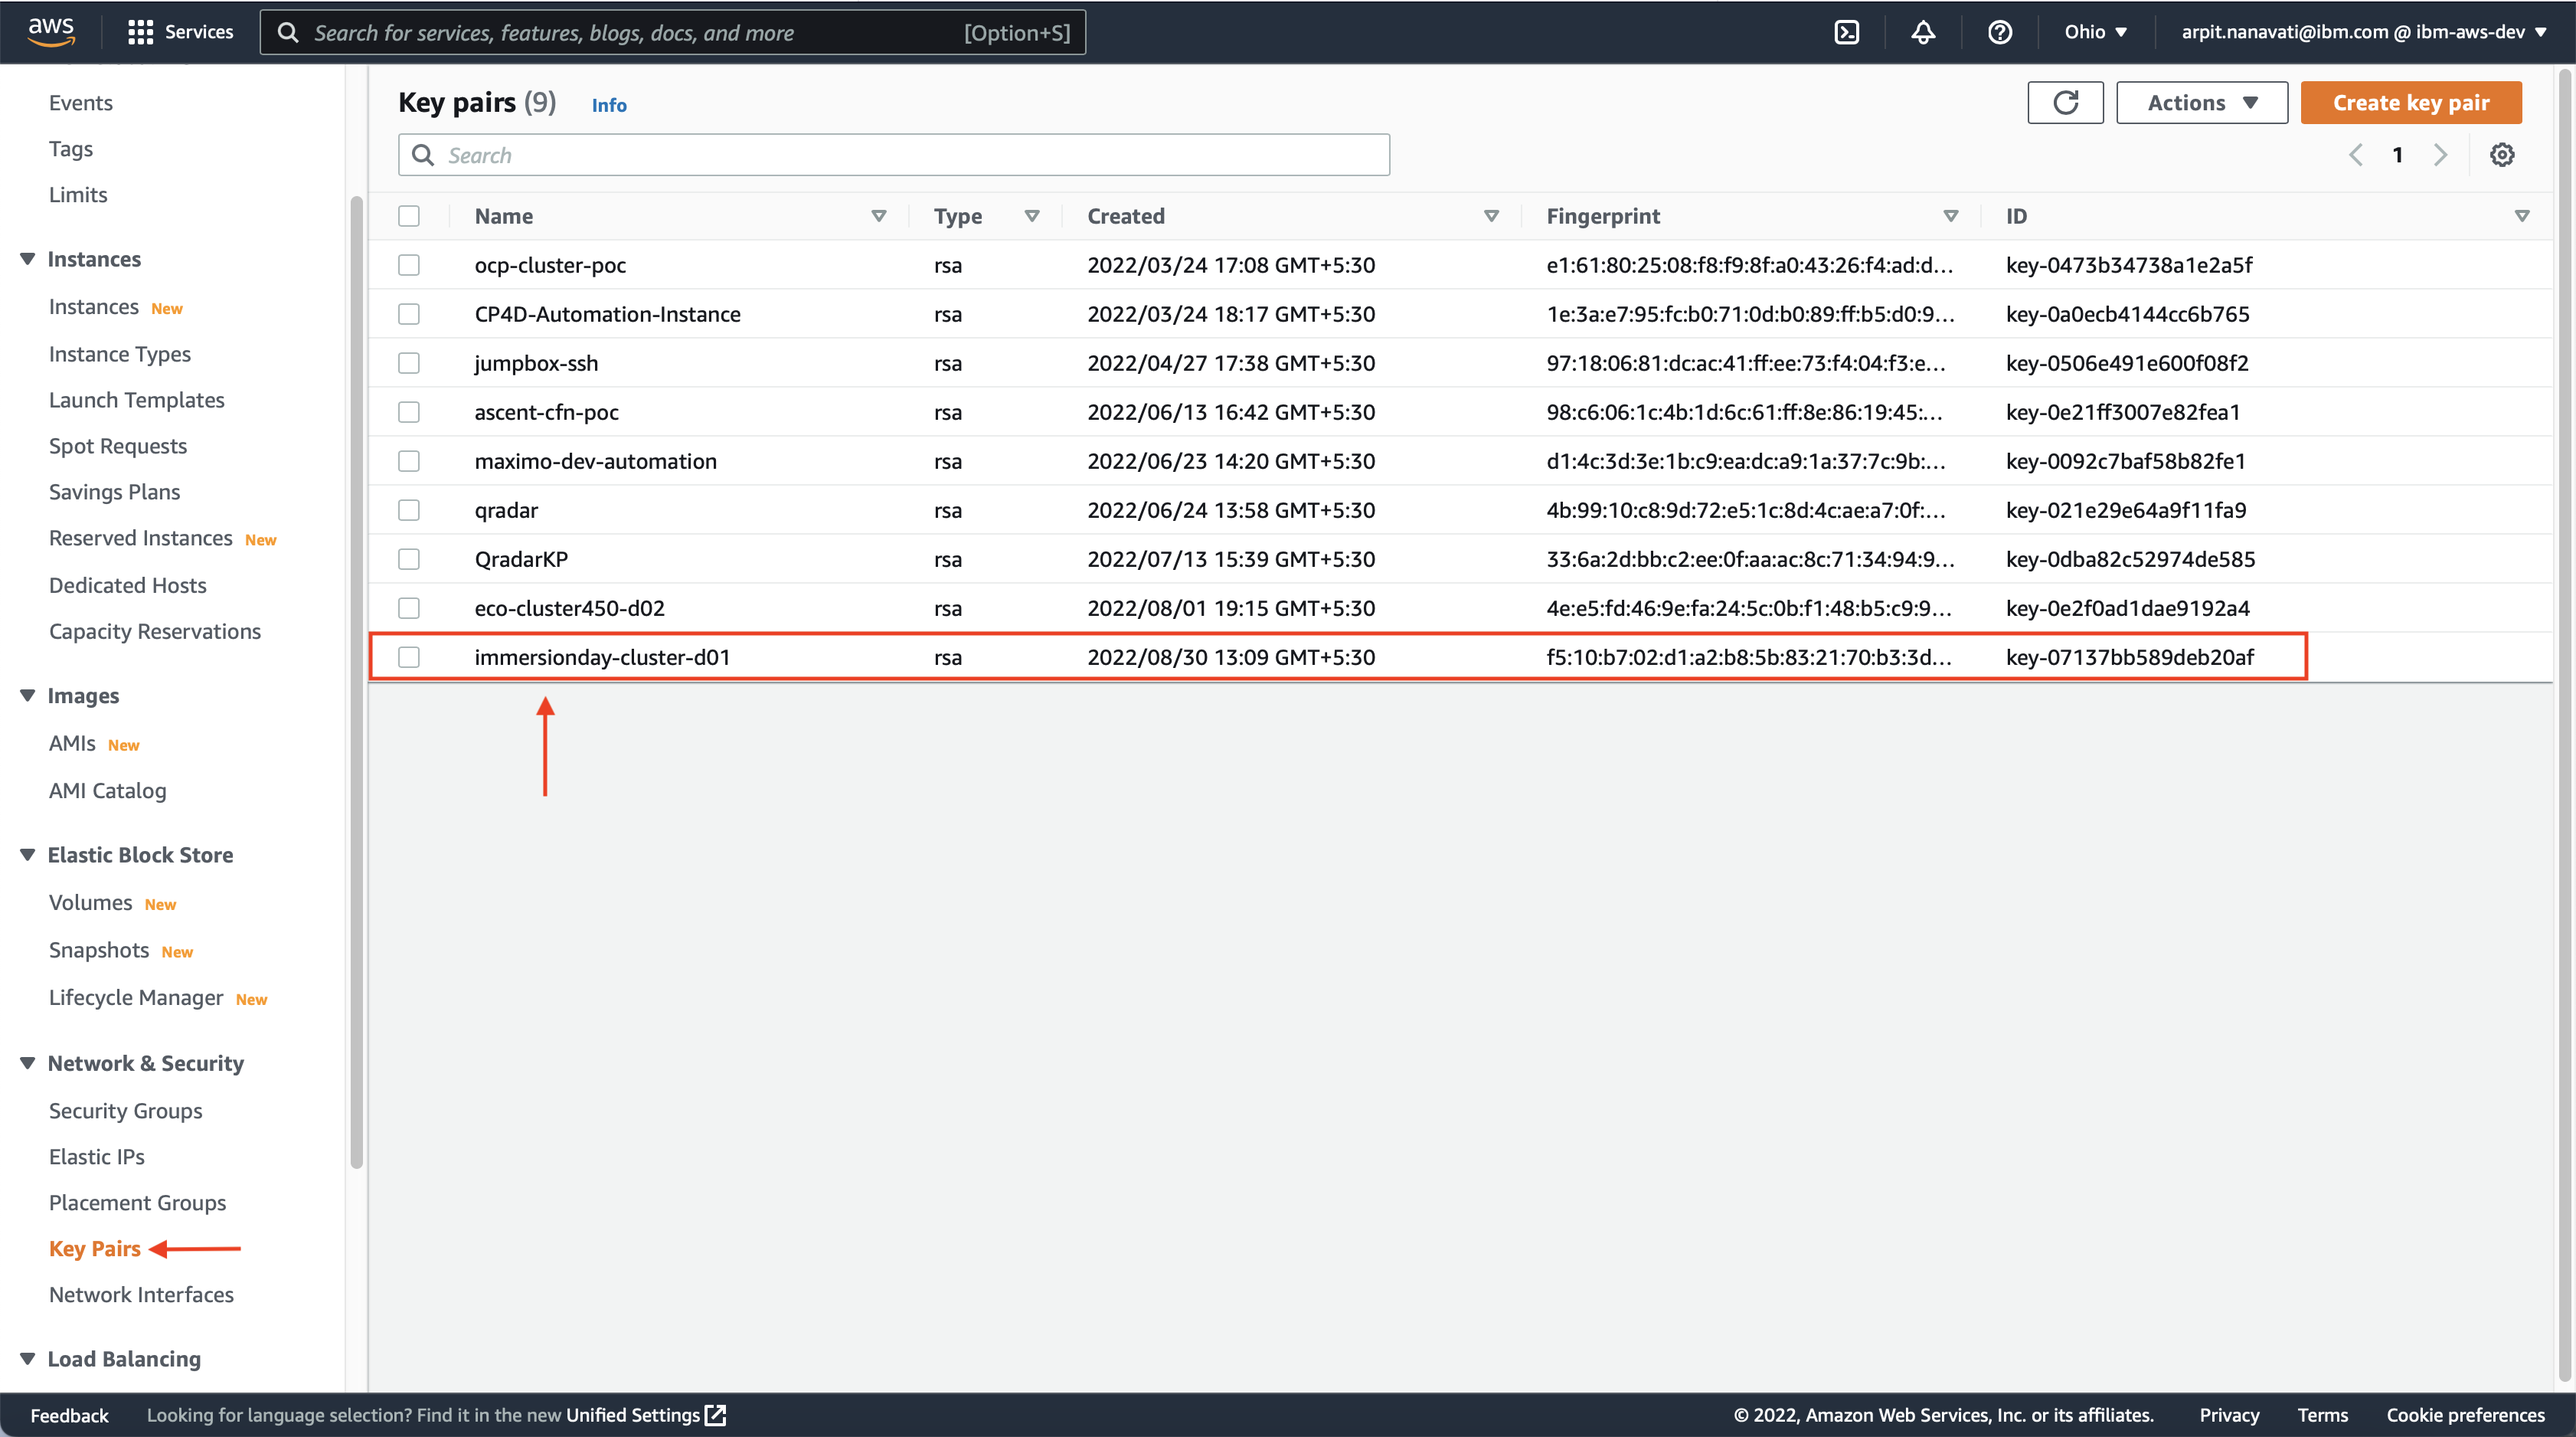
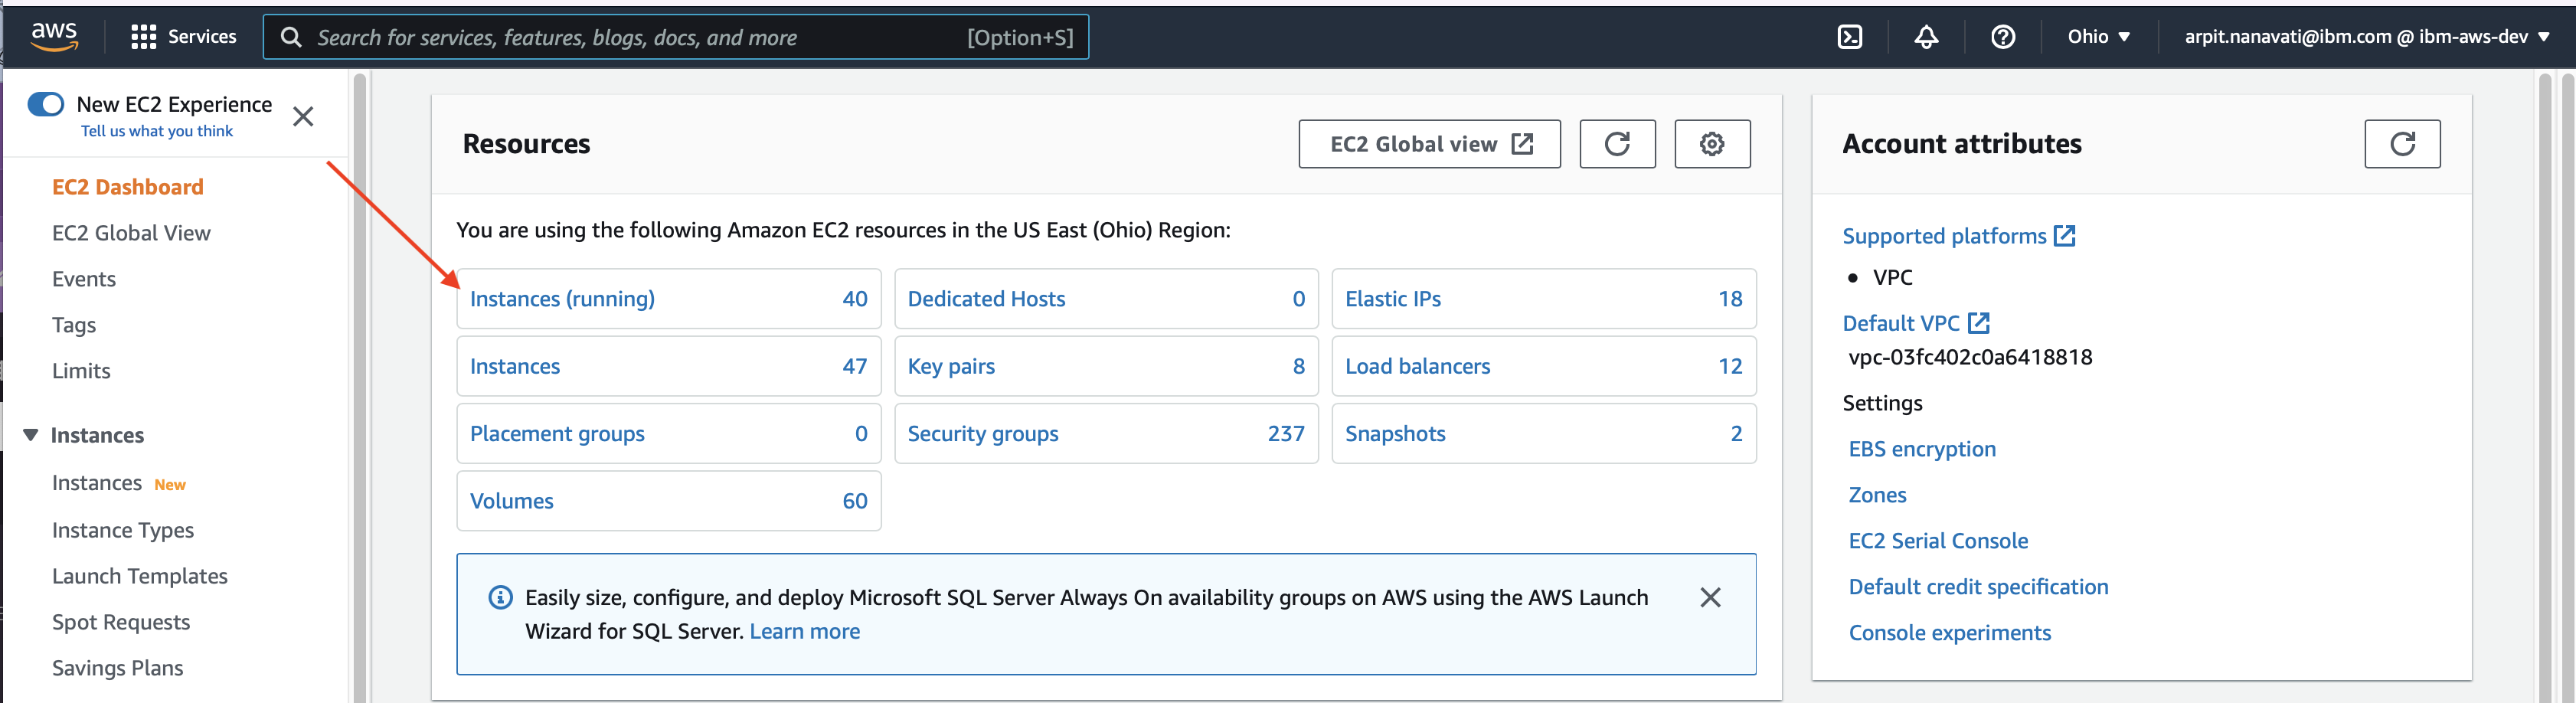
Go to EC2 services home page, and from the Network & Security section of EC2 click on Key Pairs to find the ID of key pair. for example here the ID is key-07137bb589deb20af.
-
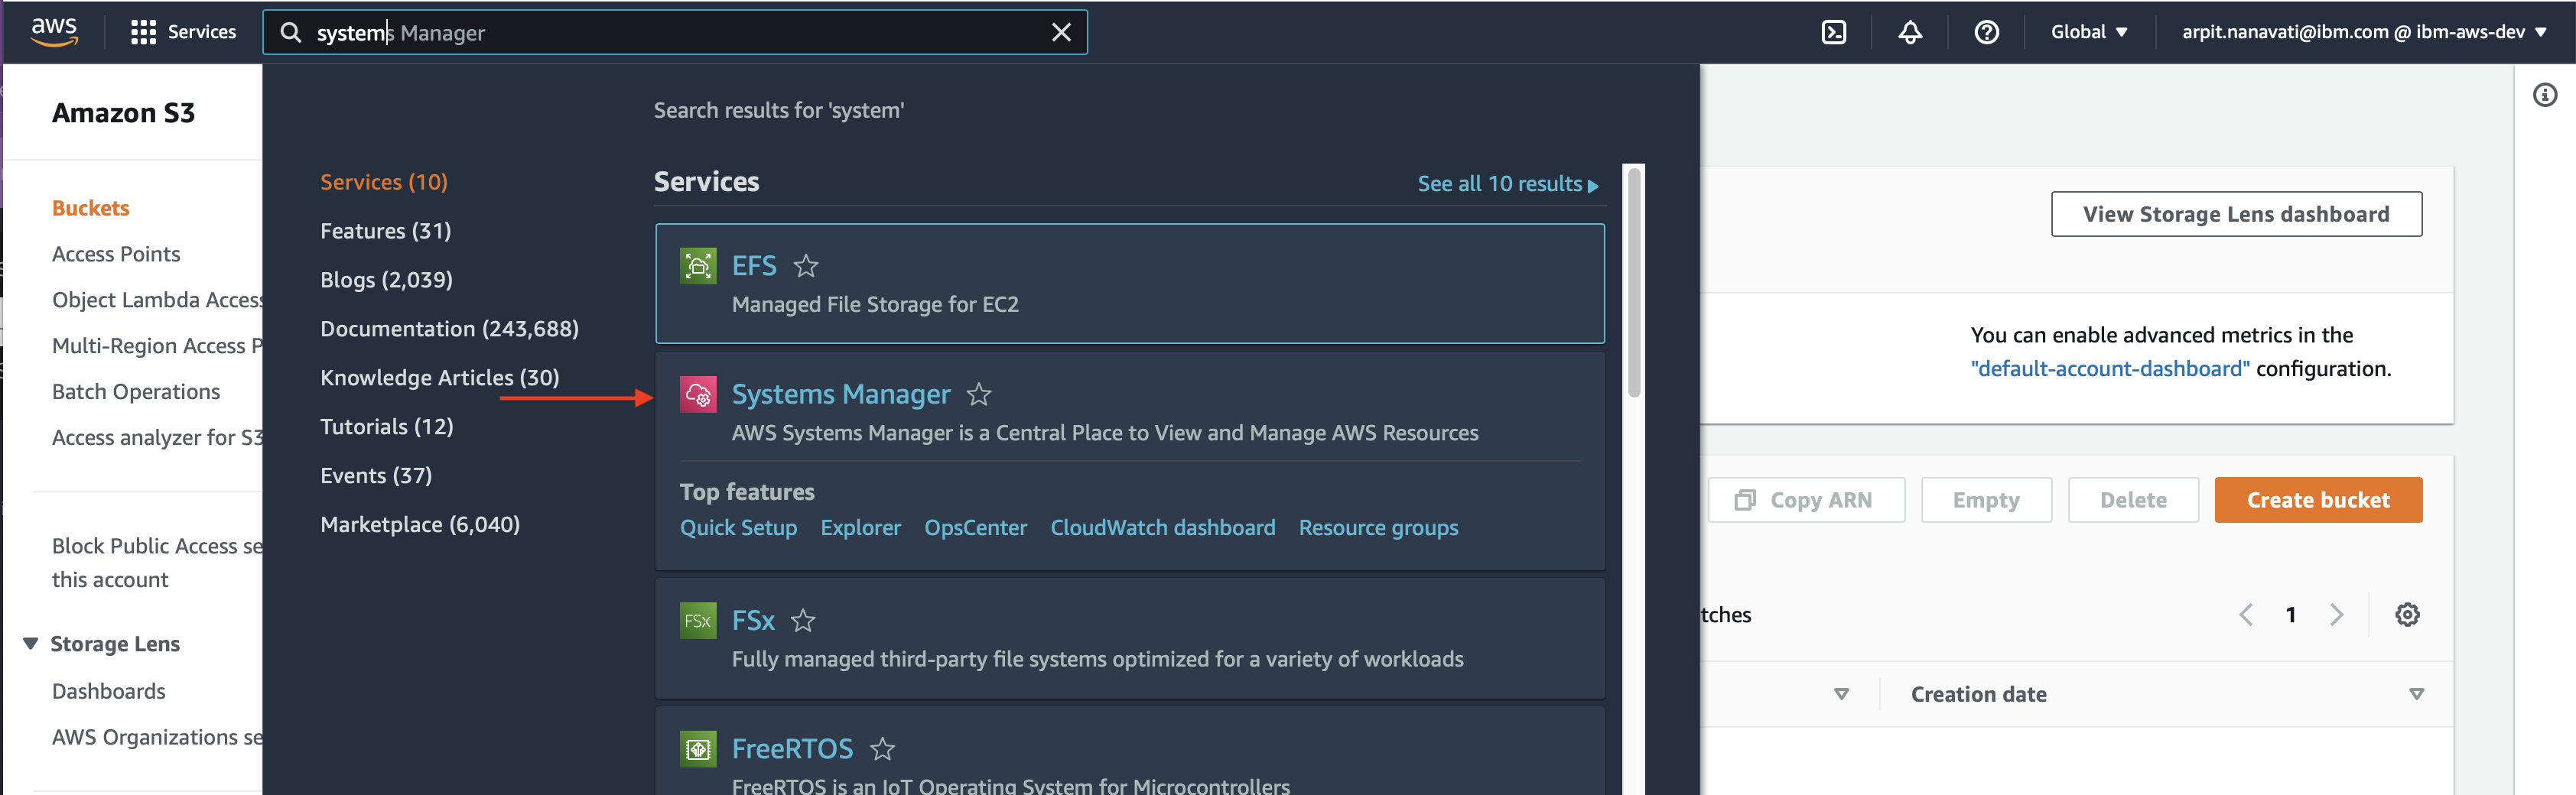
Search for System Manager service
-
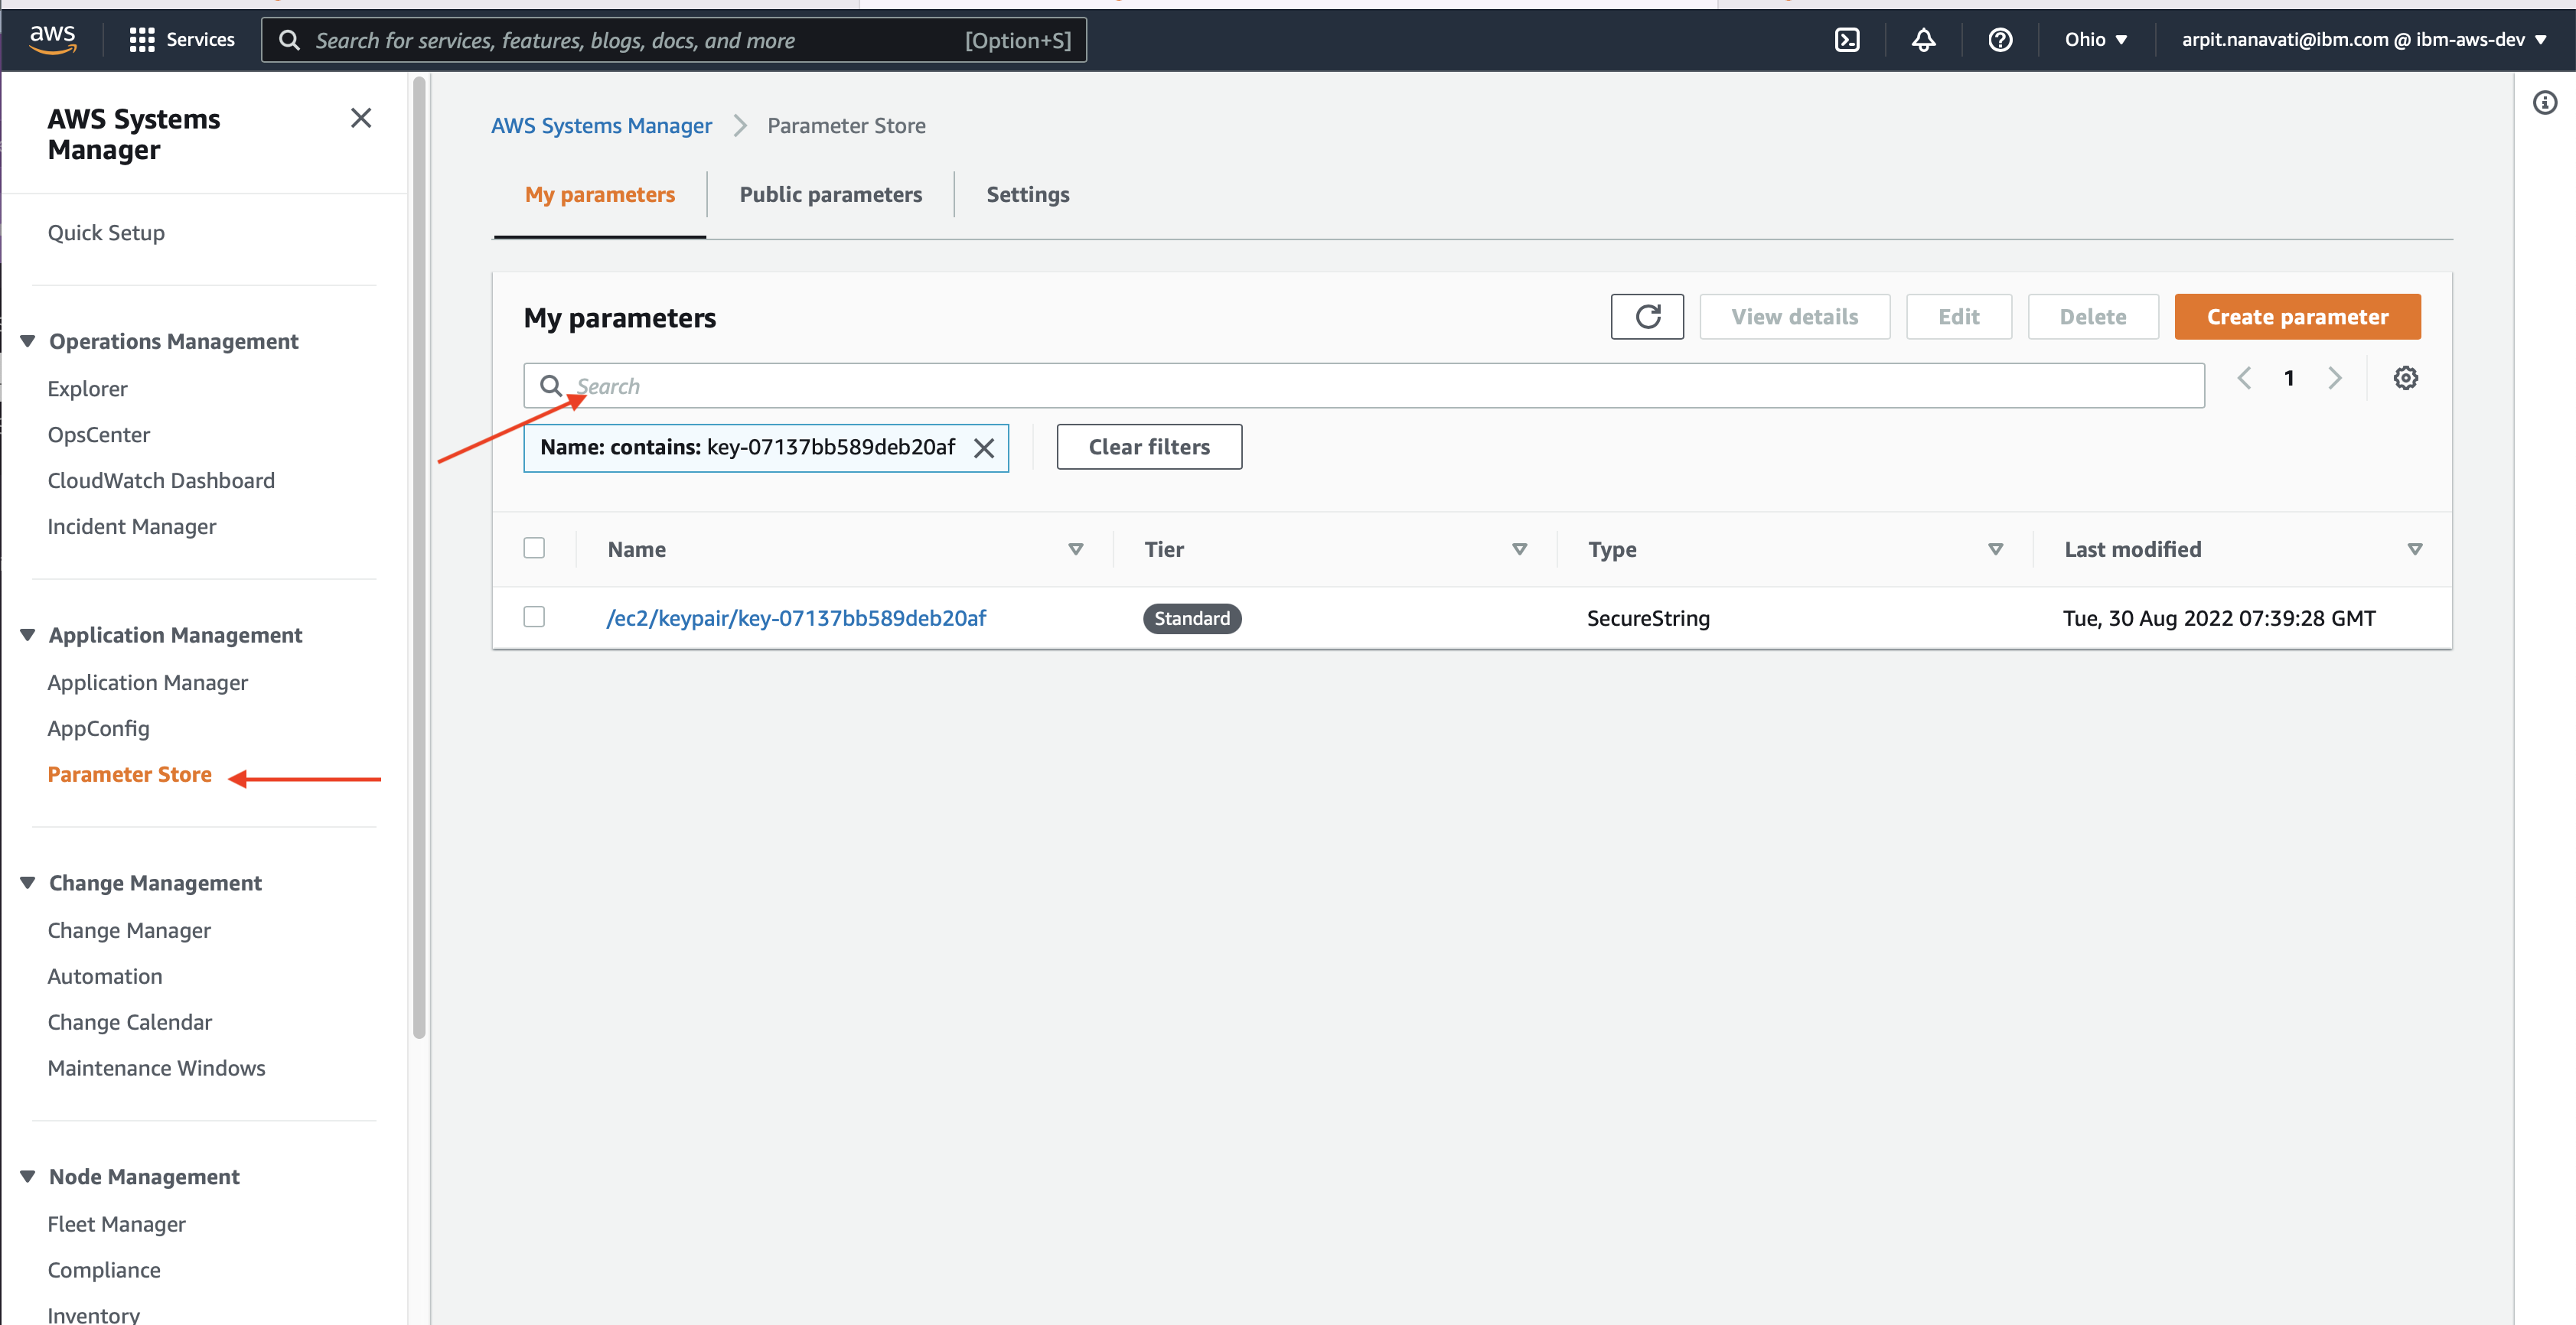
Click on Parameter Store and then search for Key Pair name which we found during step 6.
-
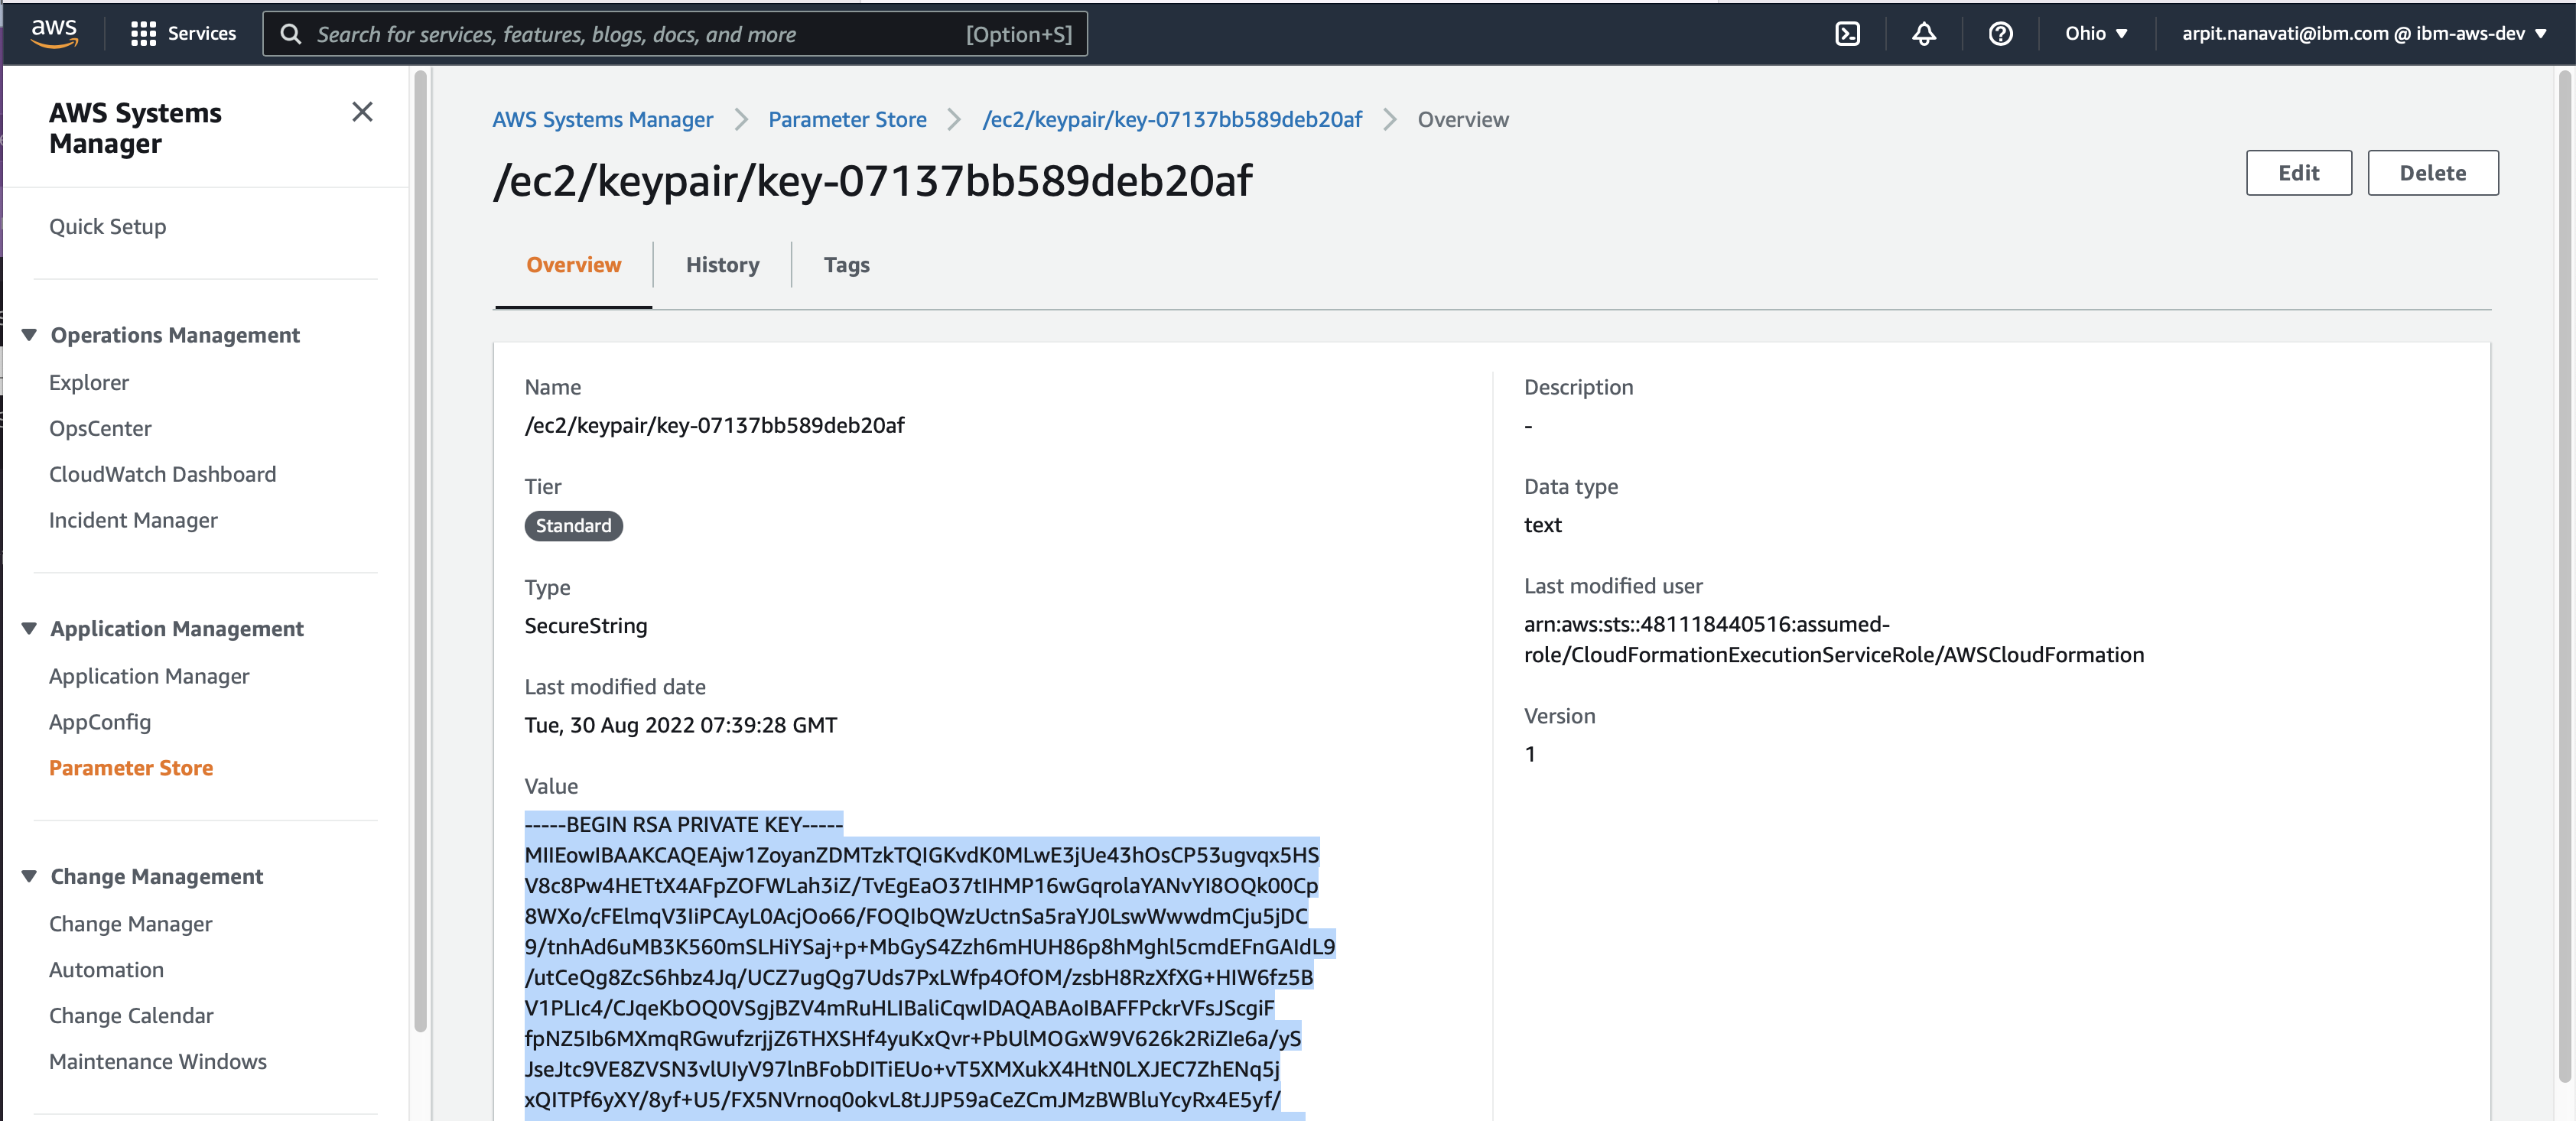
Click on Key Pair and copy the RSA Private Key value.
-
Create a pem file and paste the content in the pem file.
vi ekskeypair.pemand change the permission
chmod 400 ekskeypair.pem -
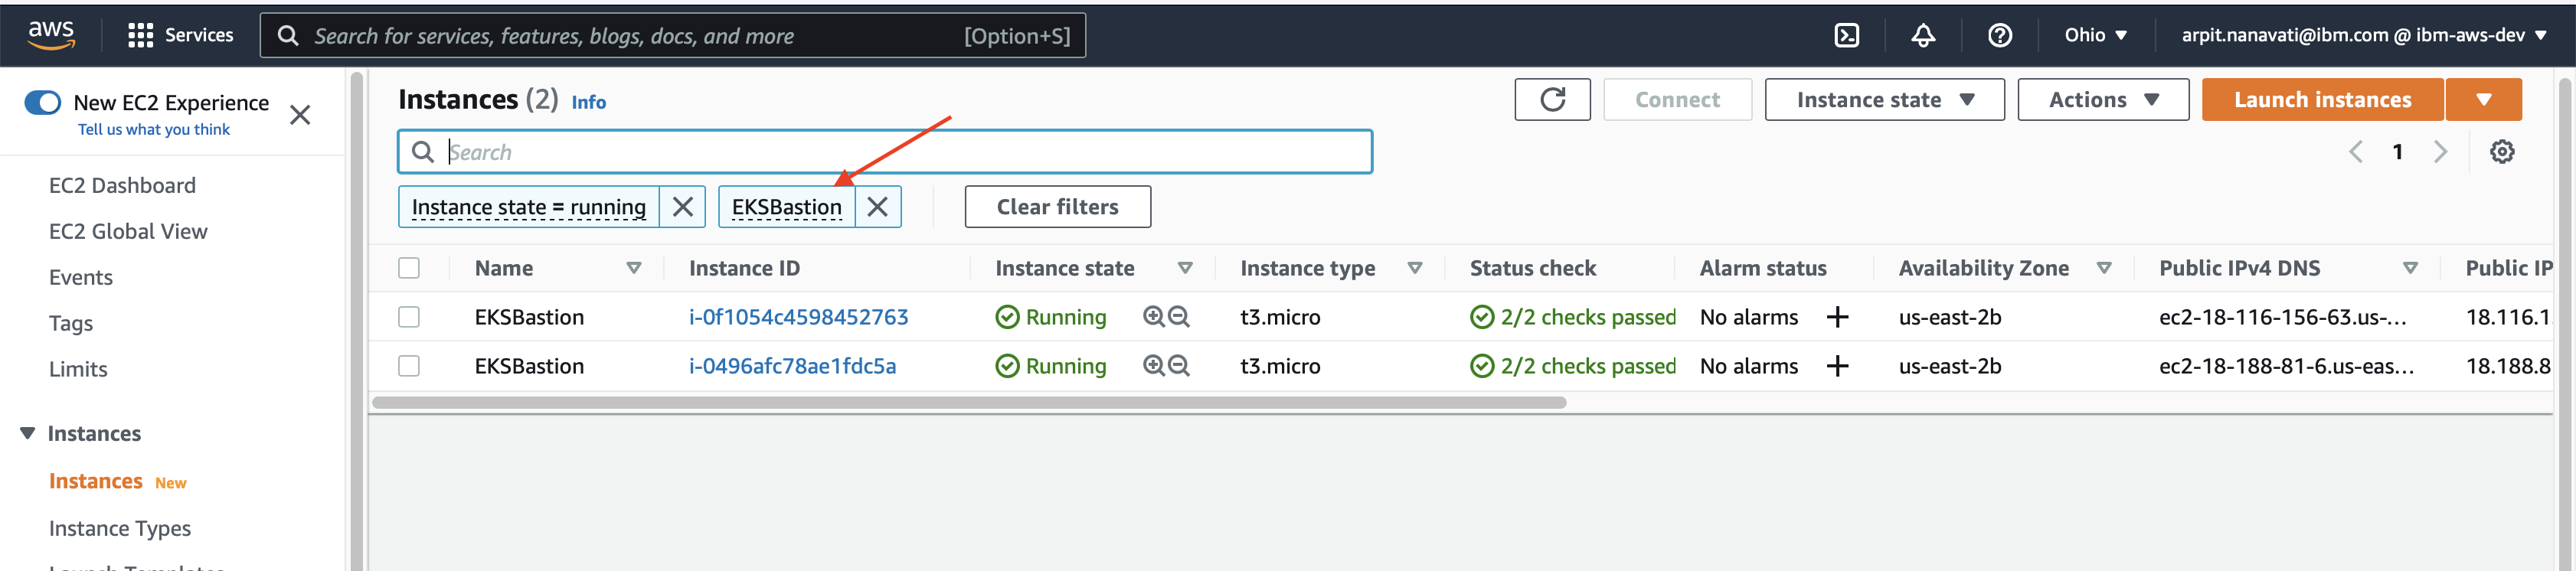
Go to EC2 service page and then search for EKSBastion instance
-
Connect to EKSBastion node with PEM_FILE and INSTANCE_IP. Here INSTANCE_IP is the public ip of bastion instance.
ssh -i PEM_FILE.pem ec2-user@INSTANCE_IP -
clone ibm-aws-quickstart-immersionday repo
git clone https://github.com/ibm-aws/ibm-aws-quickstart-immersionday.git -
deploy the application using below commands
Go to project folder
cd ibm-aws-quickstart-immersionday/
then
cd templates/config
then
chmod +x predictionappdeployment.sh
then run below command to deploy prediction app
./predictionappdeployment.sh <<EKS-clustername>>
Conclusions
- We have learned how to use the command line tools.
- We have learned how to access the openshift cluster and CP4D environment.
- We have learned how to use Cloud9 environment.